- Combo
- Masters
How to Add/Edit a Combo Item
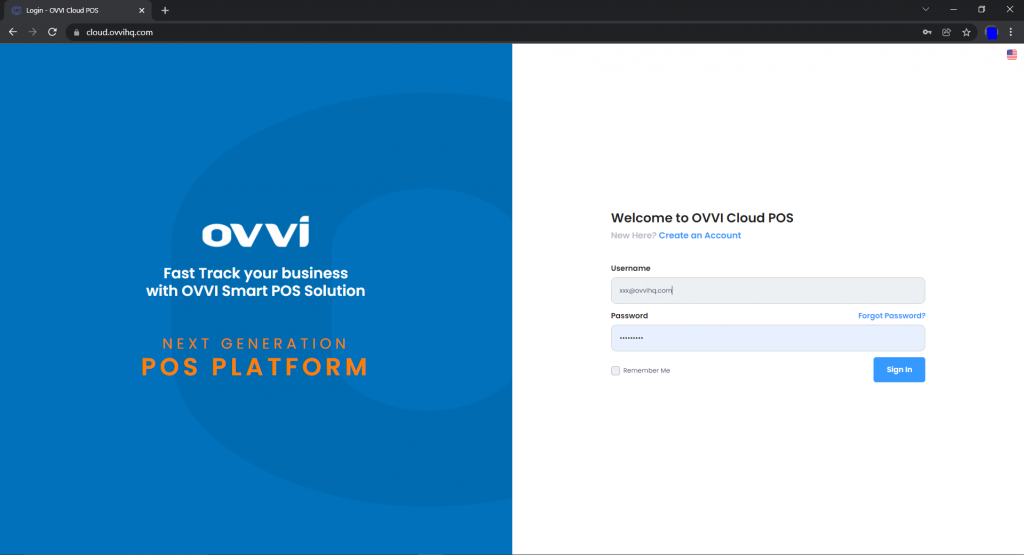
1. Login to your OVVI Cloud account online.
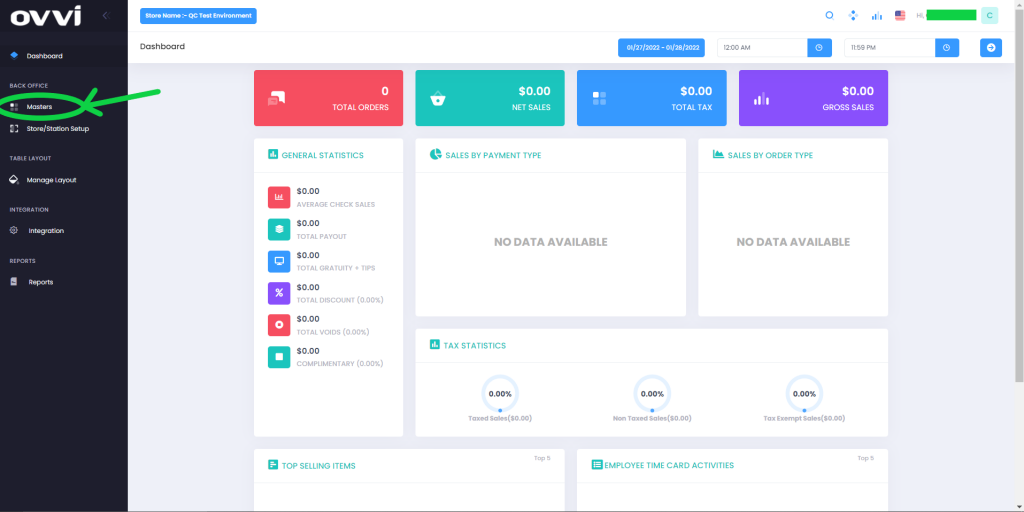
2. Select “Masters”.
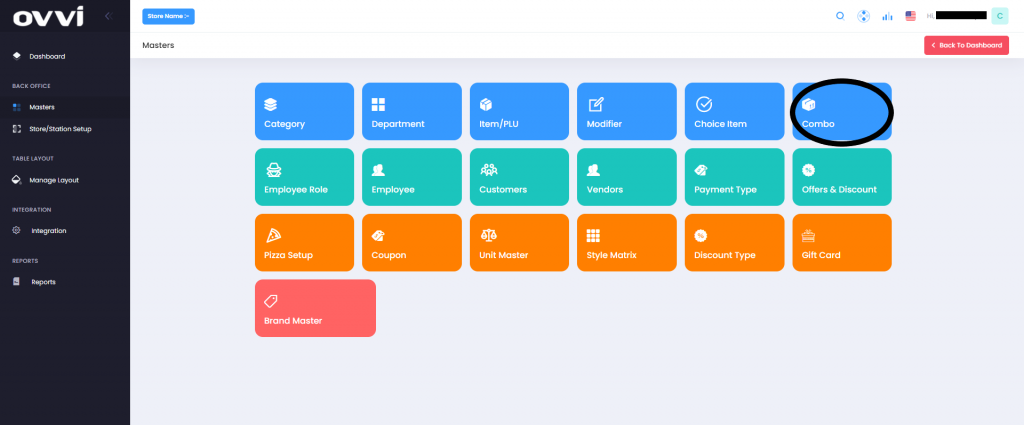
3. Choose the “Combo item” button.
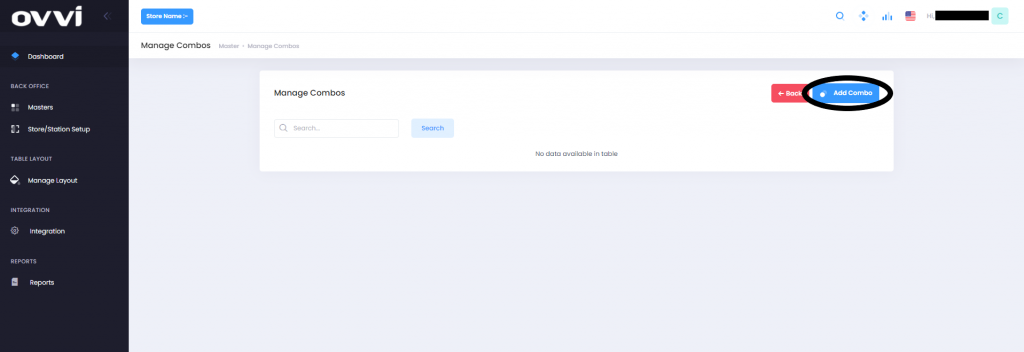
To add a Combo
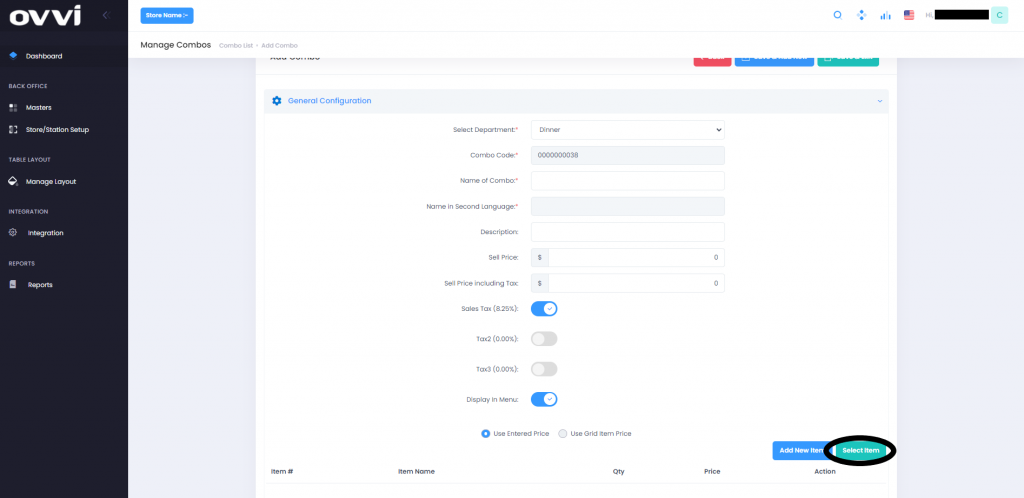
4. Select “Add Combo” on the top right. This will bring you to a page where you can enter details about your new Combo.
5. The details you can fill out for this Combo item are- the name, what department it will belong to, price and tax, items under this Combo etc.
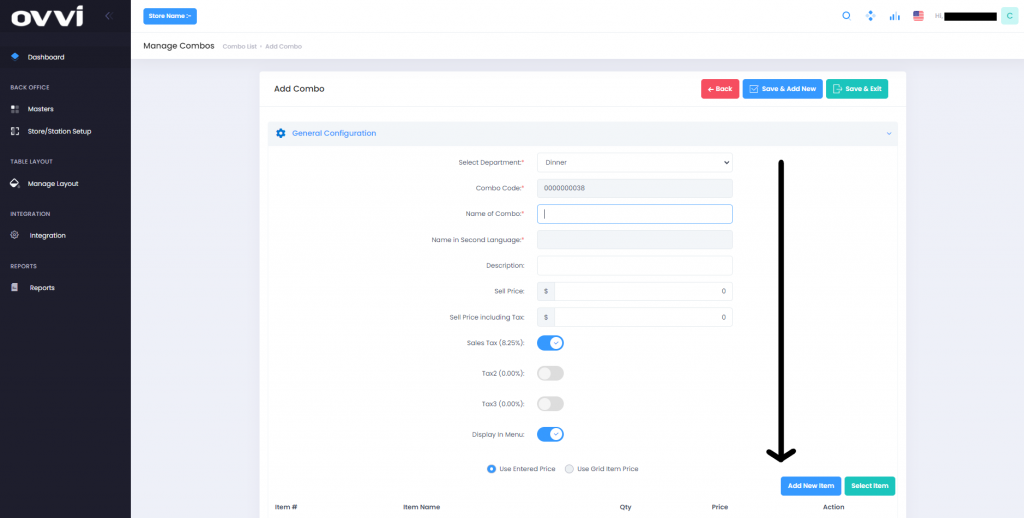
Attach an item to the Combo
(Skip to step 11 if not adding an item to the Combo)
6. Scroll down to the section where items can be added.
7. Select “Add new item” to add a new item under this Combo. This will bring you to a page where you can enter or edit details about your new item.
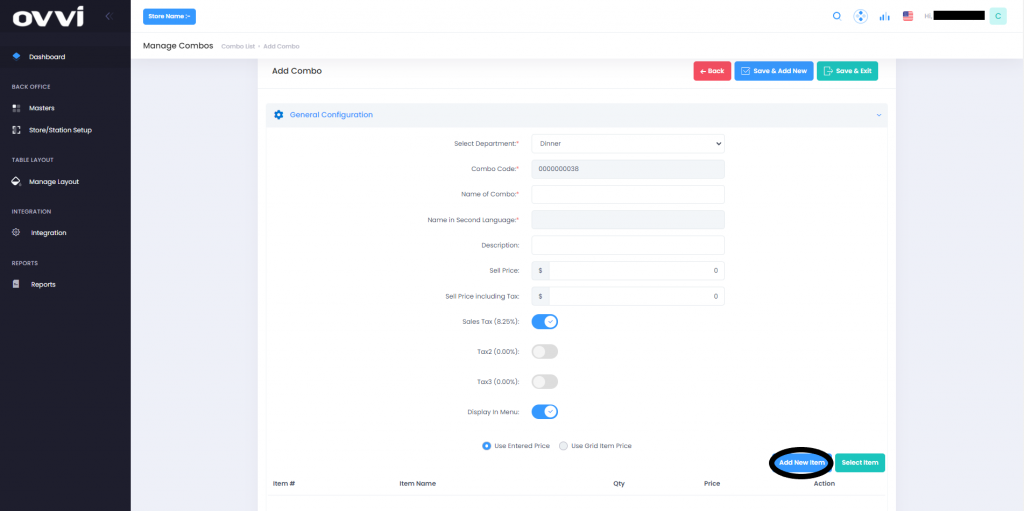
Note: To add an item continue to step
8. If your item already exists- select “Select item” and select it.
Skip to step 9 and review.
8. See this article to know how to add a new item.
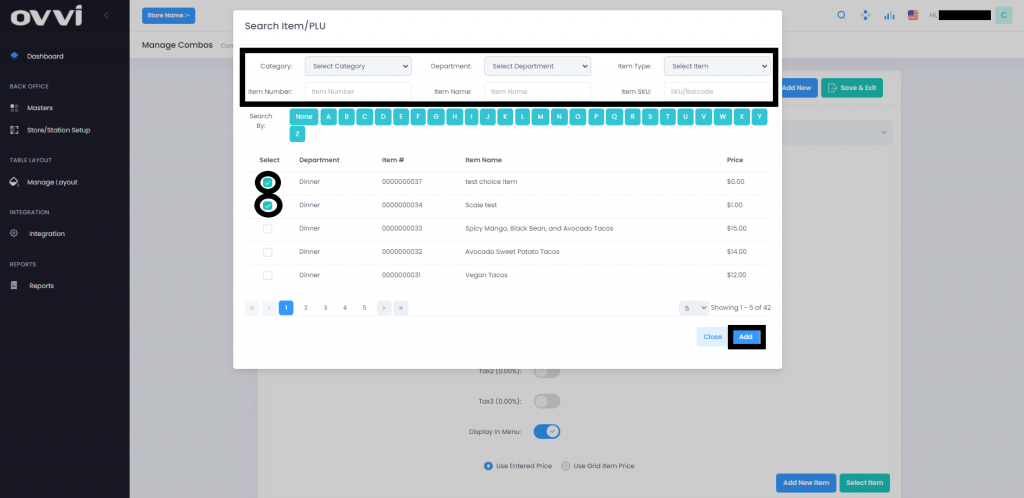
9. You will be redirected back to the Combo page that you were editing. Here select “select item”.
10. Select the desired items you want in your Combo- on the pop up and hit “add”.
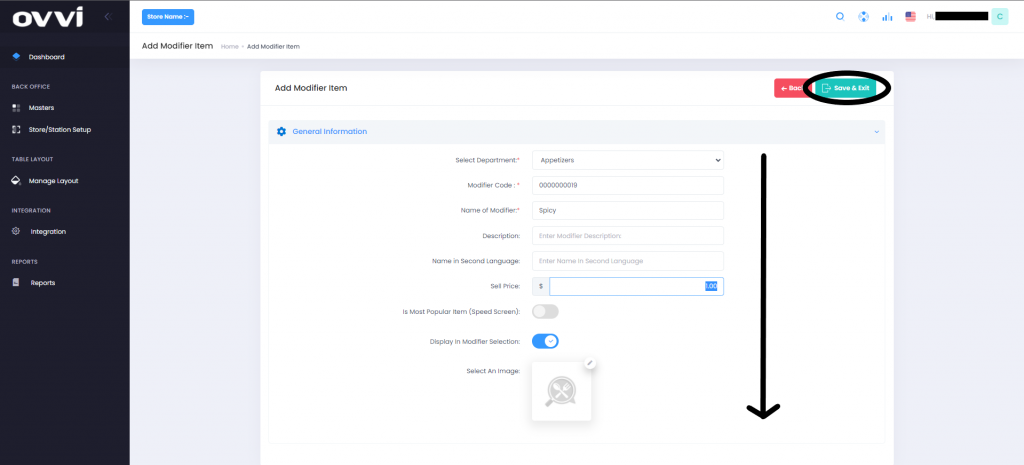
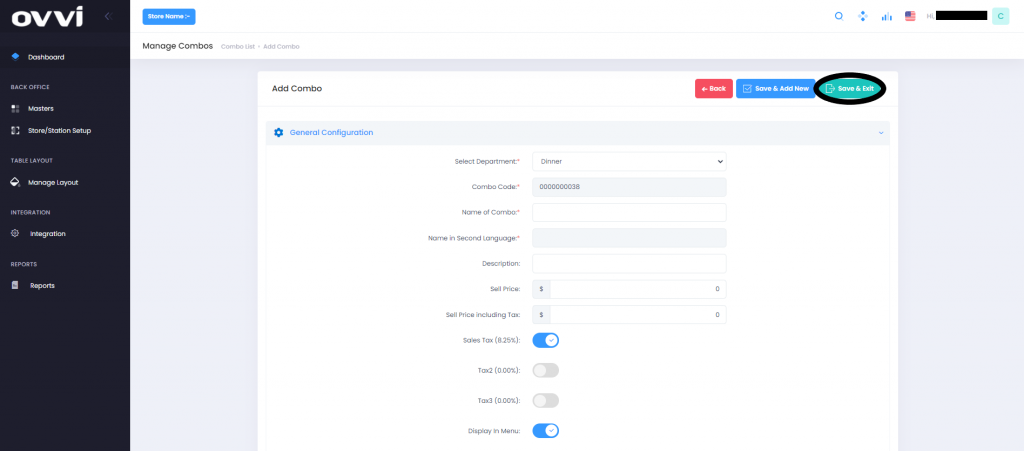
11. Click on “Save and exit” on the top right to save the choice item and its related information Click on “Save and add new” if you would like to create a new choice item.
To modify a Combo Item
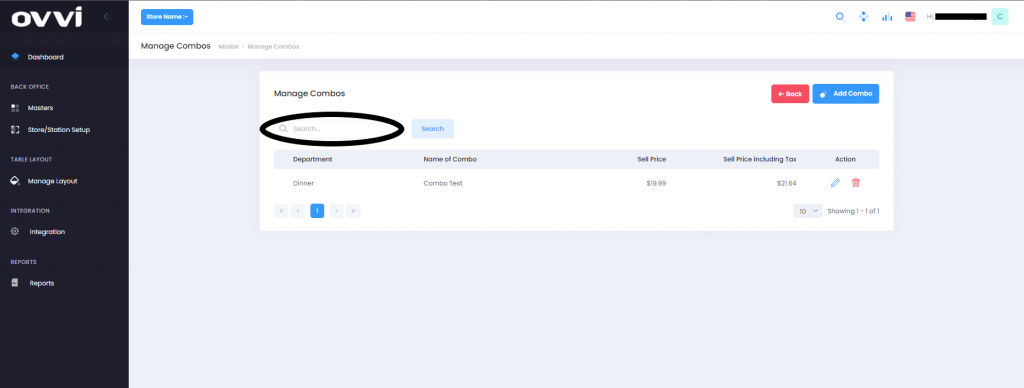
1. Search for the desired Combo item to be modified. You can do this by filtering the “Department” or entering the “Item name”.
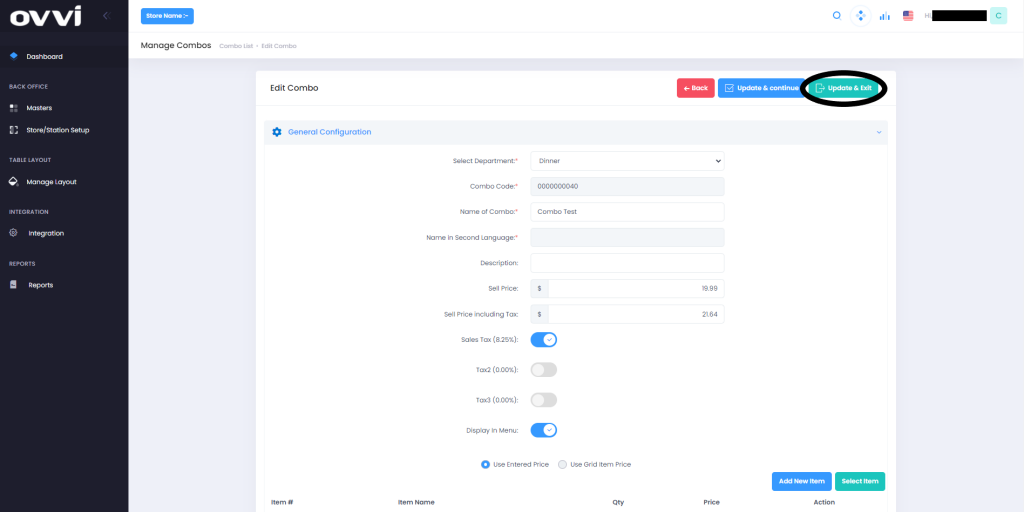
2. Select the pencil icon next to the Combo on the right. This will bring you to a page where you can modify details of your Combo.
3. The details you can modify for this Combo item are- the name, what department it will belong to, price and tax, items under this Combo etc.

4. Click on “Update and exit” on the top right to save your changes or click on “Update and continue” to continue modifying Combos
Adding/Modifying Combo FOH
1. Login to your OVVI application on the POS.
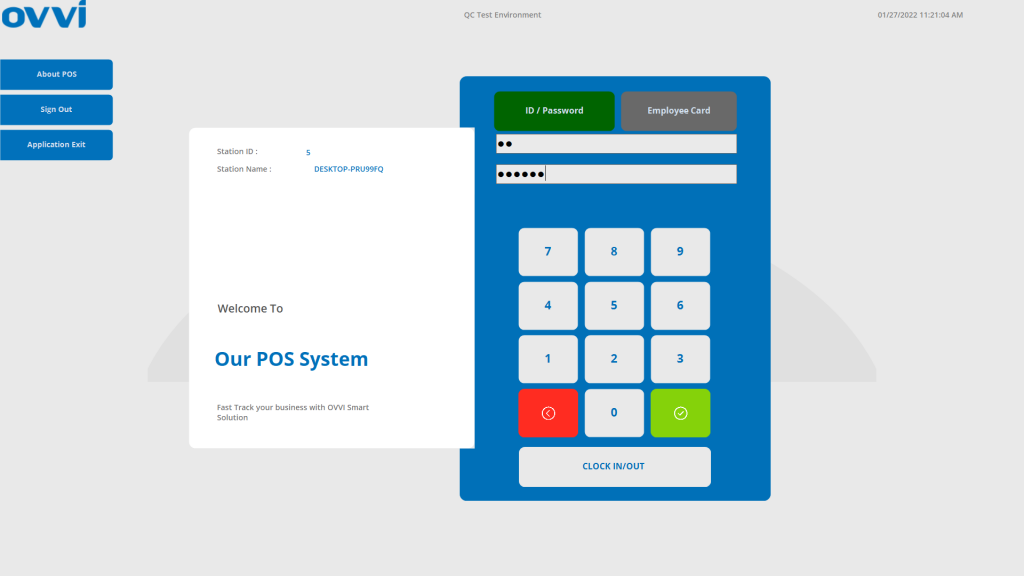
2. If you have your table diagram enabled- Select “Quick order” option on the right. This will bring you to the order screen.

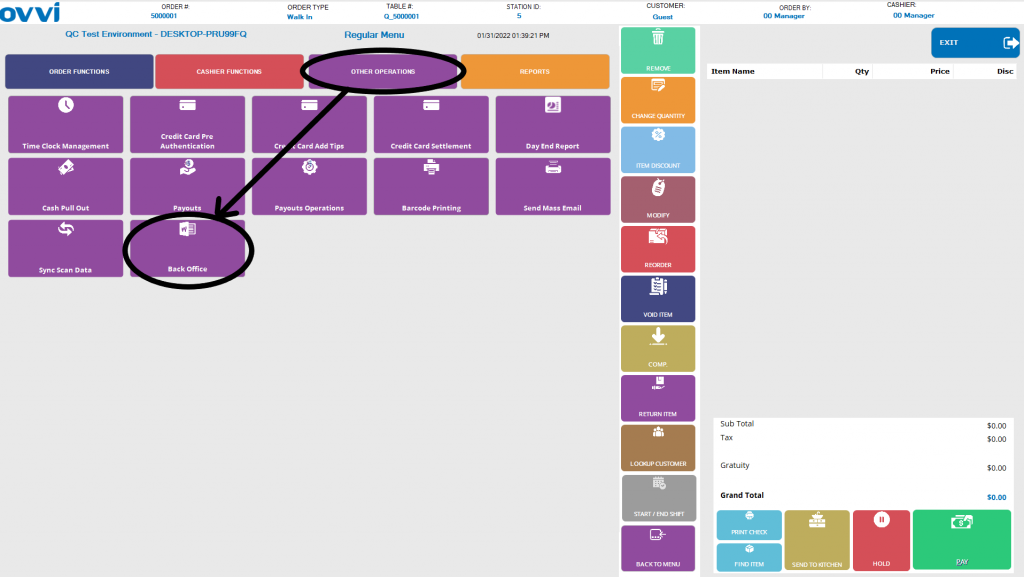
3. If you do not have the table diagram enabled, go to the order screen. Select “Operation” on the bottom right of the order screen.

4. Go to the “Other operations” tab and select “Back office”. This will redirect you to the OVVI Cloud back office on your default browser.