- Item/PLU
How to Add or Modify an Item (BOH):
1. Go to cloud.ovvihq.com and login using your merchant username and password.
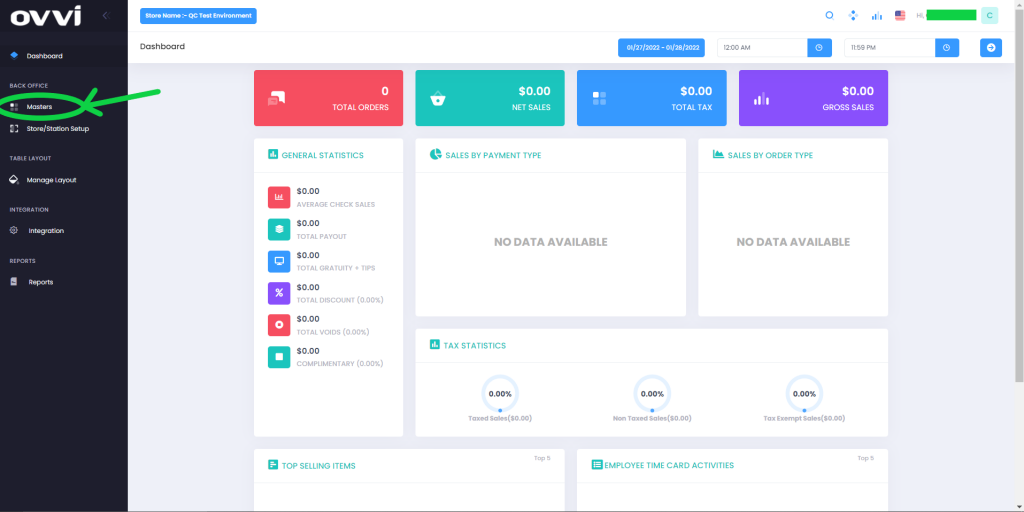
2. From the Dashboard click on the ‘Masters’ button located on the left side of the page.
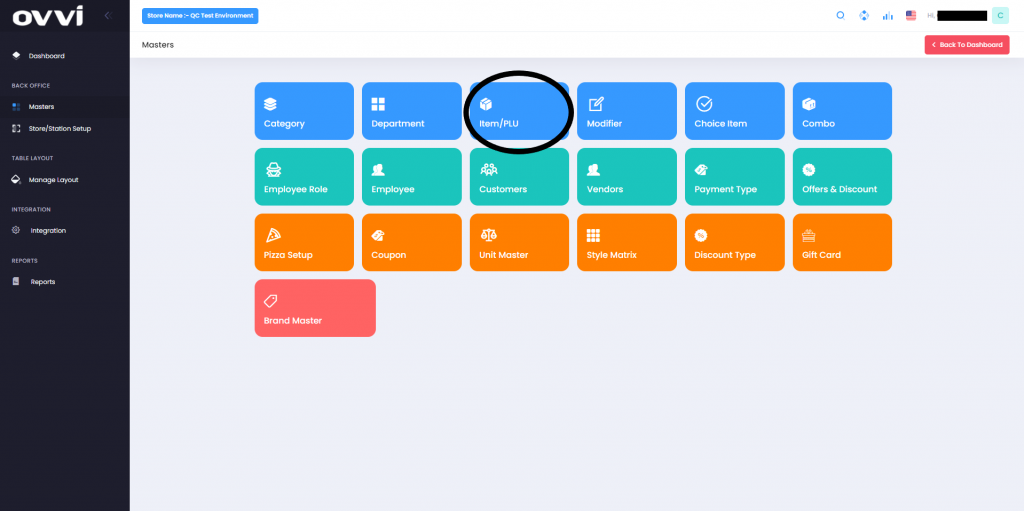
3. Choose the “Item/PLU button”.
To add an item:
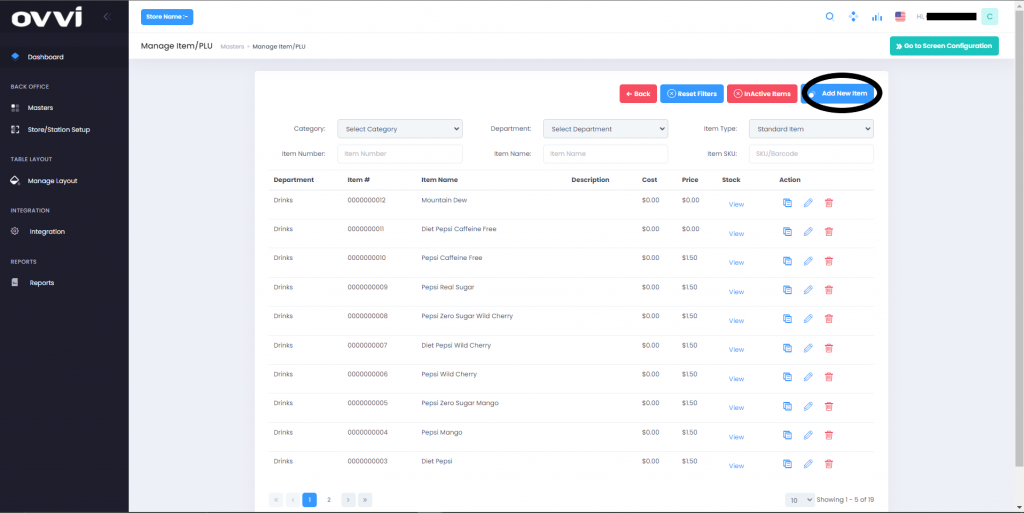
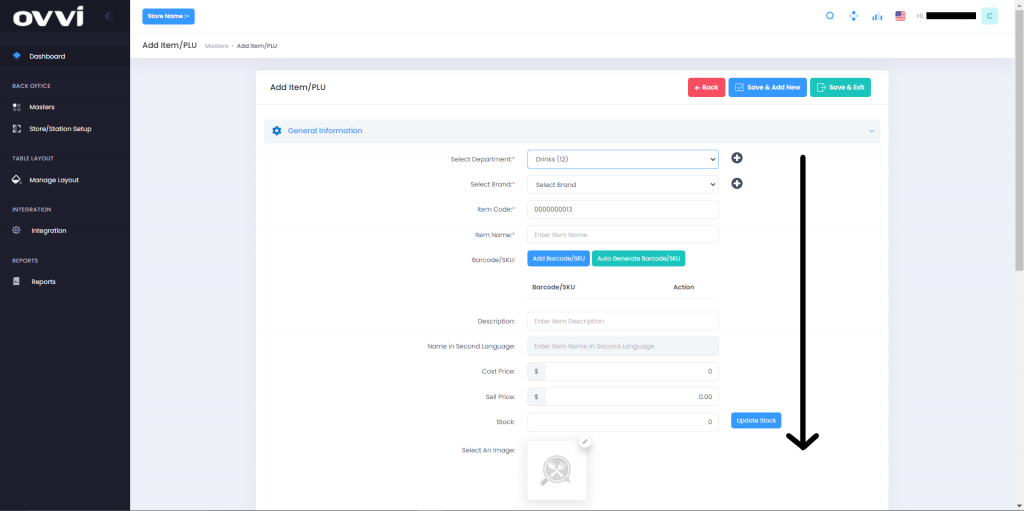
4. Select “Add new item” on the top right. This will bring you to a page where you can enter details about your new item.
5. The details you can fill out for this item are what department it will belong to, the cost and selling price, the image of the item, specific customizations for hardware, online ordering, unit and discount pricing, etc.
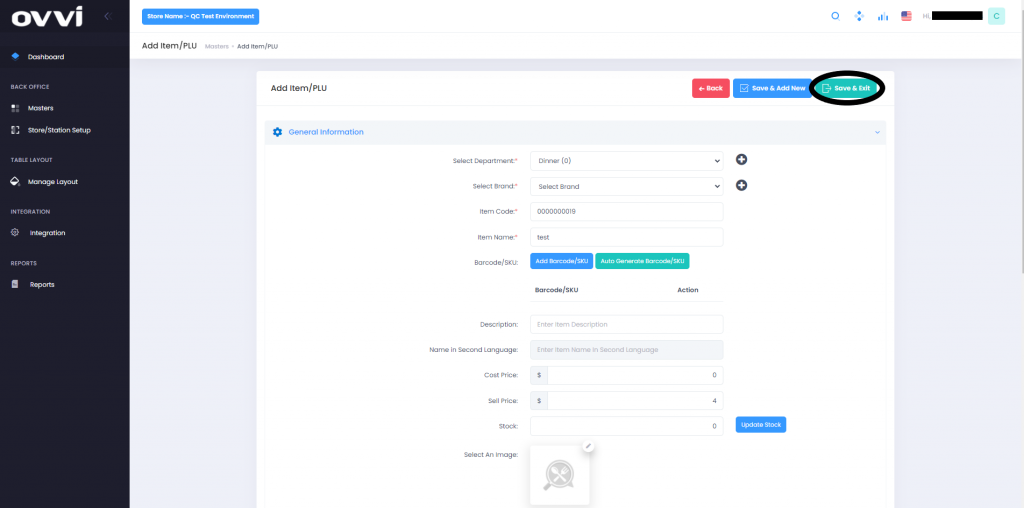
6. Click on “Save and exit” on the top right to save your changes or click on “Save and add new” to continue adding new items.
To modify an item:
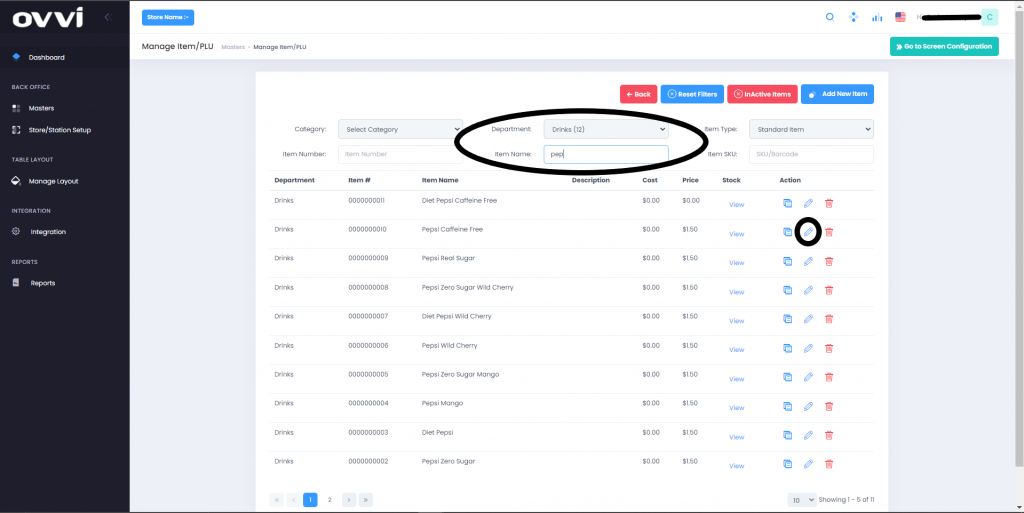
4. From the list of items given, filter out or search for the desired item.
5. Select the pencil icon next to the item on the right. This will bring you to a page where you can modify the details of your item.
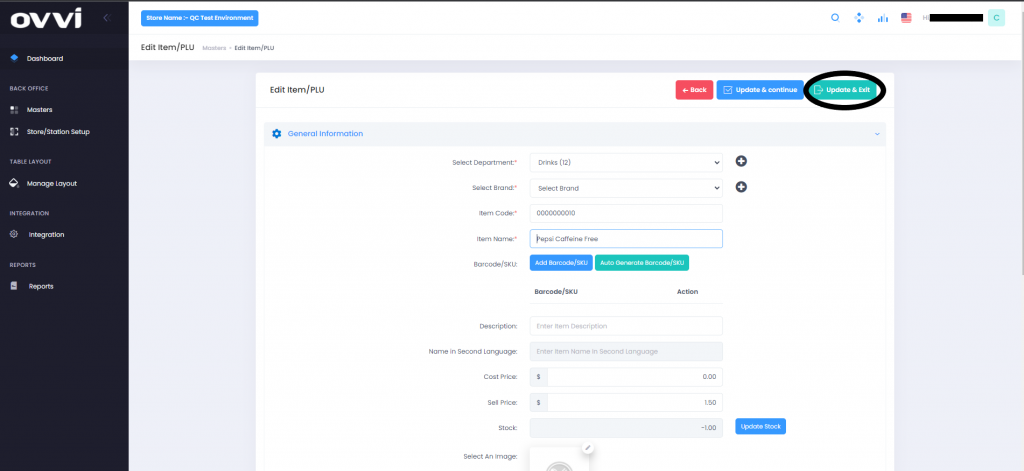
6. The details you can modify for this item are what department it will belong to, the cost and selling price, the image of the item, specific customizations for hardware, online ordering, unit and discount pricing, etc.
7. Click on “Update and exit” on the top right to save your changes or click on “Update and continue” to continue adding new items.
Adding or Modifying Items (FOH):
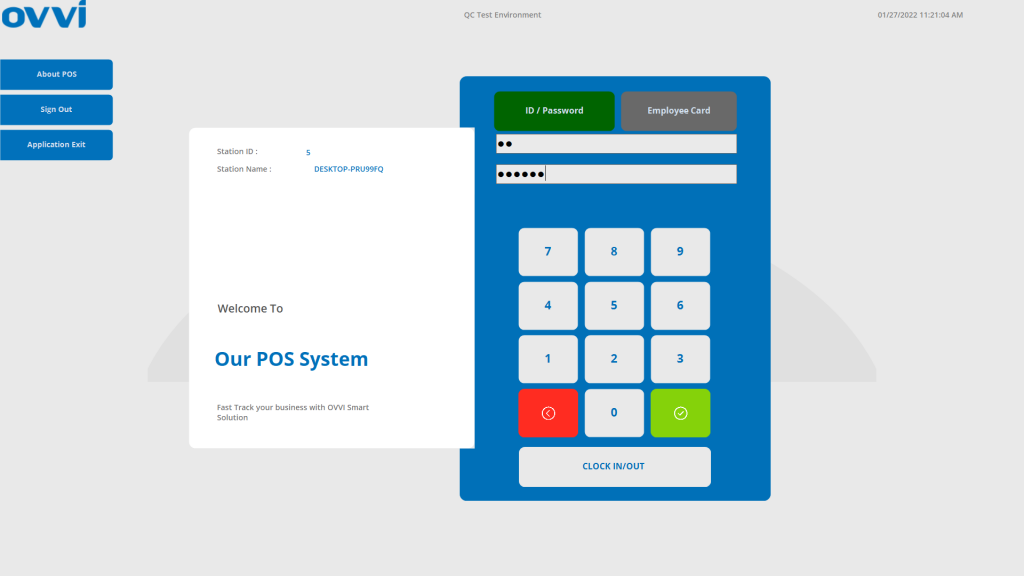
1. Login to your OVVI application on the POS.
2. If you have your table diagram enabled- Select the “Quick order” option on the right. This will bring you to the order screen.

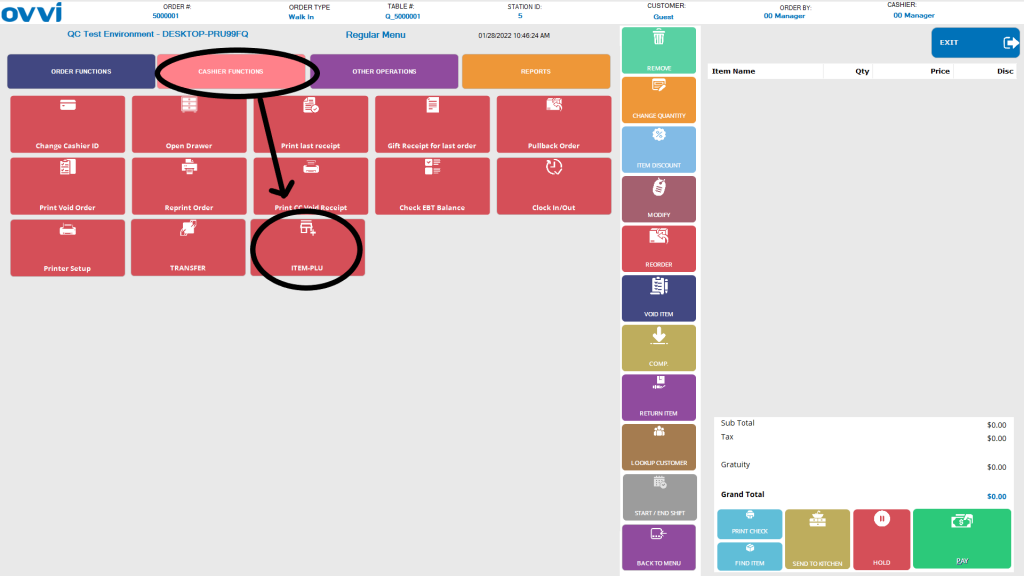
3. If you do not have the table diagram enabled, go to the order screen. Select “Operation” on the bottom right of the order screen.

4. Go to the “Cashier functions tab” and select “Item-PLU”. This will open up a default item.
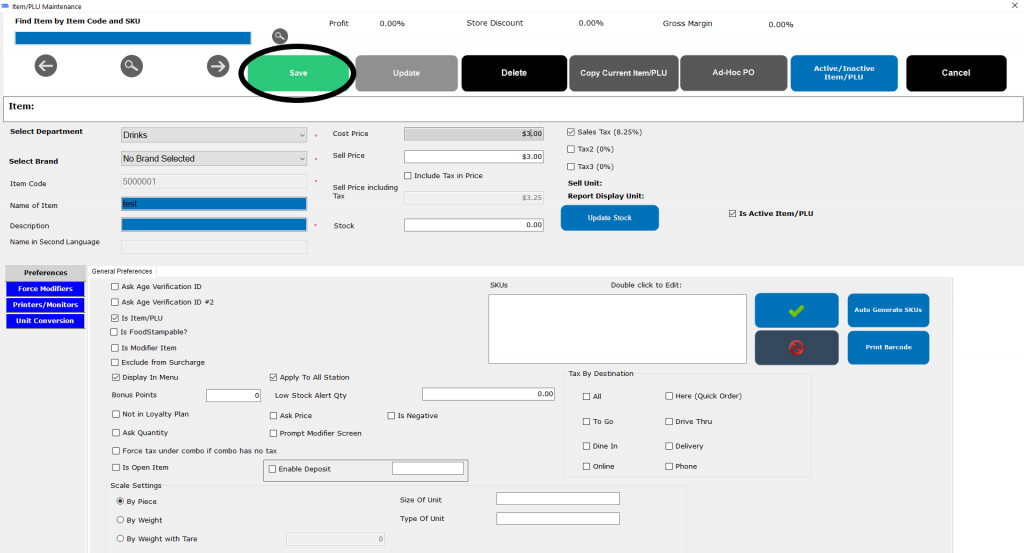
To add an item:
5. Select “Add” on the top left. This will bring you to a page where you can enter details about your new item.
6. The details you can fill out for this item are what department it will belong to, the cost and selling price, the image of the item, specific customizations for hardware, online ordering, unit and discount pricing, etc.
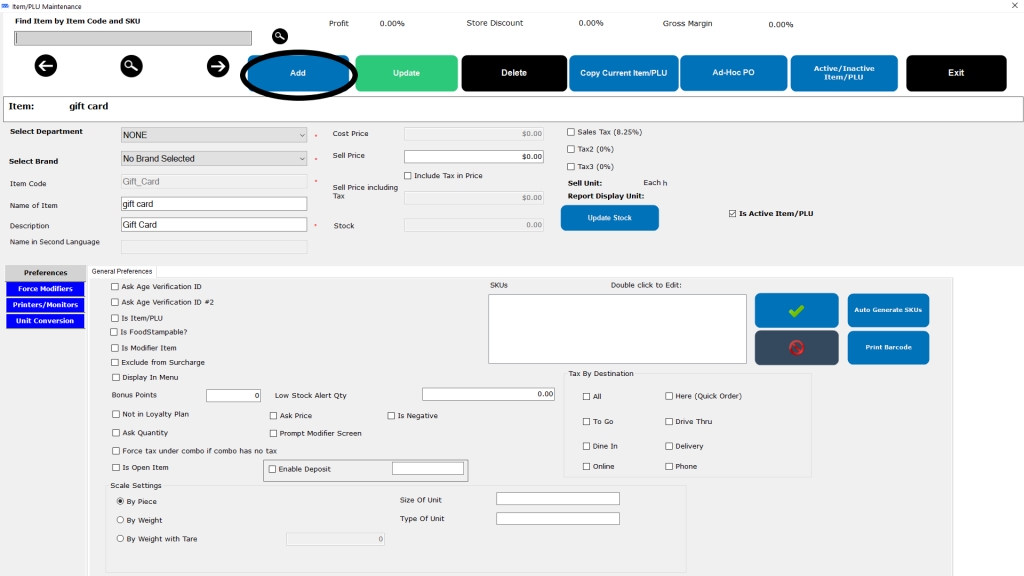
7. Click on “Save” on the top to save your changes.
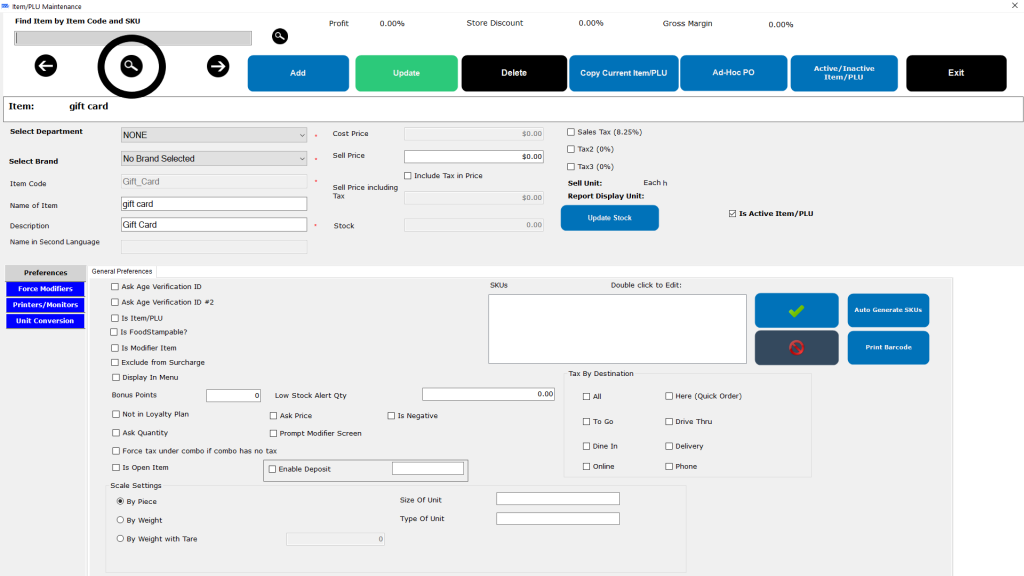
To Modify an item:
5. Select the “Search button/Magnifying glass icon” on the top right. This will bring you to the list of items.
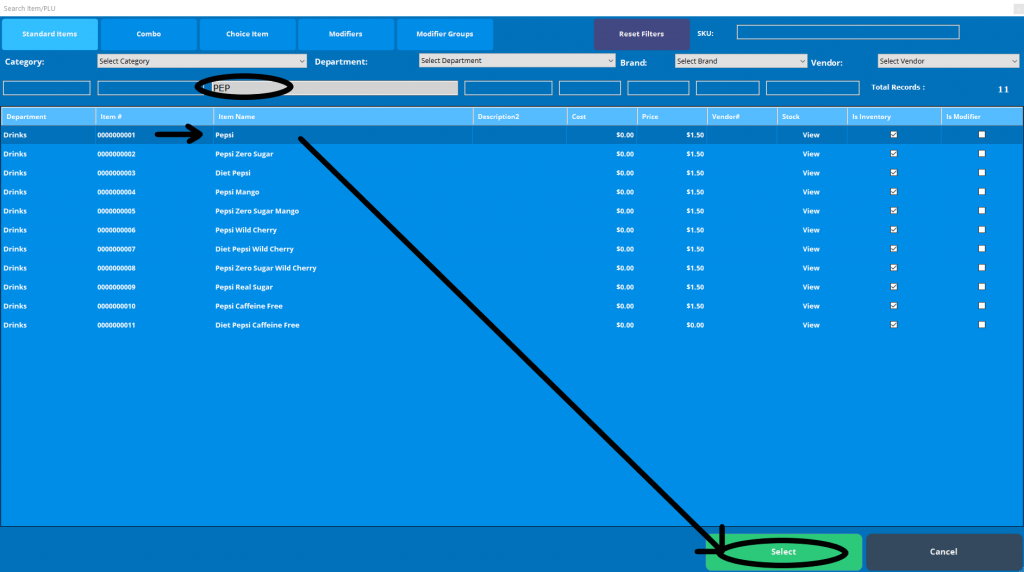
6. Search for the desired item to be modified. You can do this by filtering the “Department” or entering the “Item name”. Then select the item.
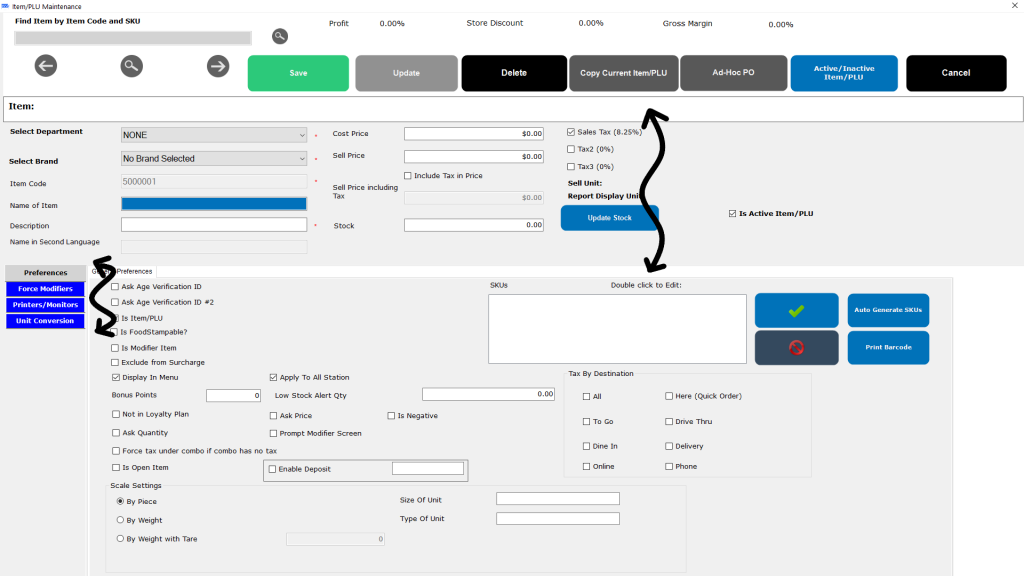
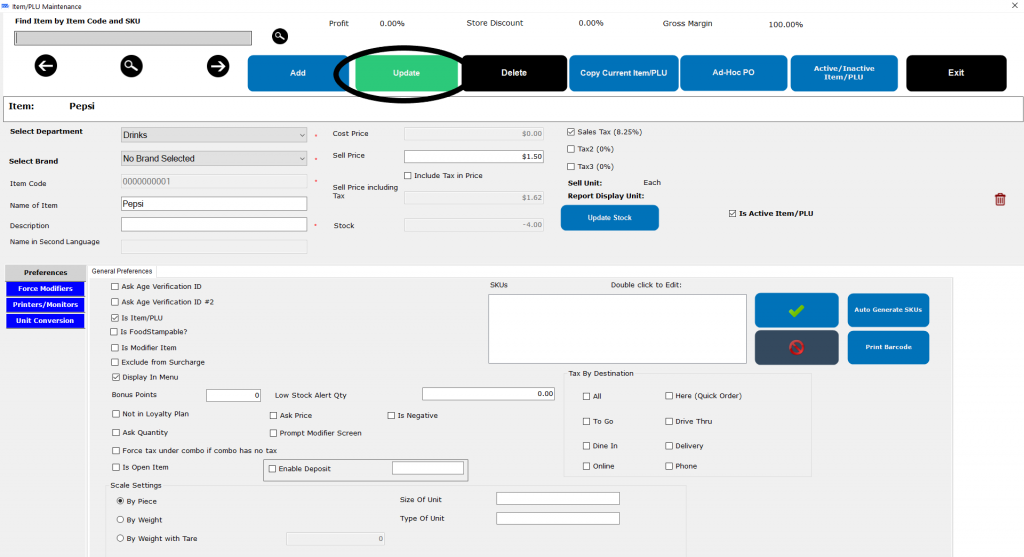
7. The details you can modify for this item are what department it will belong to, the cost and selling price, the image of the item, specific customizations for hardware, online ordering, unit and discount pricing, etc.
8. Click on “Update” on the top to save your changes.
Was this article helpful?
YesNo
Related Articles: