How To Apply Discount Type
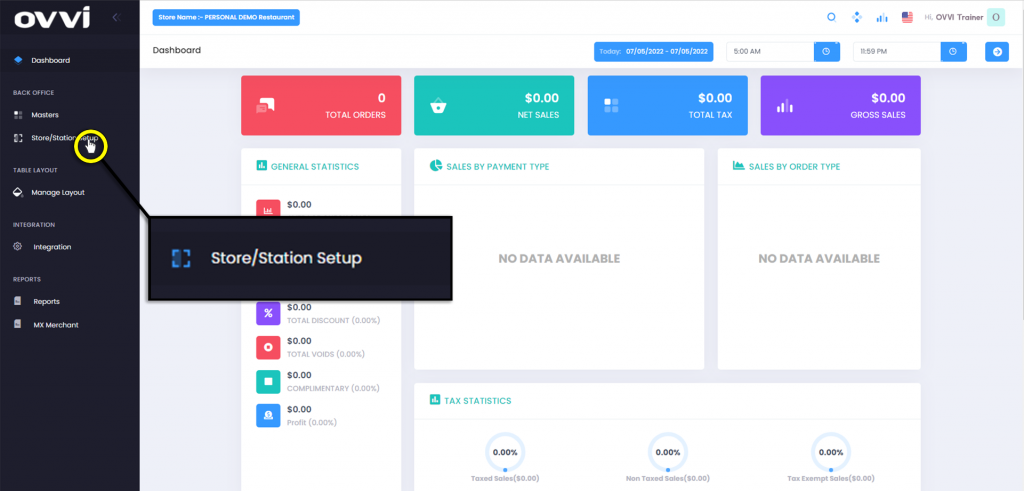
2. From the main dashboard navigate to the panel located on the left side of the site and click on the options ‘Store/Station Setup’.
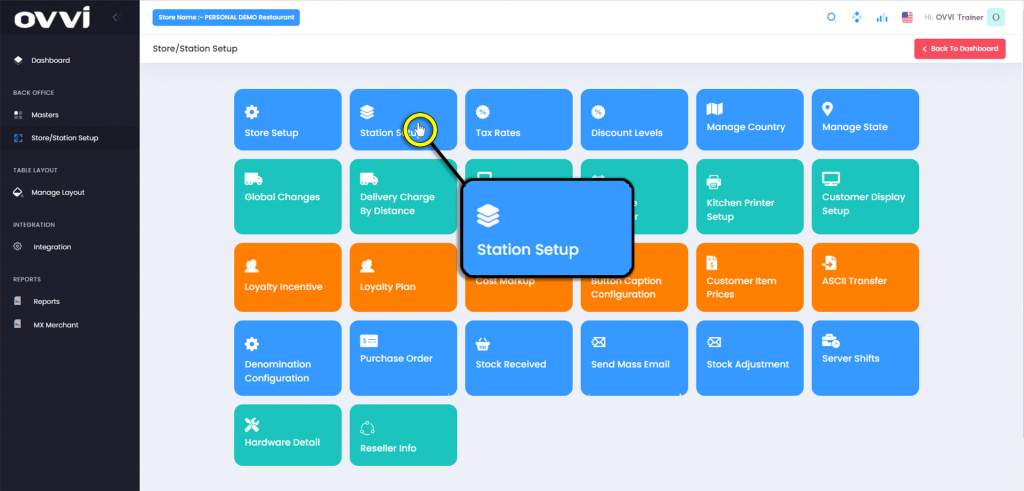
3. In the ‘Store/Station Setup’ Page locate and click on the tile labeled ‘Station Setup’.
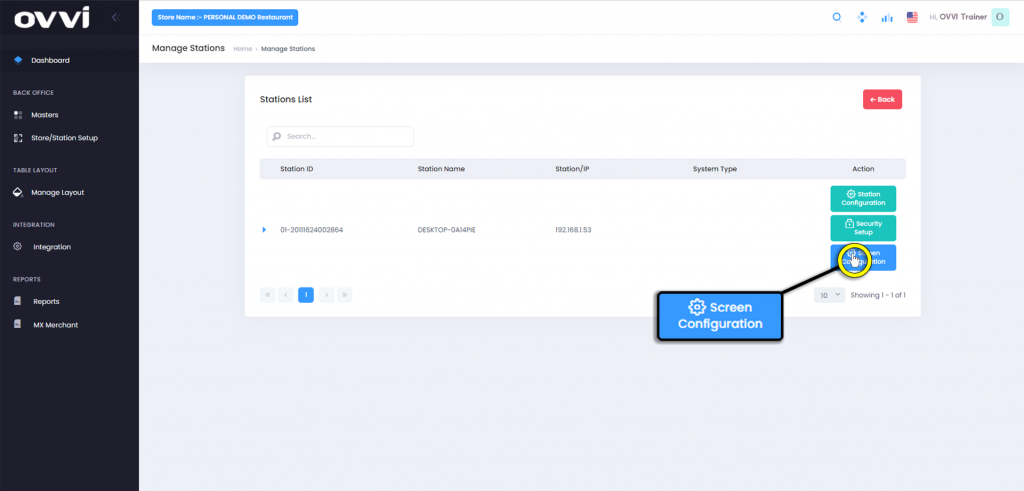
4. This will load the ‘Stations List’ page and click on the button titled ‘Screen Configuration’ locate to the right of the station you wish to add your dynamic button for.
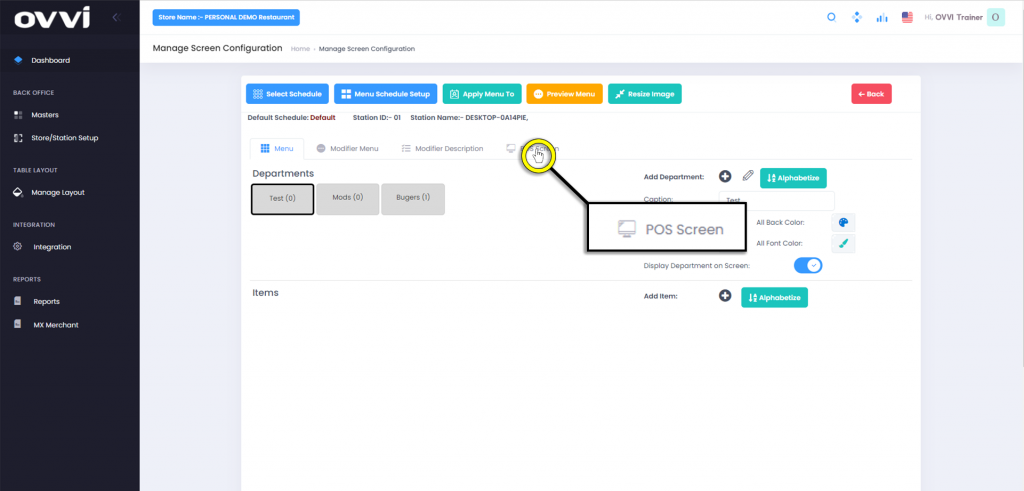
5. In the ‘Manage Screen Configuration’ page, locate, and click on the tab labeled ‘POS Screen’.
6. Click on a button labeled ‘Dynamic Button’ to select the button to assign a task to.
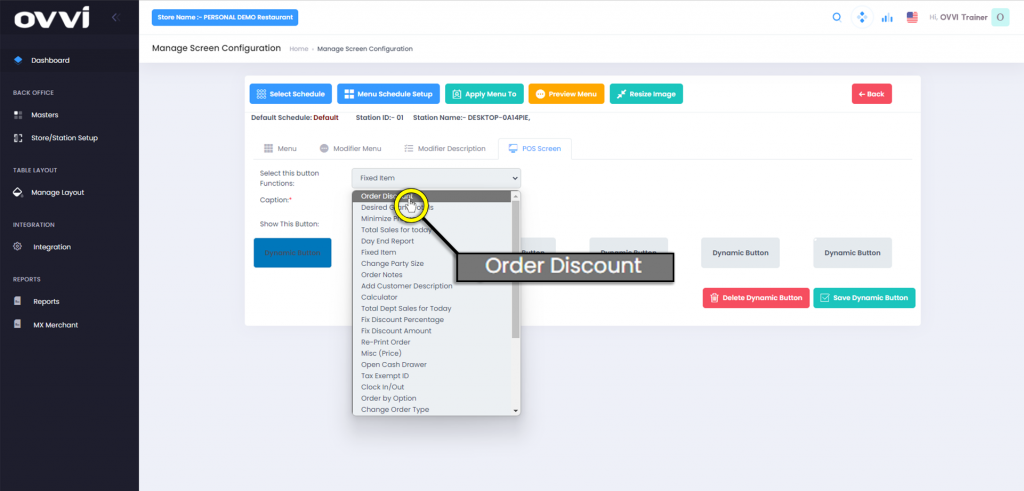
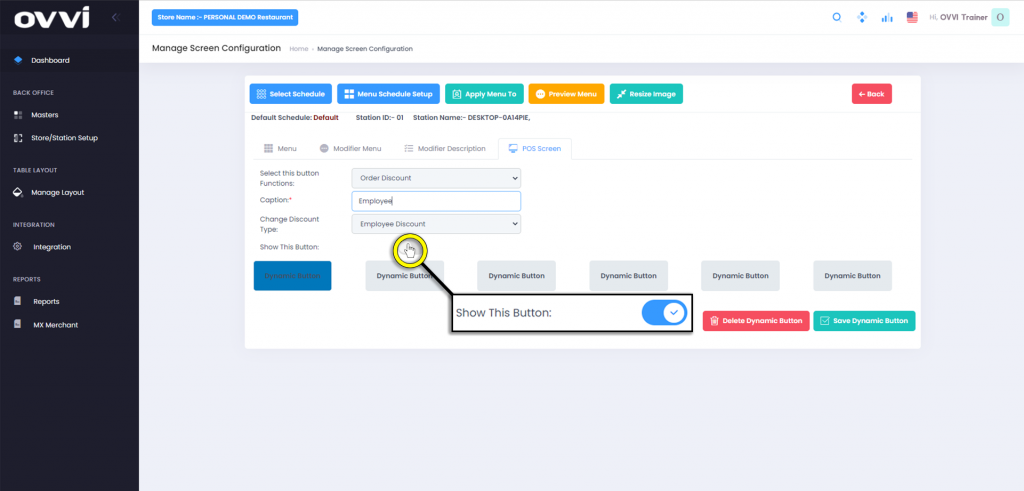
7. Click the drop-down arrow for the box labeled ‘Select the Button Functions’ and choose ‘Order Discount’.
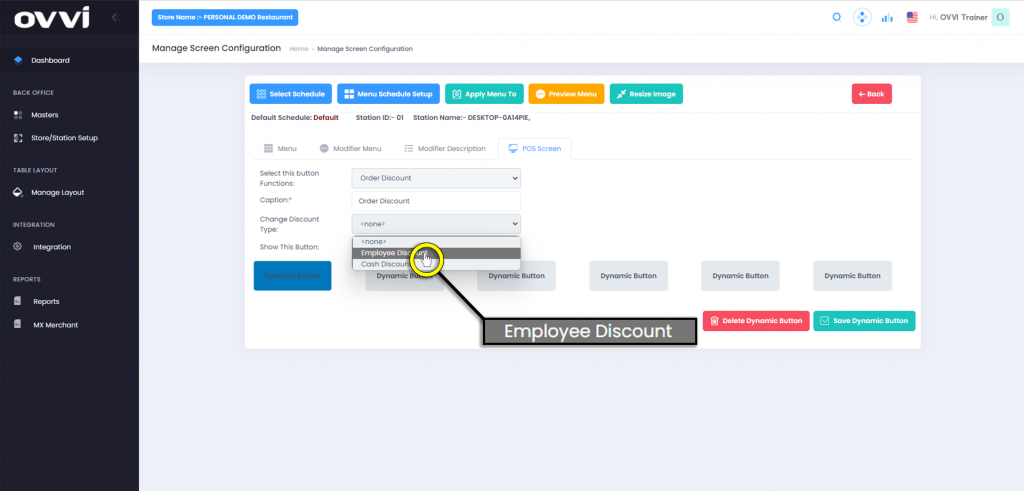
8. Click the drop-down arrow for the box labeled ‘Change Discount Type:’ and select the desired discount type such as ‘Employee Discount’ for this example.
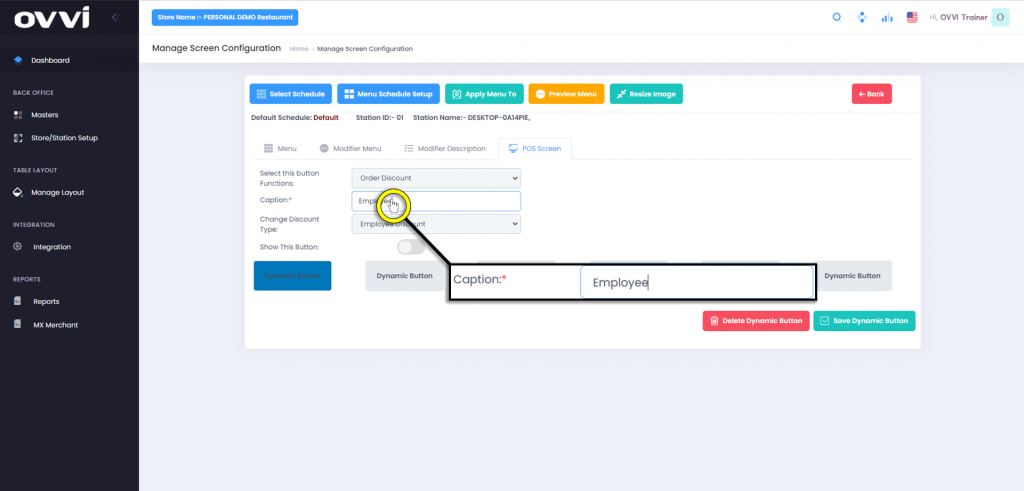
9. Click in the box labeled ‘Caption’ to customize the name of the button as it will appear in the POS.
10. Toggle the ‘Show This Button:’ from grey to blue.
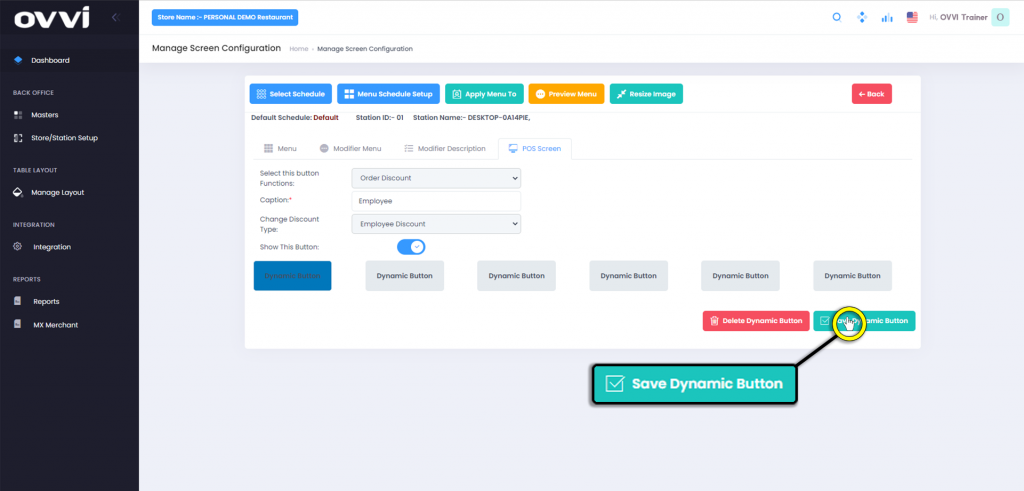
11. Click the ‘Save Dynamic Button’. The selected dynamic button will then reflect the Name as it appears in the caption box.
11. Click the ‘Save Dynamic Button’. The selected dynamic button will then reflect the Name as it appears in the caption box.
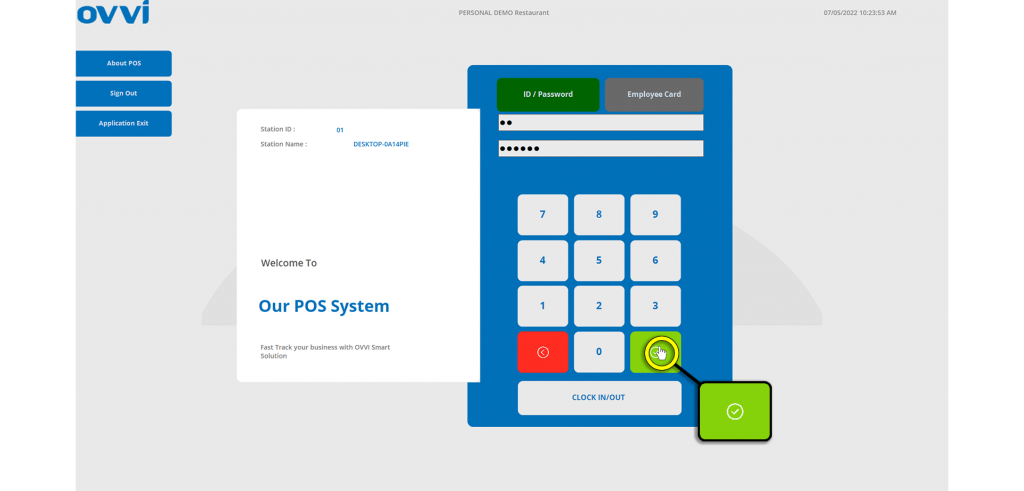
Please Note: Next Step will Take place on Front of House POS.
12. Once the Dynamic button has been created for the station, go to the OVVI POS on that station then login with your employee credentials, then tap the green button.
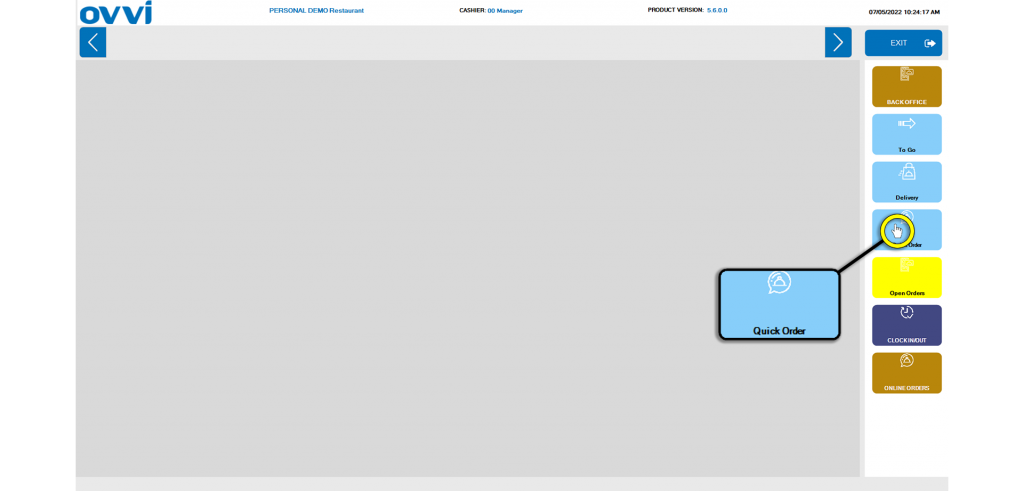
13. From the Layout page click on ‘Quick Order’.
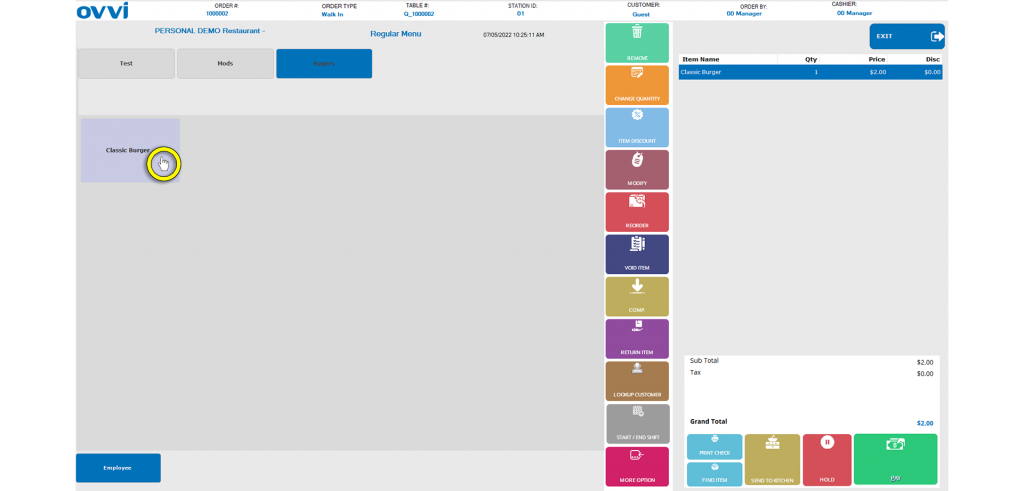
14. Select the Department and Item(s) you wish to apply the ‘Discount Type’ to.
15. Click on the dynamic button that the ‘Discount Type’ was applied to. In this example it will be labeled ‘Employee’.
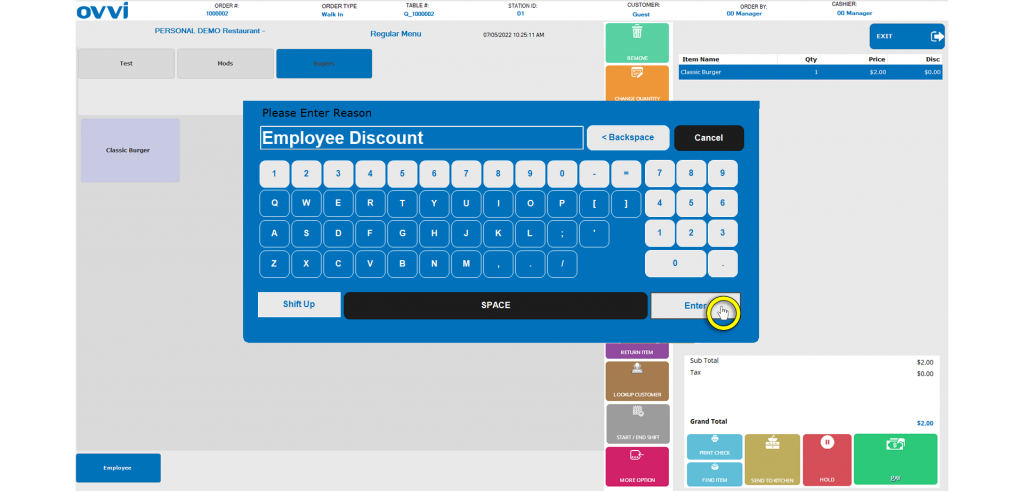
16. Input the Reason for discount in the keyboard pop up, then click ‘Enter’.
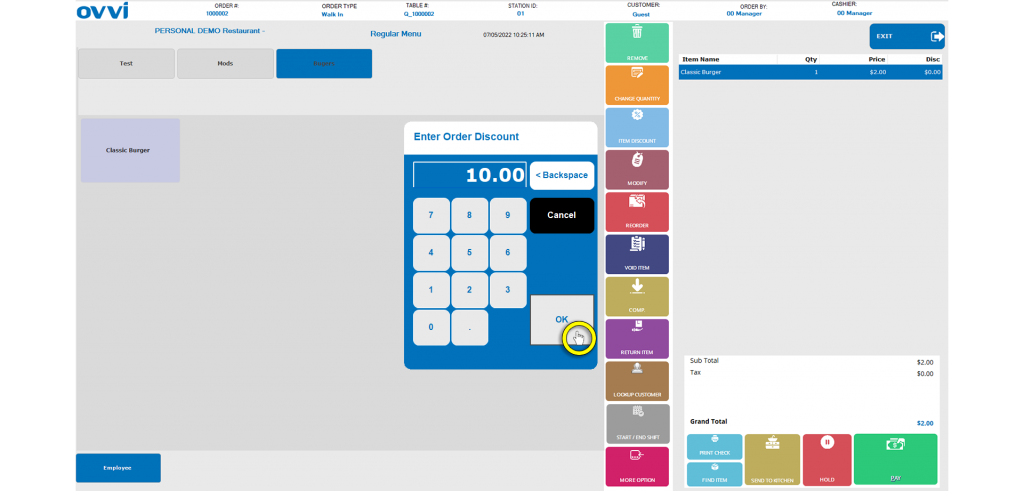
17. Input the desired percentage amount in the pop up labeled ‘Enter Order Discount’ then click ‘OK’ to apply the discount.
Please Note: Discount will apply to entire order.
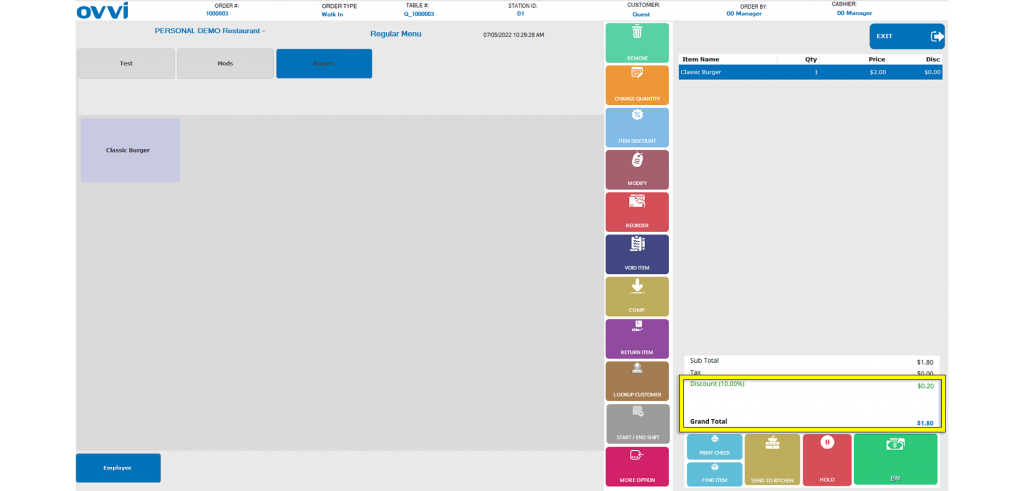
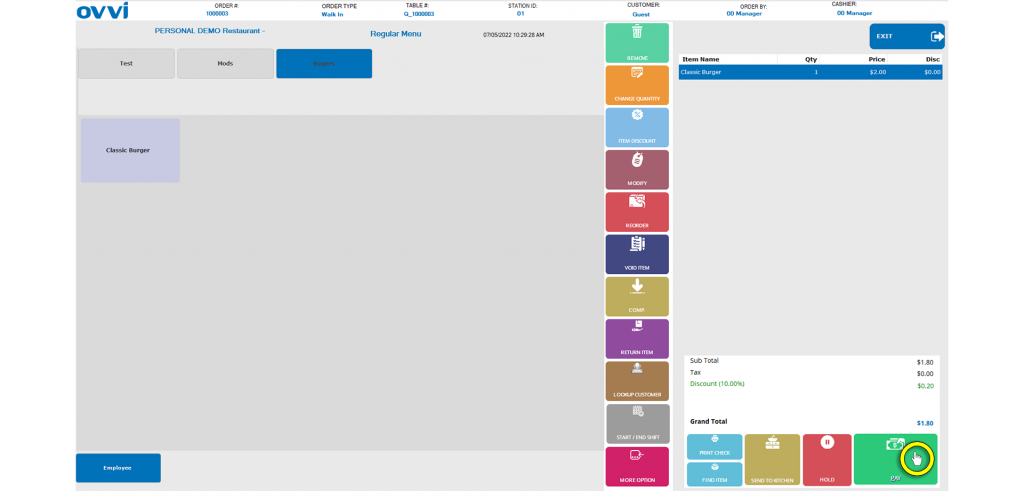
18. The both the discount amount and new price will now appear in the lower left-hand corner of the POS screen.
19. Click the ‘Pay’ button to complete a transaction with the applied discount.
20. This Complete the Guide on how to apply a Discount Type to your POS station and to an order.