- Masters
- Modifier
How to attach or remove a modifier group from an Item
ATTACHING OR REMOVING MODIFIER GROUPS ON THE CLOUD BACK OFFICE
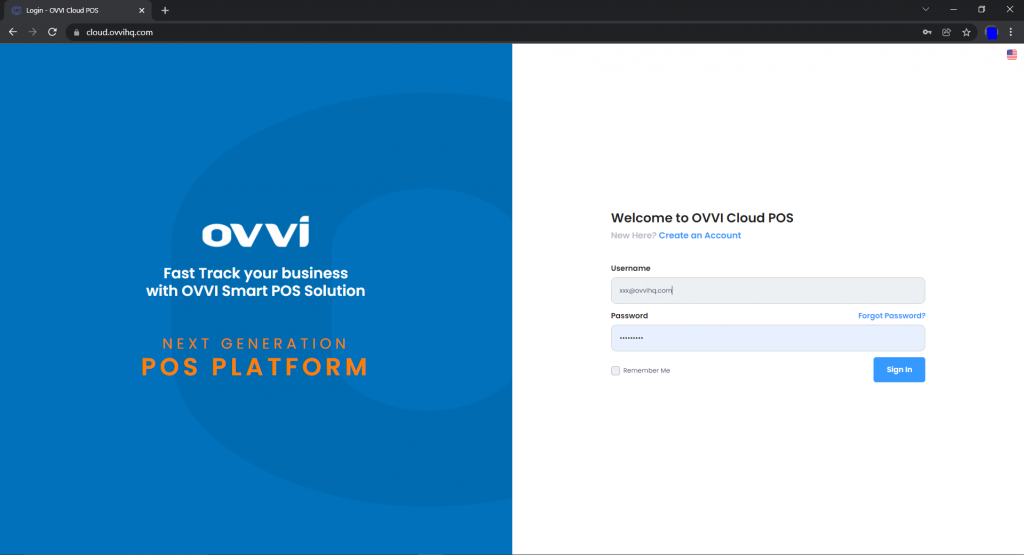
1.Login to your OVVI Cloud account online.
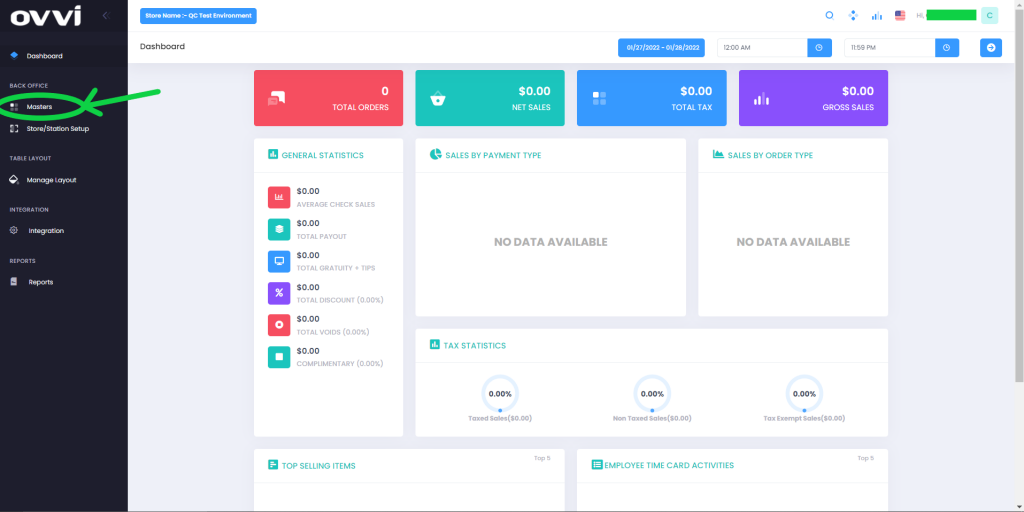
2. Select “Masters” option under “Back Office” on the left hand pane.
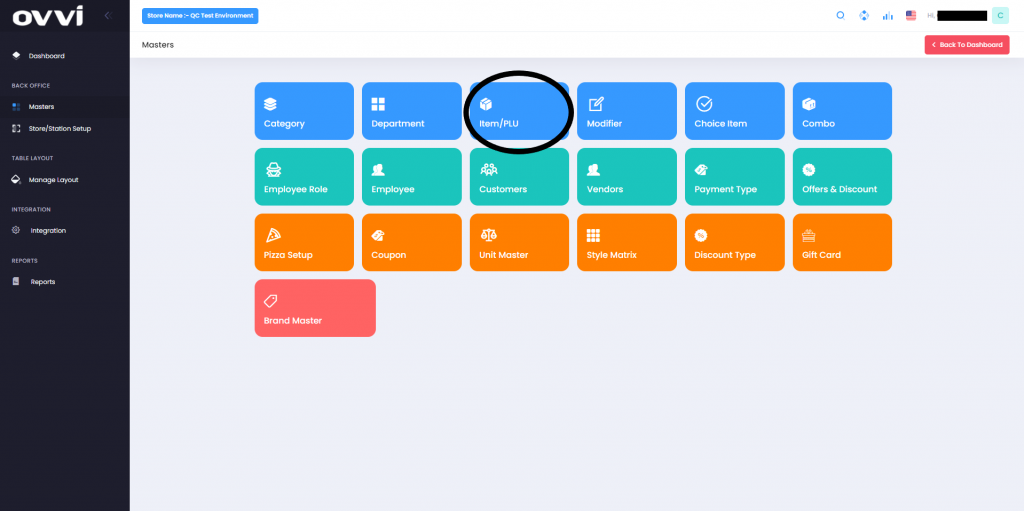
3. Choose the “Item/PLU button”.
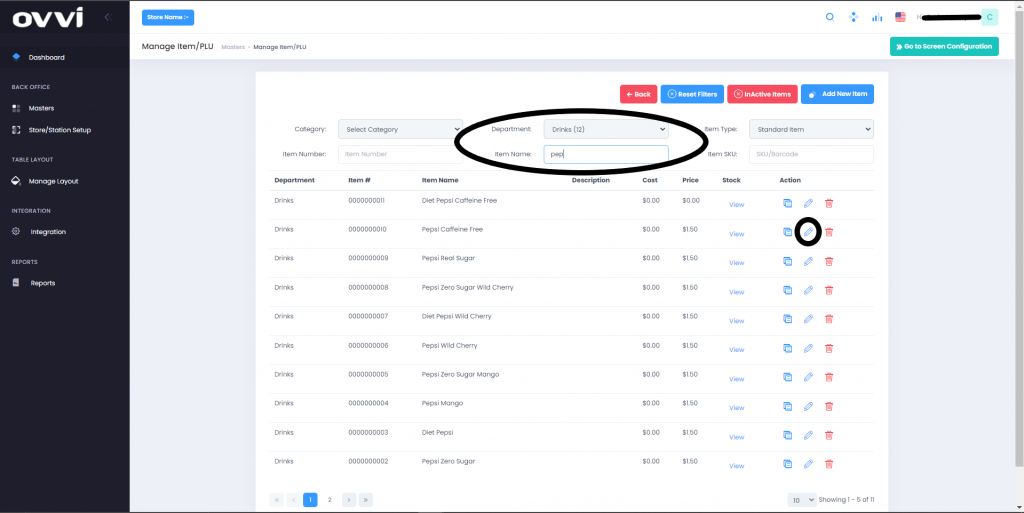
4. From the list of items given, filter out or search for the desired item.
5. Select the pencil icon next to the item on the right. This will bring you to a page where you can modify details of your item.
To add an existing modifier group to the item
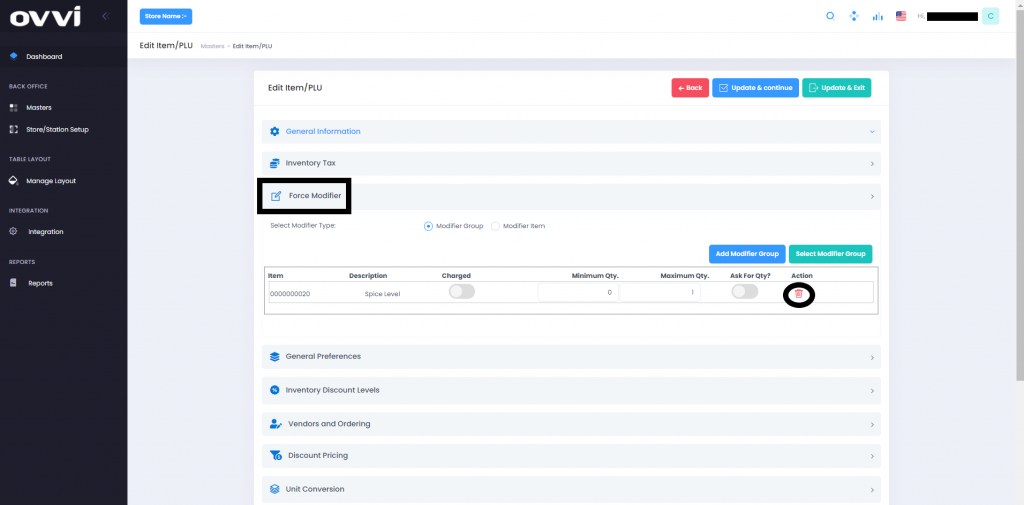
6. Scroll to the section “Force Modifier” and select “Select Modifier group” to select an existing one or “Add modifier group (Note)” to add a new modifier group.
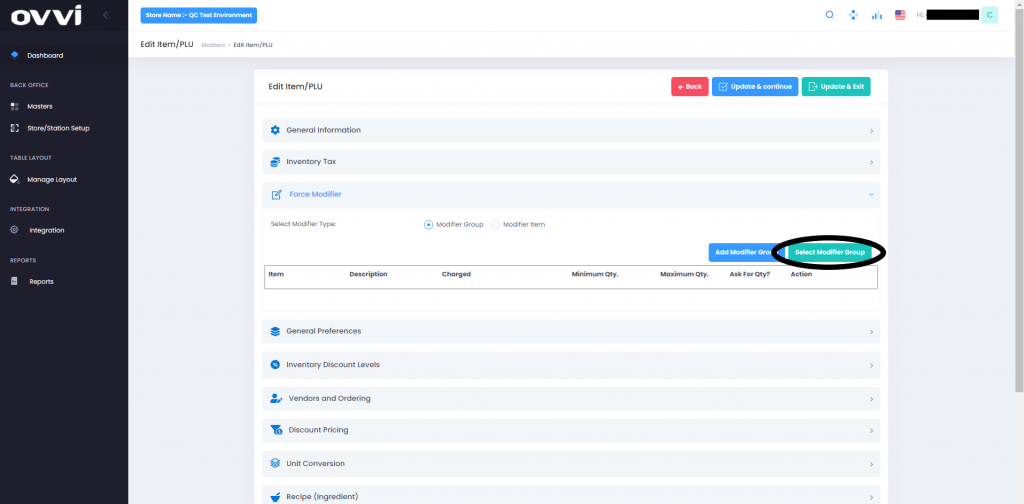
Note: To learn how to add a new modifier group click here
https://support.ovvihq.com/articles/adding-a-modifier-group-and-attached-modifier-item/
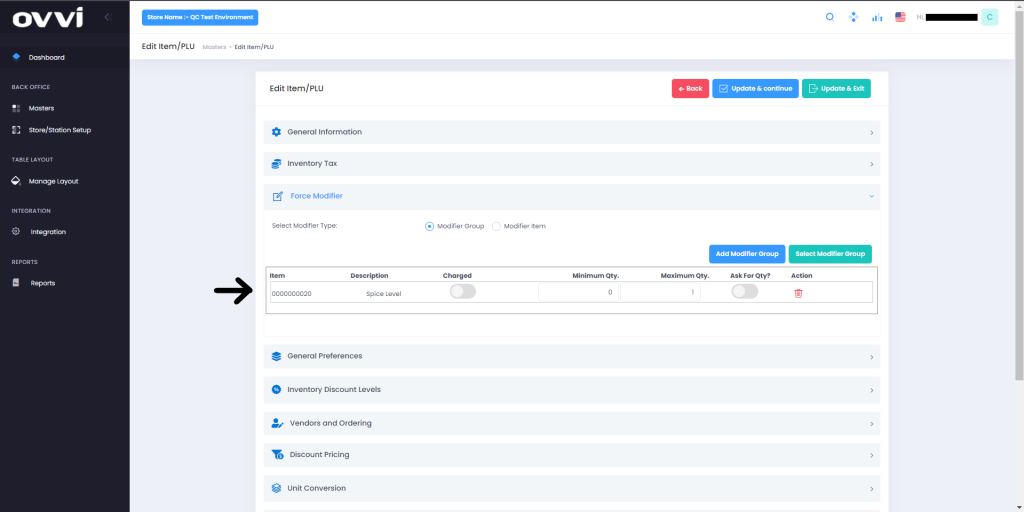
7. Choose the desired modifier group from the options. You can also set up minimum and maximum number of modifier items that need to be chosen at the time of ordering. Once you set them and click “add”.

8. Now you can see the attached modifier group to the item. You can edit details such as
- Minimum and maximum number of modifier items shown while ordering.
- Custom quantity of modifier items to be prompted while ordering
- Whether the modifier items are charged or not
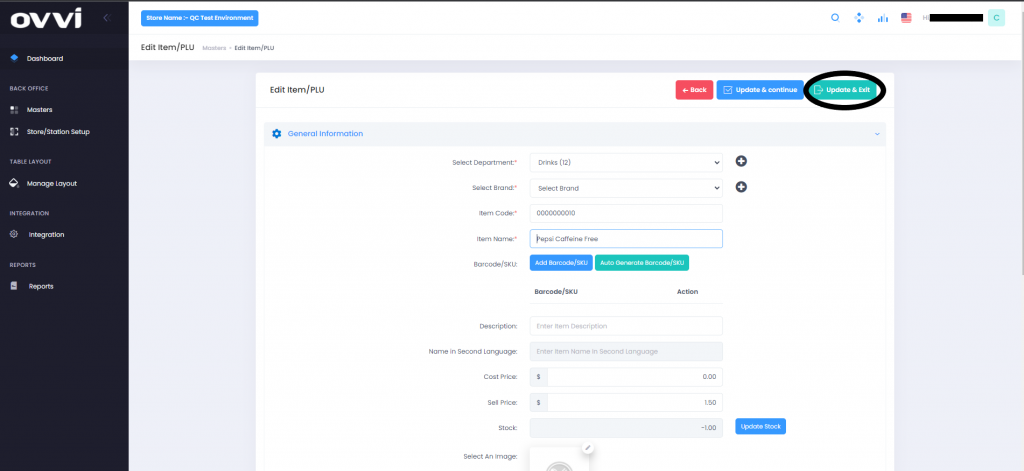
9. Click on “Update and exit” on the top right to save your changes or click on “Update and continue” to continue editing the item.
To remove an existing modifier group from the item
6. Scroll to the section “Force Modifier” and review the modifier groups.
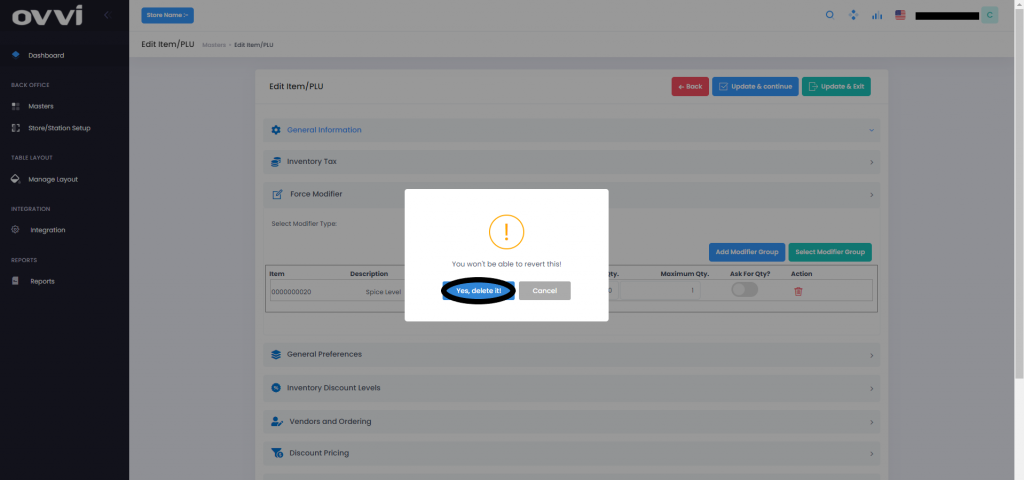
7. Click on the trash bin icon next to the modifier group you would like to delete. This will prompt for confirmation. Click on “Yes” and your modifier group will be removed from this item.
8. Click on “Update and exit” on the top right to save your changes or click on “Update and continue” to continue editing the item.
ATTACHING OR REMOVING MODIFIER GROUPS ON FOH
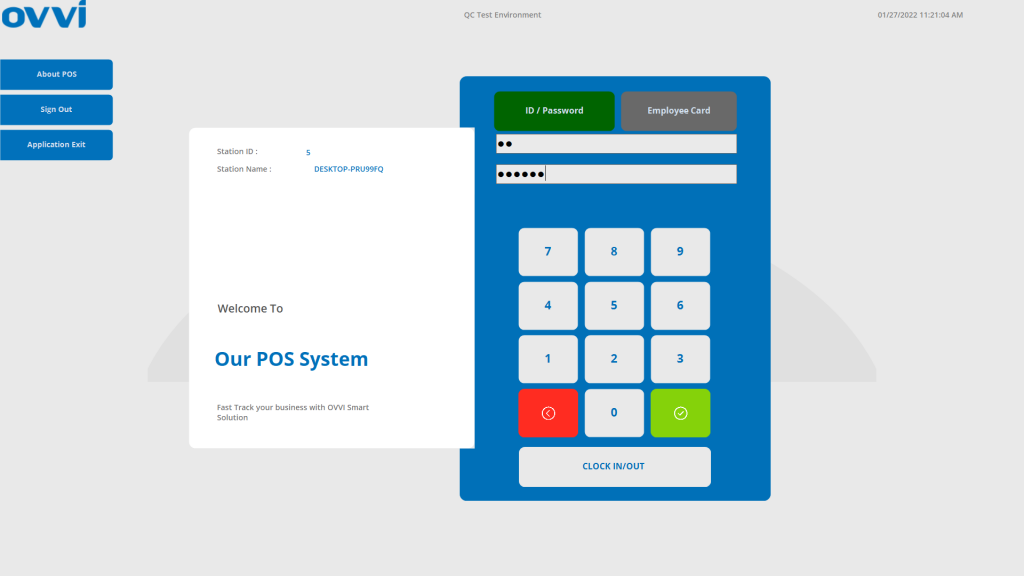
1.Login to your OVVI application on the POS.
2. If you have your table diagram enabled- Select “Quick order” option on the right. This will bring you to the order screen.

3. If you do not have the table diagram enabled, go to the order screen. Select “Operation” on the bottom right of the order screen.

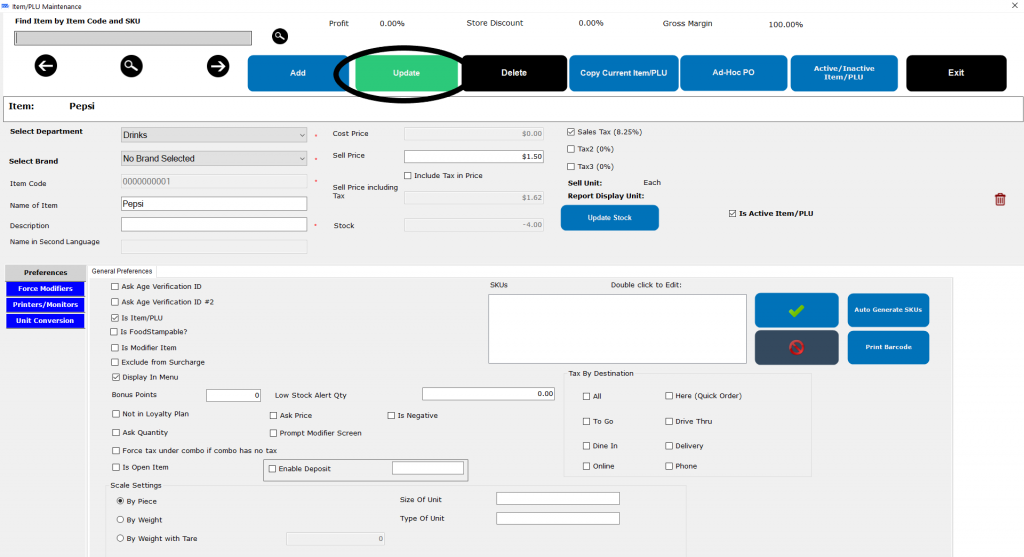
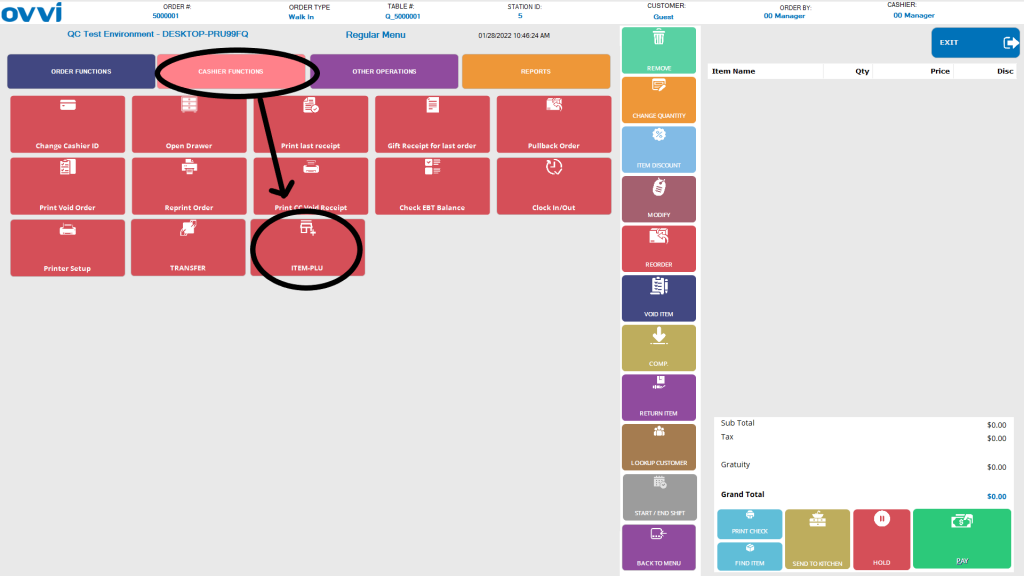
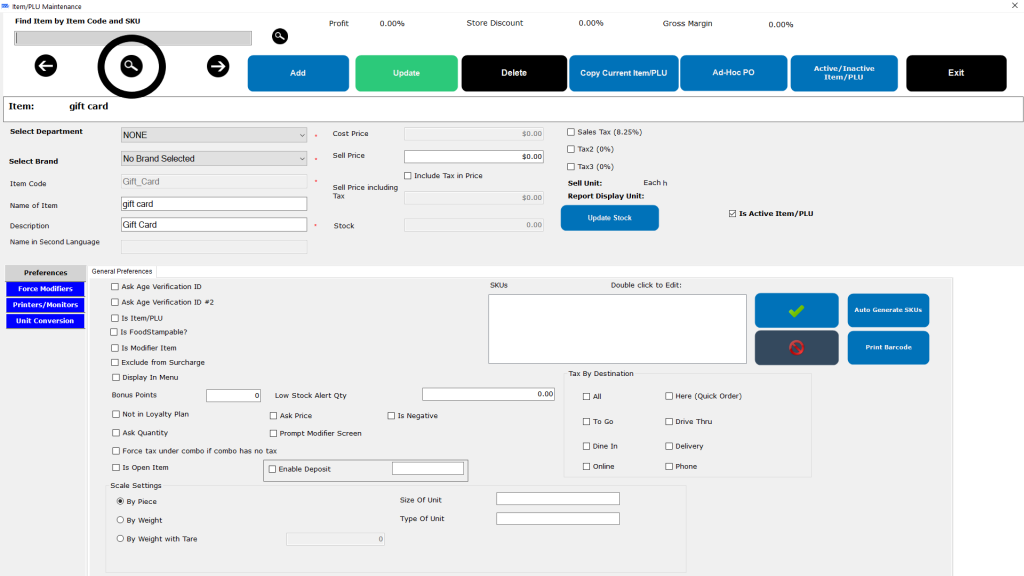
4. Go to the “Cashier functions tab and select “Item-PLU”. This will open up a default item.
5. Select the “Search button/Magnifying glass icon” on the top right. This will bring you to the list of items.
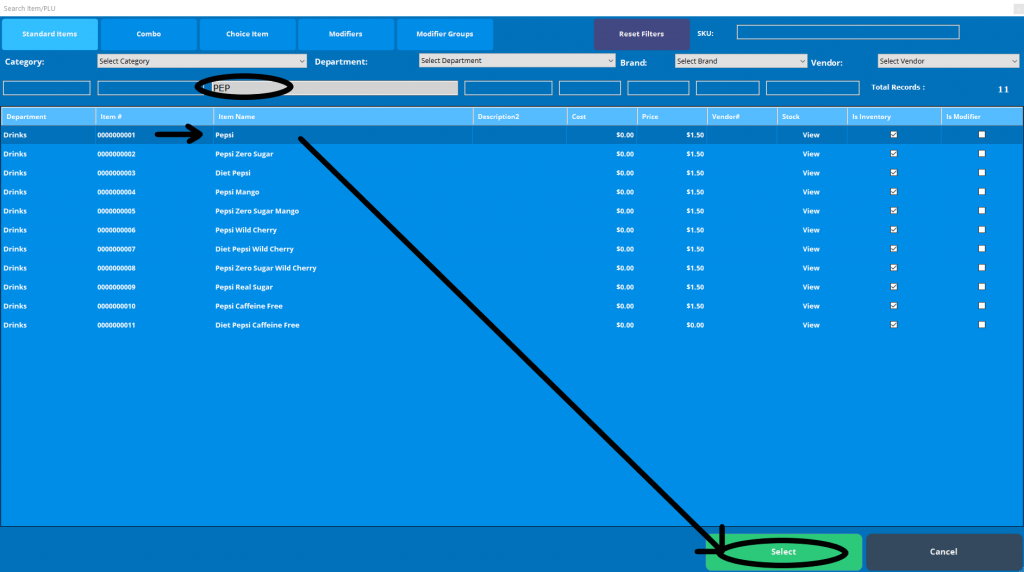
6. Search for the desired item to be modified. You can do this by filtering the “Department” or entering the “Item name”. Then select the item.
To add an existing modifier group to the item
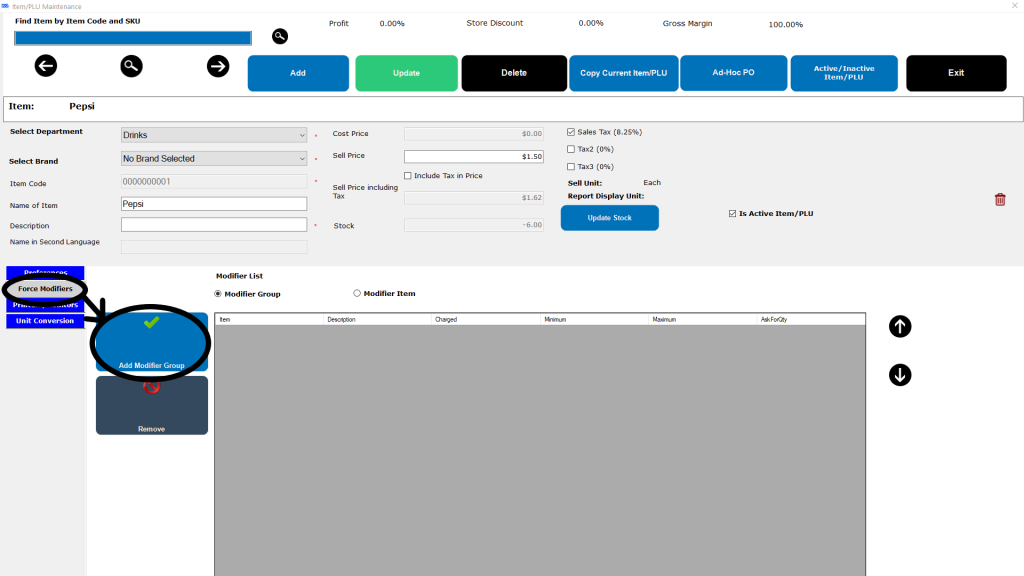
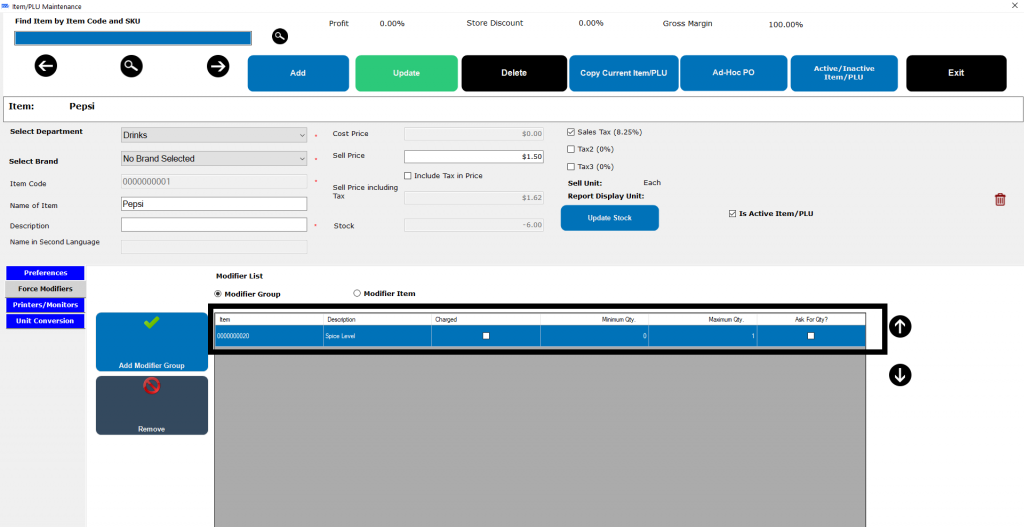
7. Go to the tab that says “Force modifiers” and select “Add modifier group”
Note: To learn how to add a new modifier group click here
https://support.ovvihq.com/articles/adding-a-modifier-group-and-attached-modifier-item/
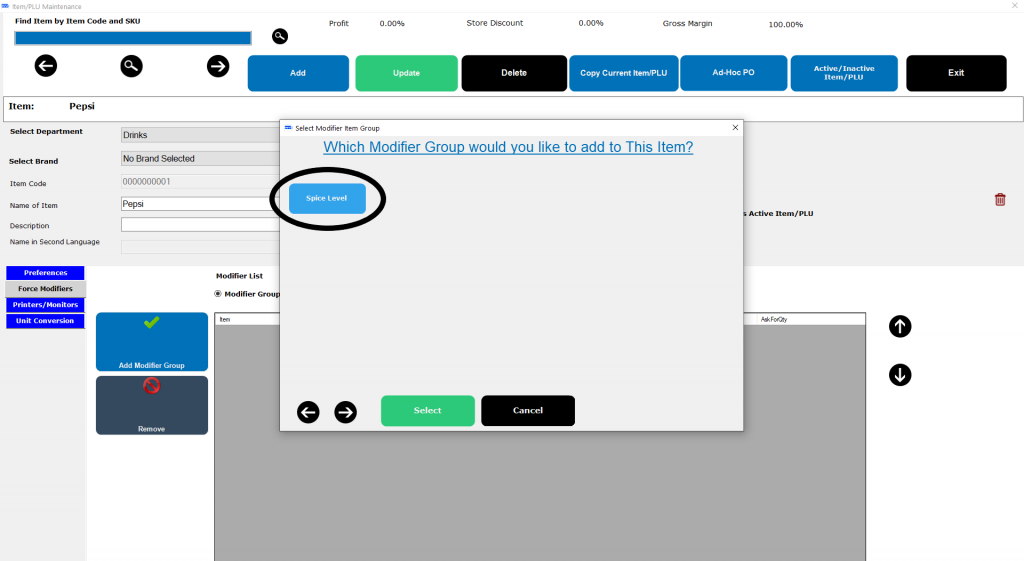
8. Select the desired modifier group on the pop-up. When you select the group, you can edit details such as
- Minimum and maximum number of modifier items shown while ordering.
- Custom quantity of modifier items to be prompted while ordering
- Whether the modifier items are charged or not
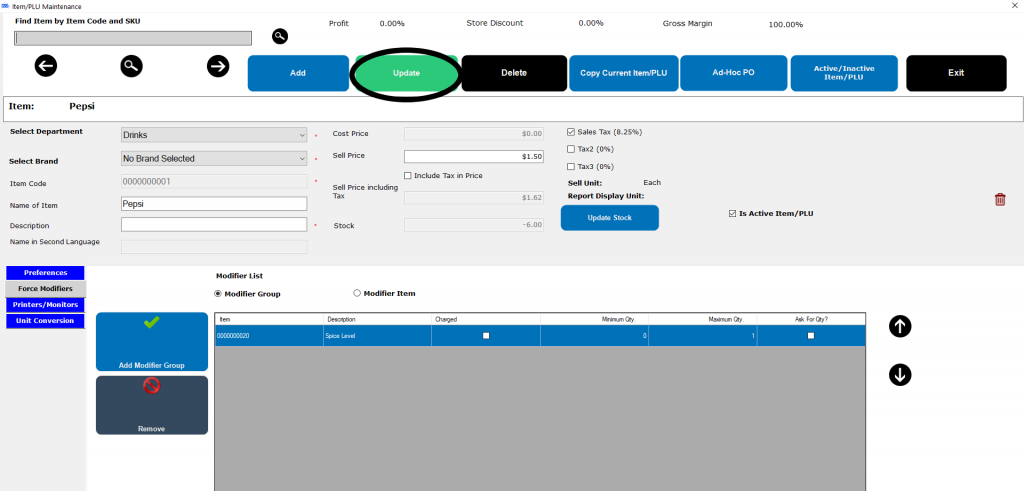
9. Click on “Update” on the top to save your changes. You should see a message saying “Record updated successfully”.
To remove an existing modifier group from the item
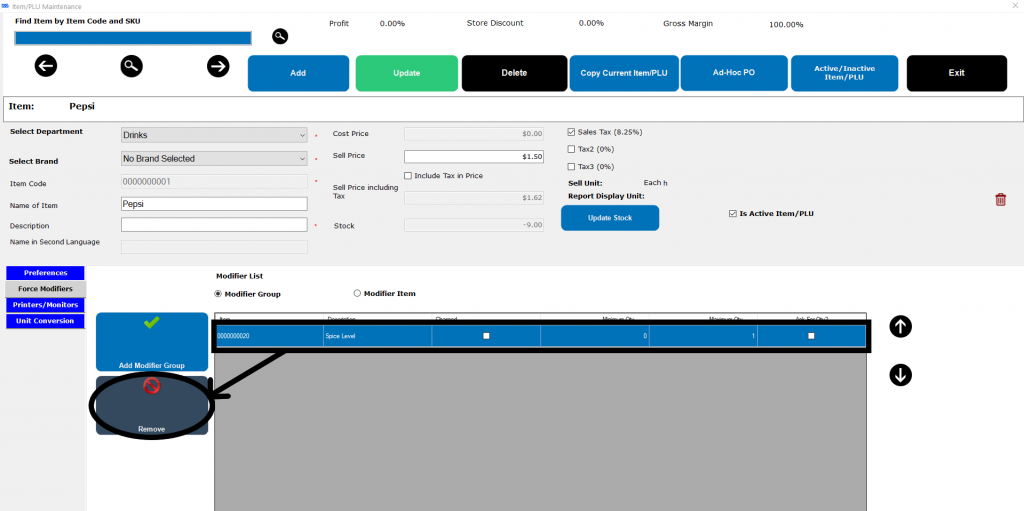
7. Scroll to the section “Force Modifier” and review the modifier groups.
8. Select the desired modifier group and Click “Remove”. This will remove the modifier group from the item.
9. Click on “Update” on the top to save your changes. You should see a message saying “Record updated successfully”.