How to Create a Department.
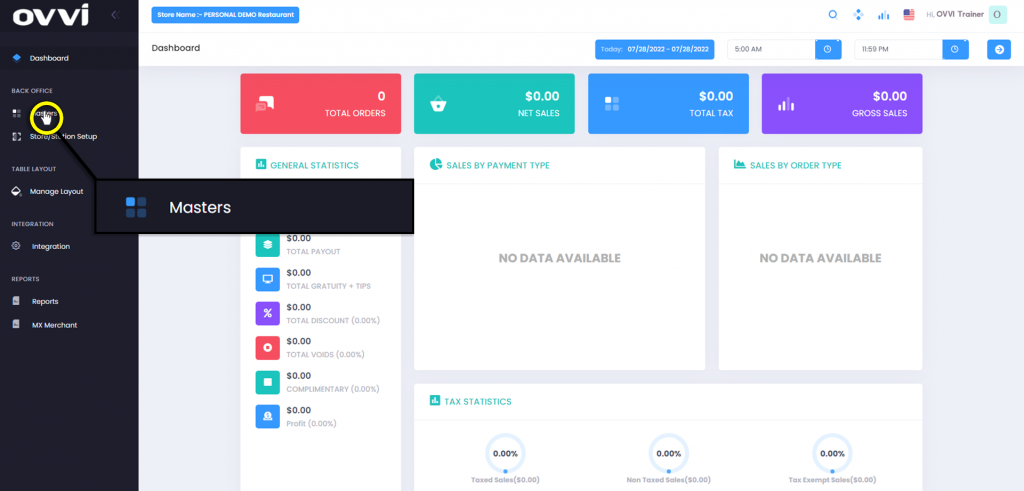
2. From the main dashboard, navigate to the panel located on the left side of the site and click on the option ‘Masters’.
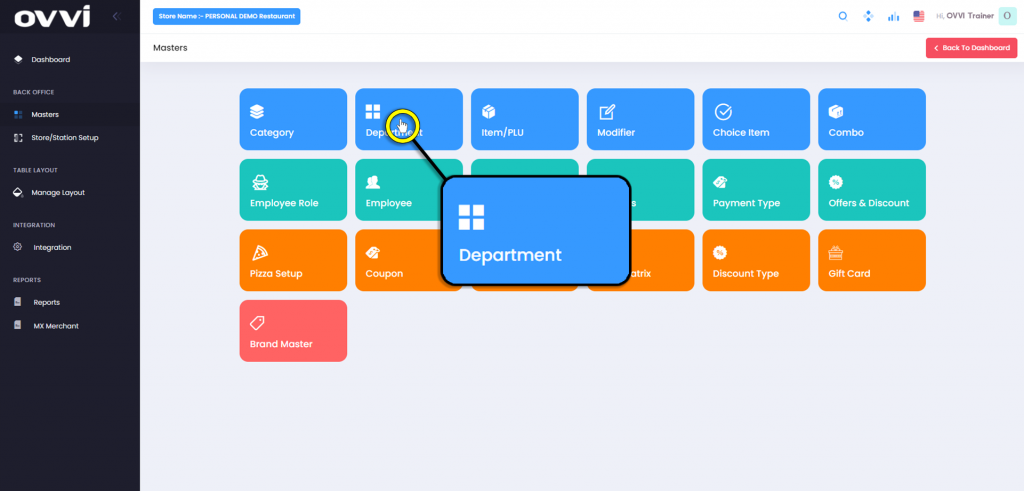
3. From the ‘Masters’ page, locate and click on the ‘Department’ button.
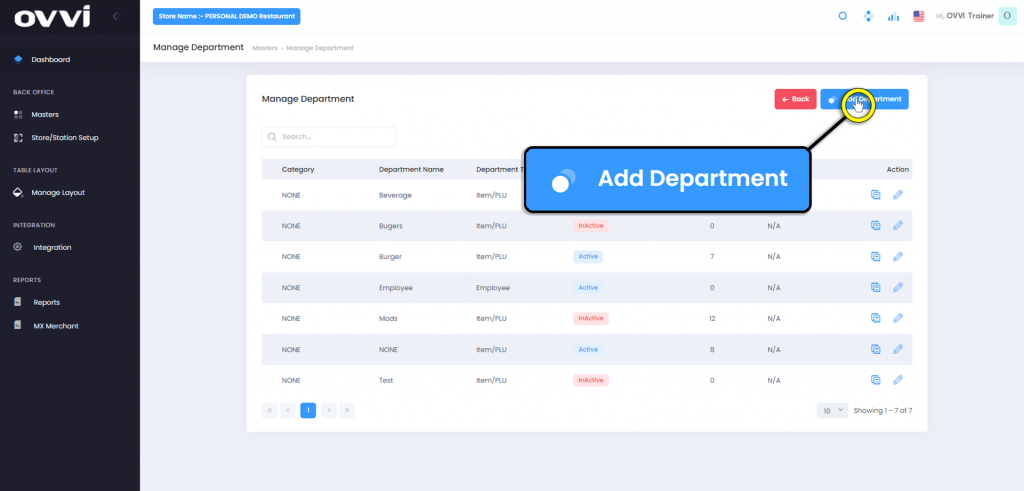
4. From the ‘Manage Department’ page click on the ‘Add Department’ button.
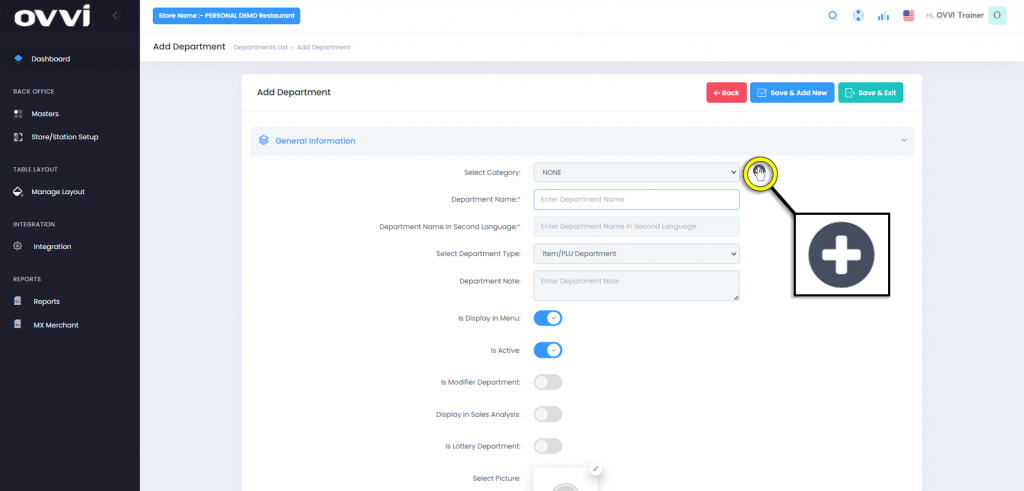
5. Under the General Information section of the ‘Add Department’ page, click on the drop down for ‘Select Category’ if user has a category to link to the department.
6. If a user wants to create a category they can click on the ‘Plus Icon’.
Please Note: the category section does not appear on the Front of Office site and it primary used for reporting purposes only.
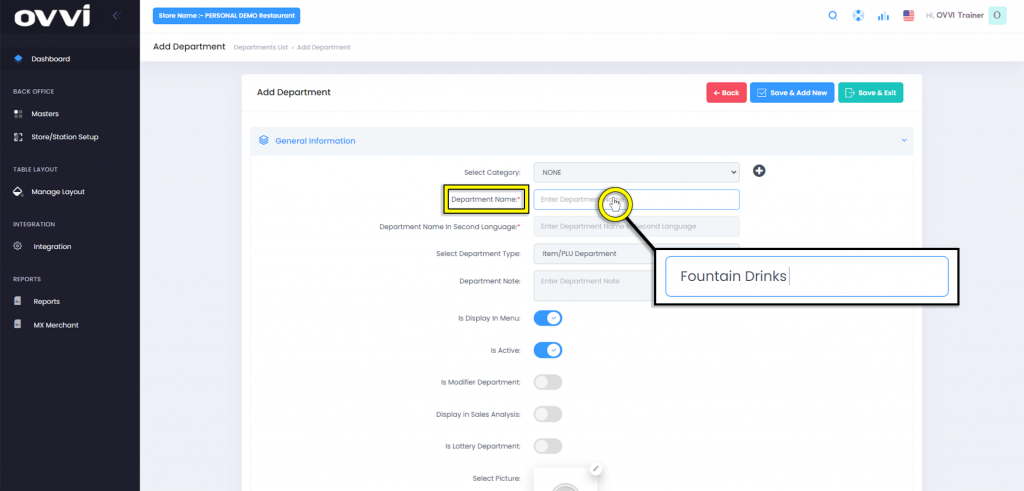
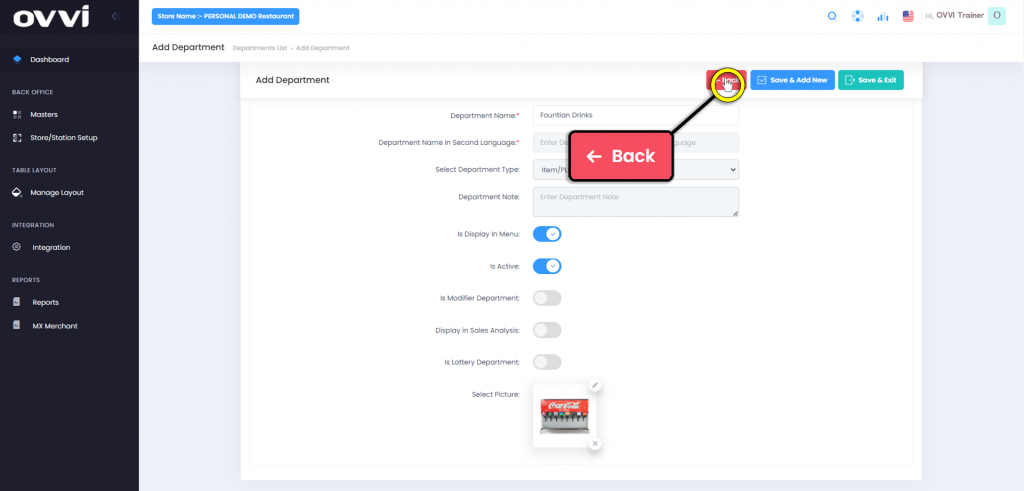
7. Click in the text box labeled ‘Department Name’ and input the name of your department.
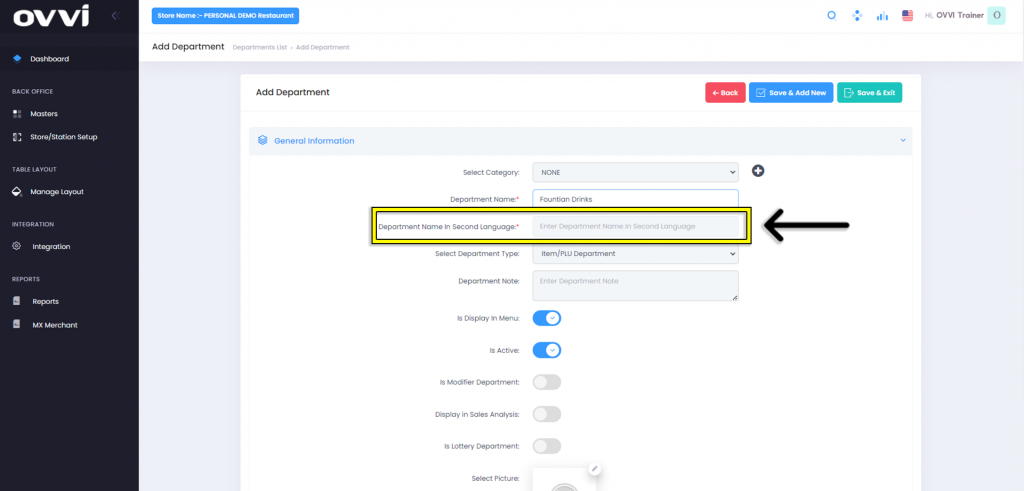
8. User can have the option to have a second langue to appear for the department, but it must be first setup in Store Setup page before otherwise it will remain greyed out.
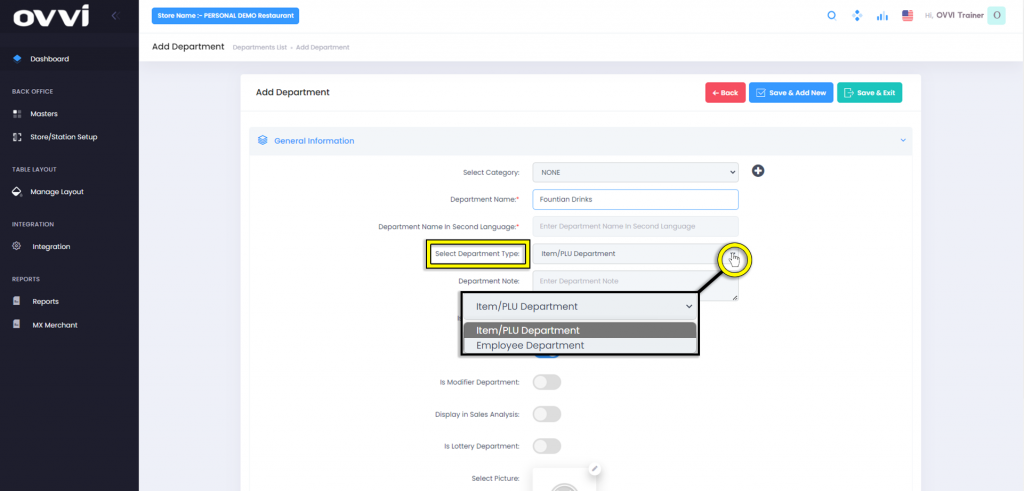
9. Click the drop down for the section labeled ‘Select Department Type’ to choose between the department type of Item/PLU or Employee.
Please Note: By default, the Item/PLU type will already be selected.
10. The section named ‘Department Note’ will allow users to have a description for the department but is not required.
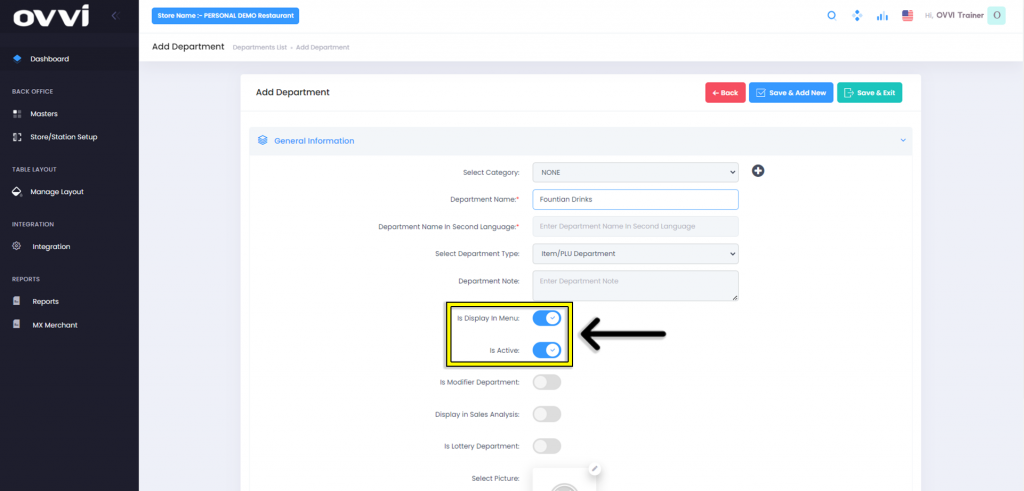
11. Verify that both the ‘Is Display in Menu’ and ‘Is Active’ are in the ON position to guarantee that they show on the POS stations.
Please Note: User can have active departments not display in the menu by toggling the ‘Is Display in Menu’ to the OFF position.
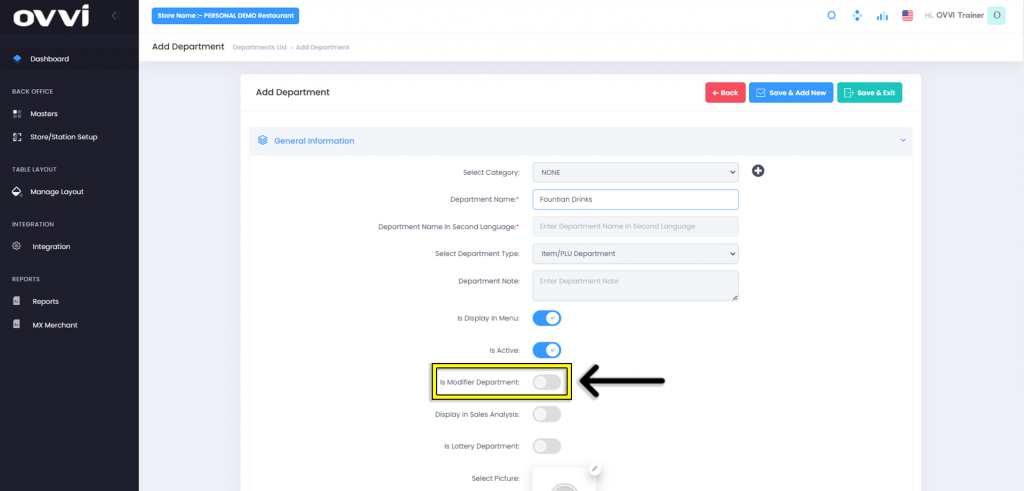
12. If the department is for modifiers, then users can toggle the ‘Is Modifier Department’ to ON.
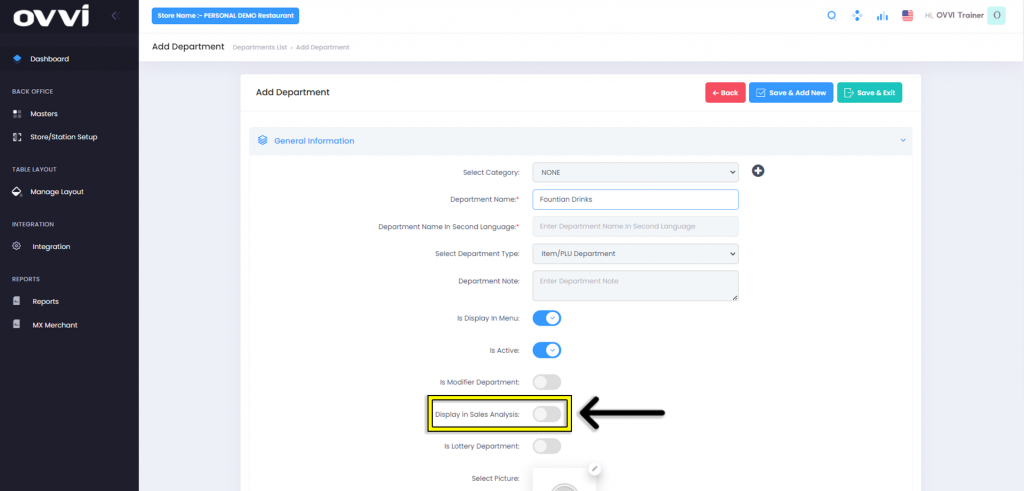
13. User also have the option to get sales analytics for the department by turning the ‘Display in Sales Analysis’ to ON.
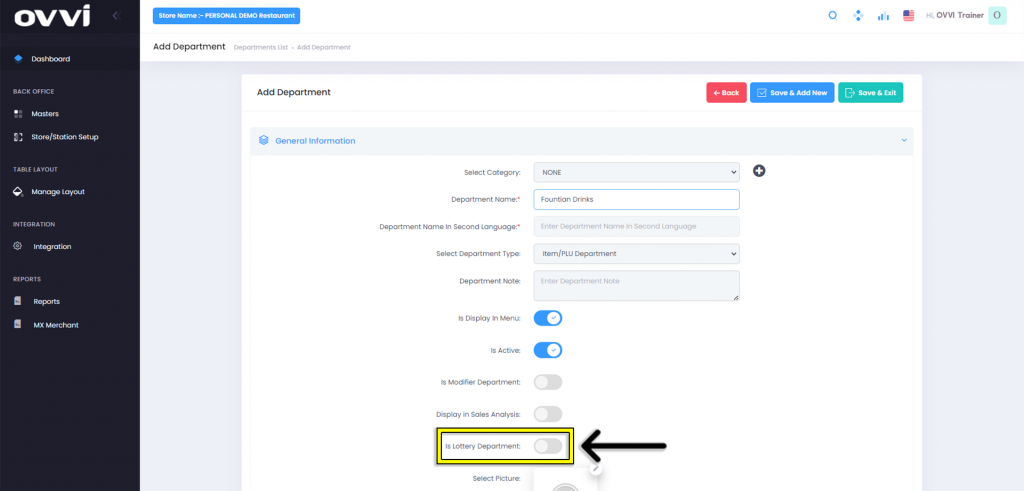
14. The department can be defined as a lottery department for merchants that require it by toggling the ‘Is Lottery Department’ to ON.
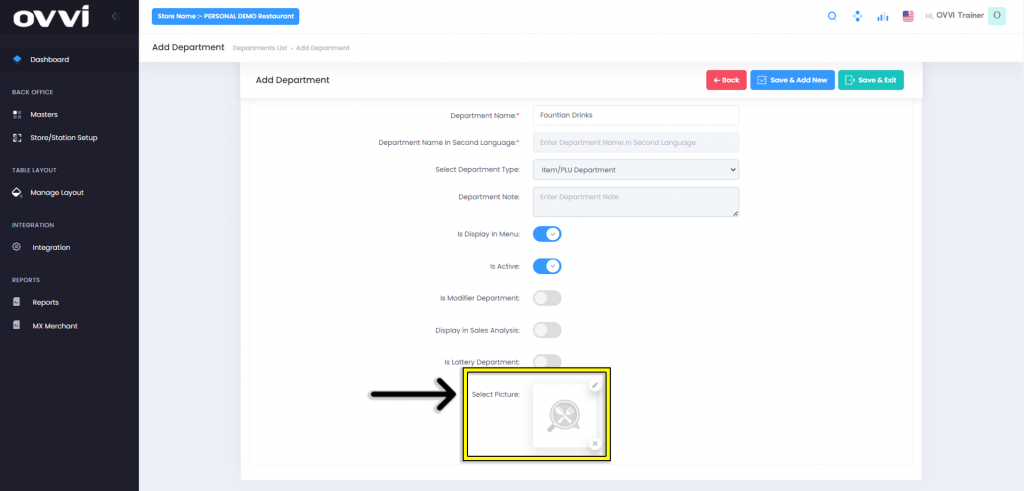
15. Users also have the option to add images to the Department button for the for the menu.
16. To add an image, click on the ‘Pencil Icon’.
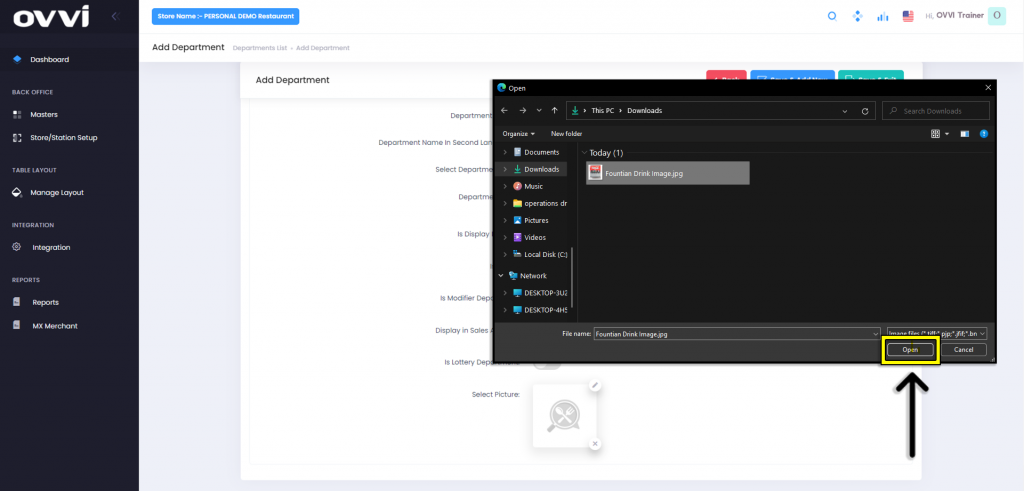
17. Select an image from the computers drive and click ‘Open’.
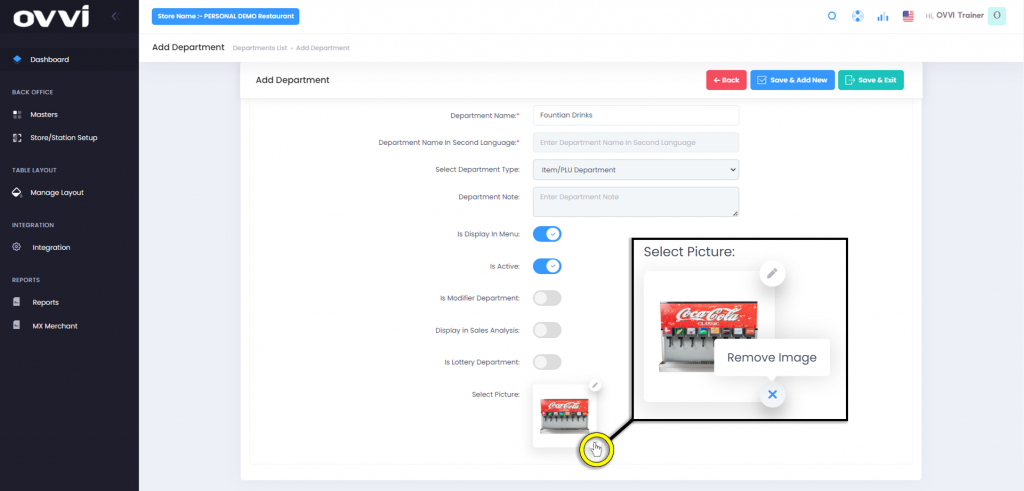
18. To Remove the image, click on the ‘X’.
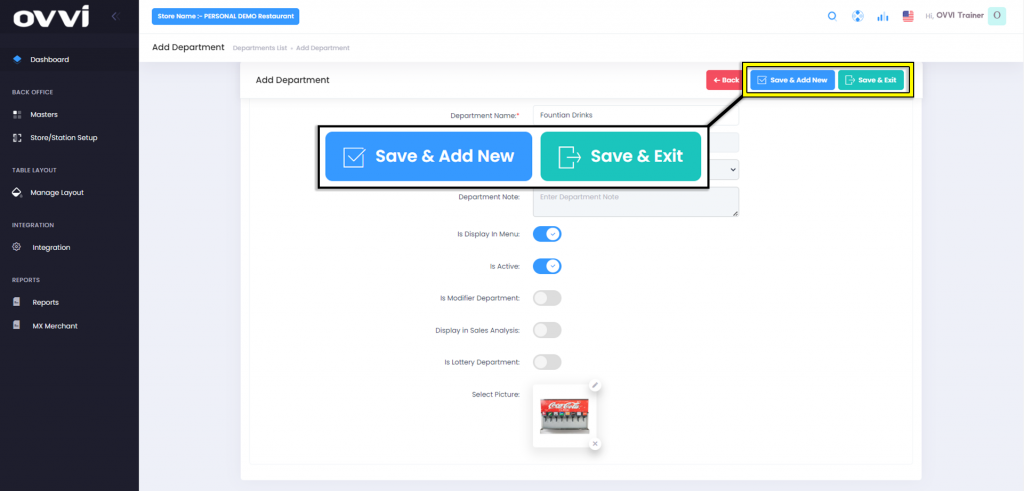
19. click the ‘Save & Exit’ to go back ‘Manage Department’ Page or the ‘Save & Add New’ button to continue creating additional departments.
20. Click on the ‘Back’ Button to return to the ‘Manage Department’ page without saving any changes.
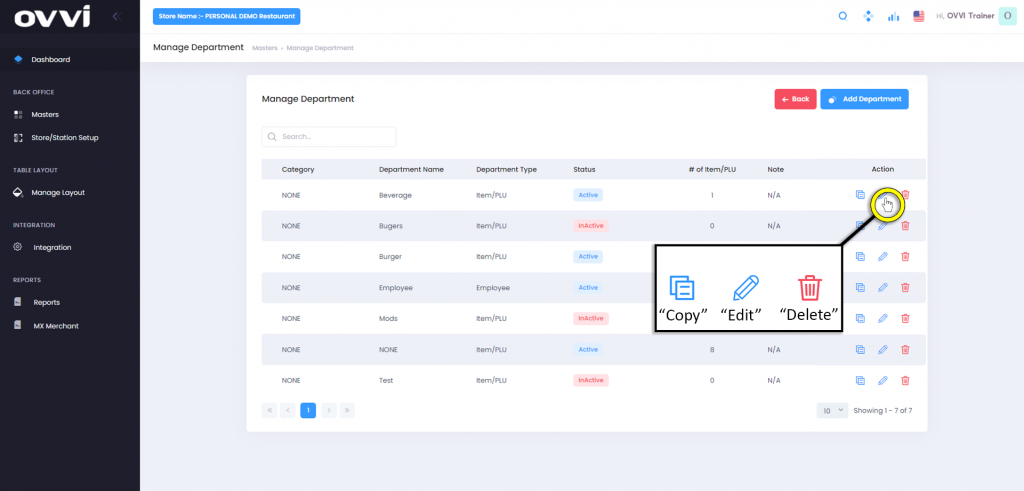
21. Back in the ‘Manage Department’ page the options to edit, delete, or duplicate departments by clicking on either the ‘Pencil’, ‘Trash Can’, or ‘Copy’ action buttons.
22. Click on the ‘Back’ button to return to the ‘Masters’ Page when done creating and editing department types.