- Station Setup
How to Rearrange Menu Items:
1. Go to cloud.ovvihq.com and Login using your merchant username and password.
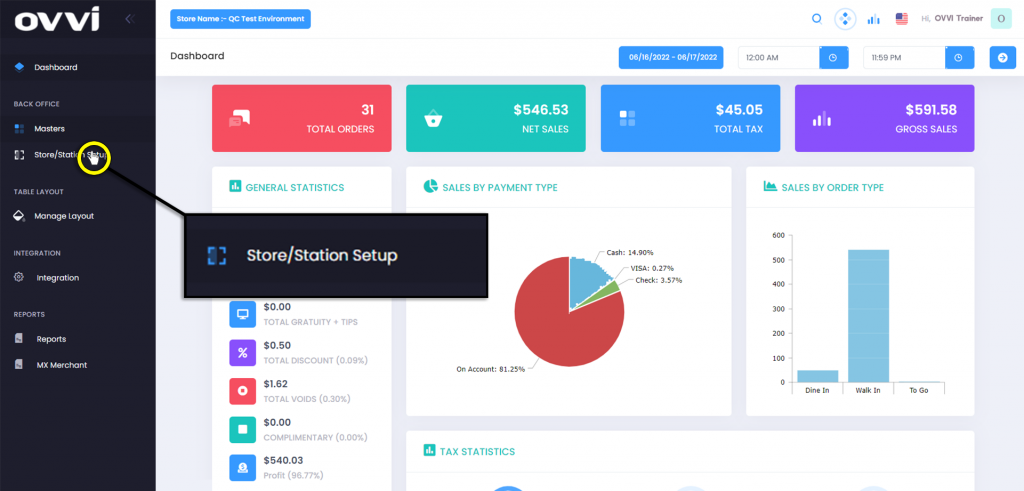
2. From the main dashboard navigate to the panel located on the left side of the site and click on the options ‘Store/Station Setup’.
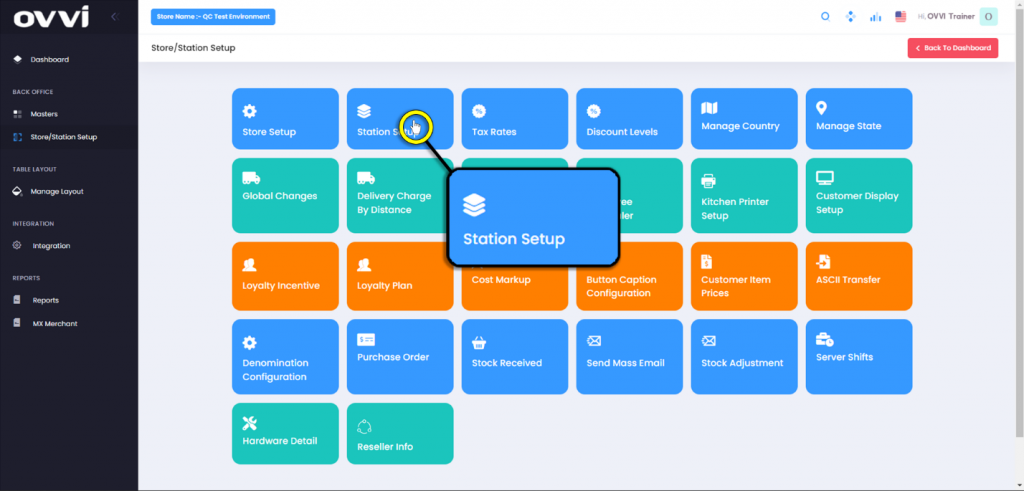
3. In the ‘Store/Station Setup’ Page locate and click on the tile labeled ‘Station Setup’.
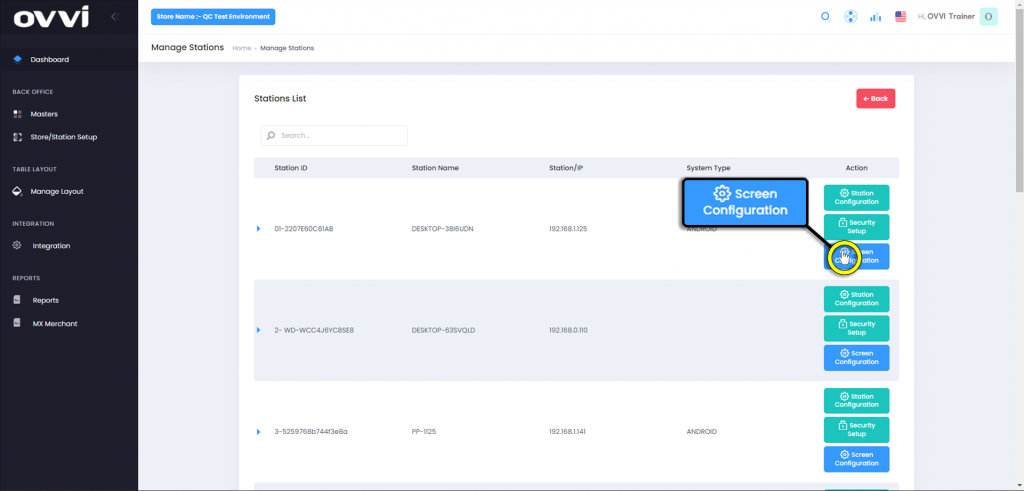
4. This will load the ‘Stations List’ page and click on the button titled ‘Screen Configuration’ locate to the right of the station you wish to add your dynamic button for.
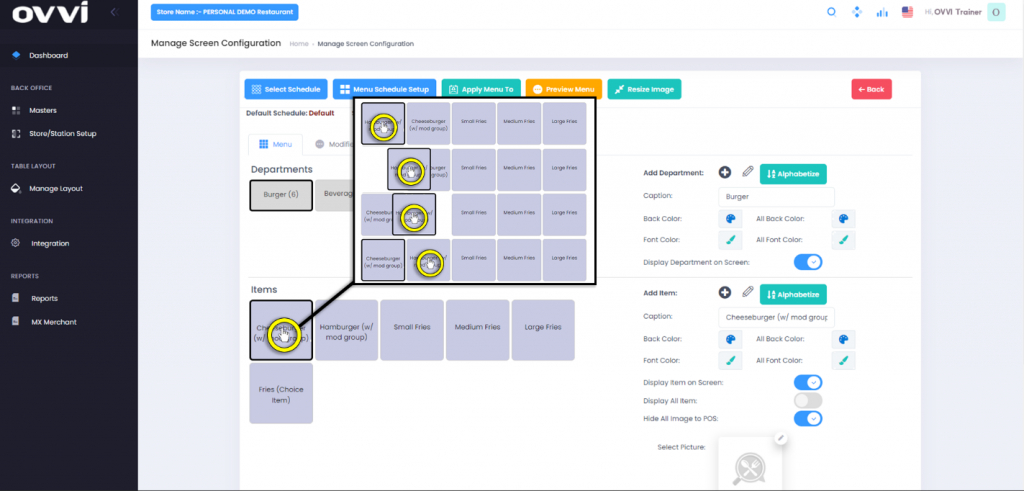
5. In the ‘Manage Screen Configuration’ page, click on the desired department to rearrange the items.

6. Click and drag the item to the desired position.
Please Note: The same process can be applied to the departments themselves.
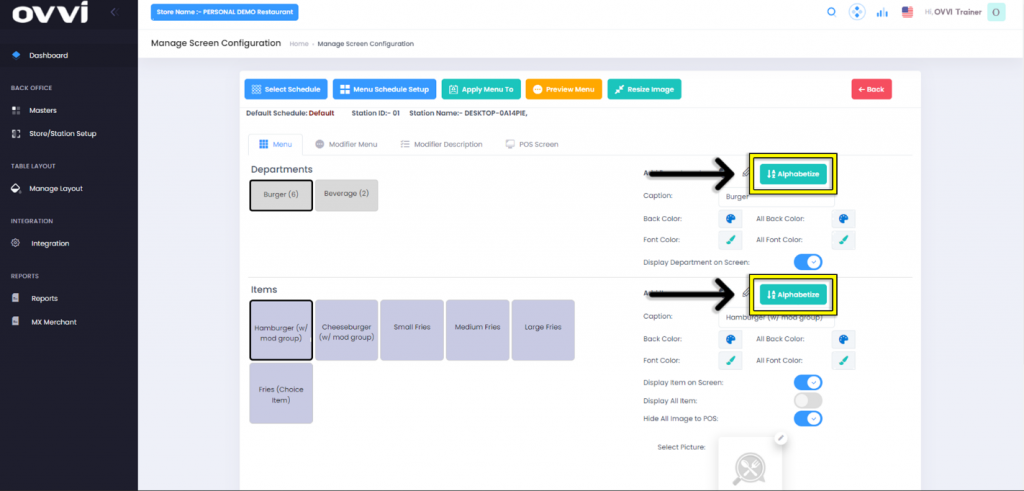
7. Alternatively a user can also click the ‘Alphabetize’ buttons to put the Departments and/or Items in alphabetical order.
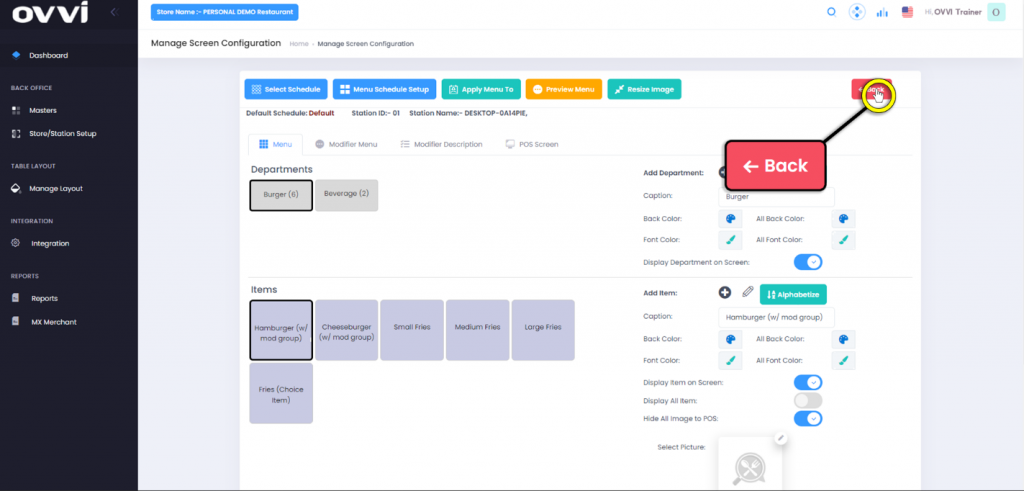
8. When done rearranging the items, click the ‘Back’ button to return to the ‘Stations List’.
Please Note: Changes are NOT global and must be applied per Station.
9. This Concludes the guide on How to Rearrange Menu Items.
Was this article helpful?
YesNo
Related Articles: