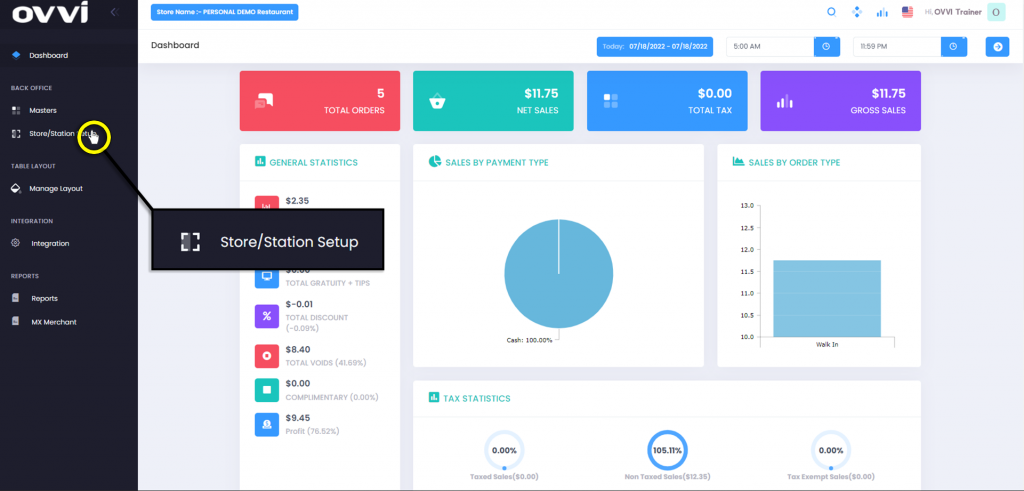
2. From the main dashboard navigate to the panel located on the left side of the site and click on the options ‘Store/Station Setup’.
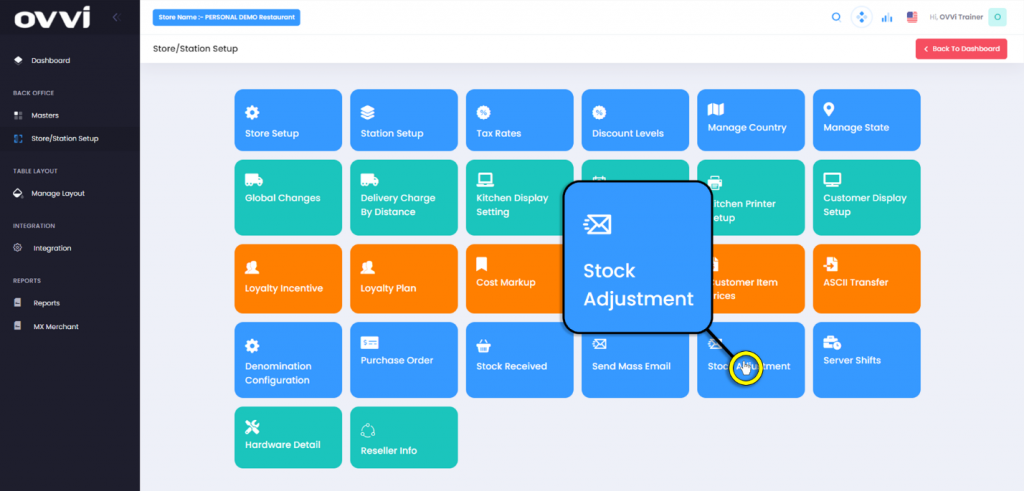
3. Click the ‘Stock Adjustment’ button.
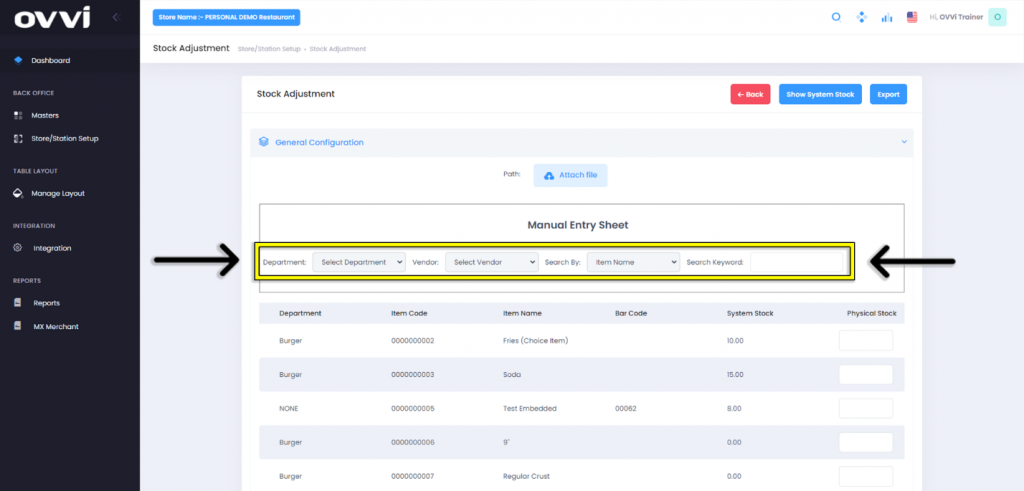
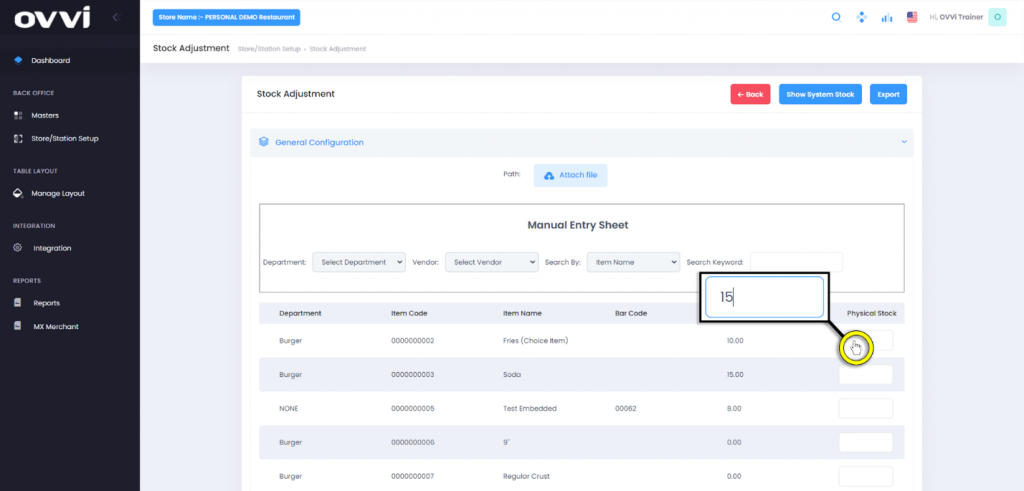
4. On the ‘Stock Adjustment’ page users will be able to change the amount of physical stock.
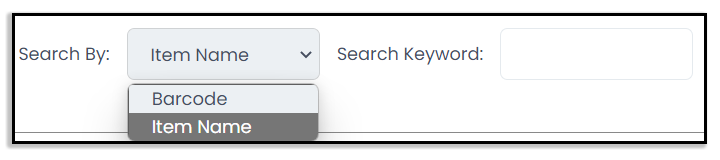
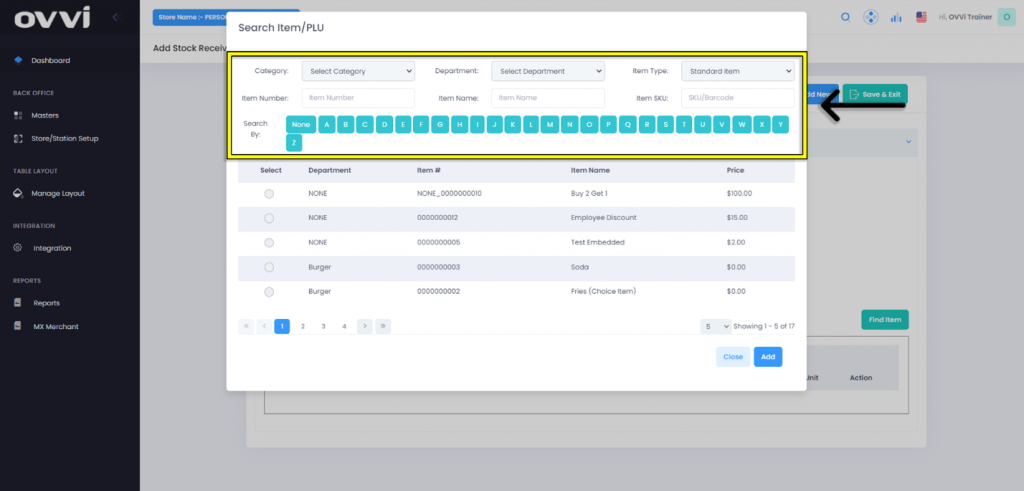
5. Users will be able to search for specific items by ‘Department’ and ‘Vendor’ as well as ‘Search By’ and ‘Search Keyword’.
6. Users can click in a text box under the ‘Physical Stock’ column for any of the items that a user needs to update stock for.
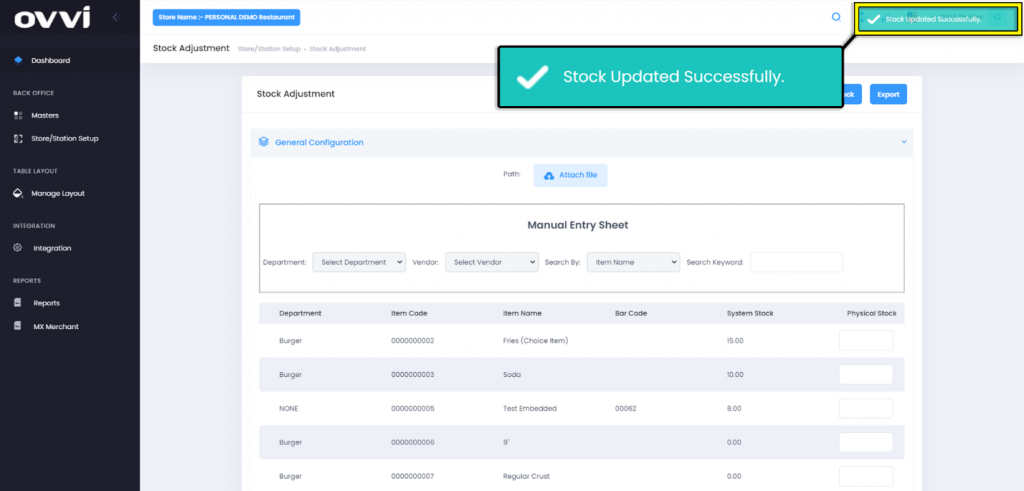
7. Once the data updates, a ‘Stock Updated Successfully’ message in the upper right corner of the page will appear.
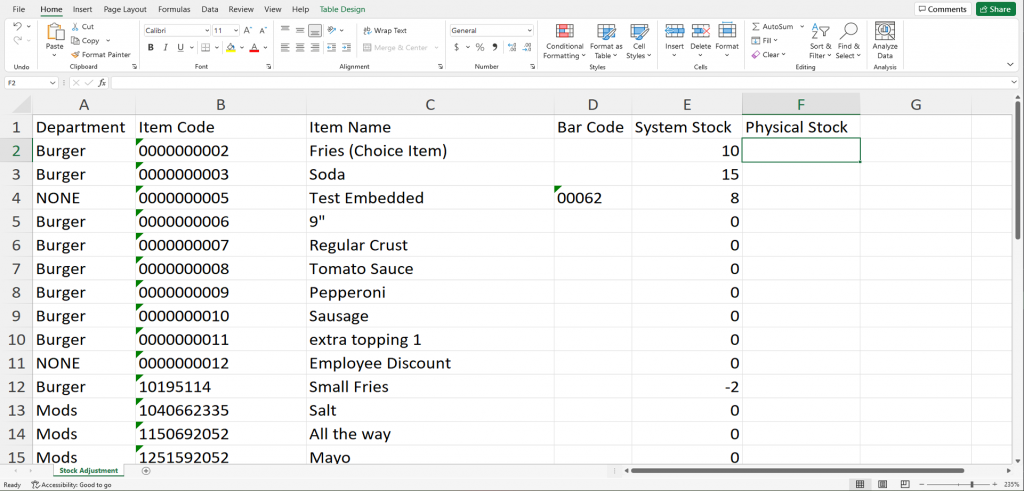
8. Alternatively, users can upload a spreadsheet with stock information by clicking on the ‘Attach file’ button and selecting the Excel document from the computer.
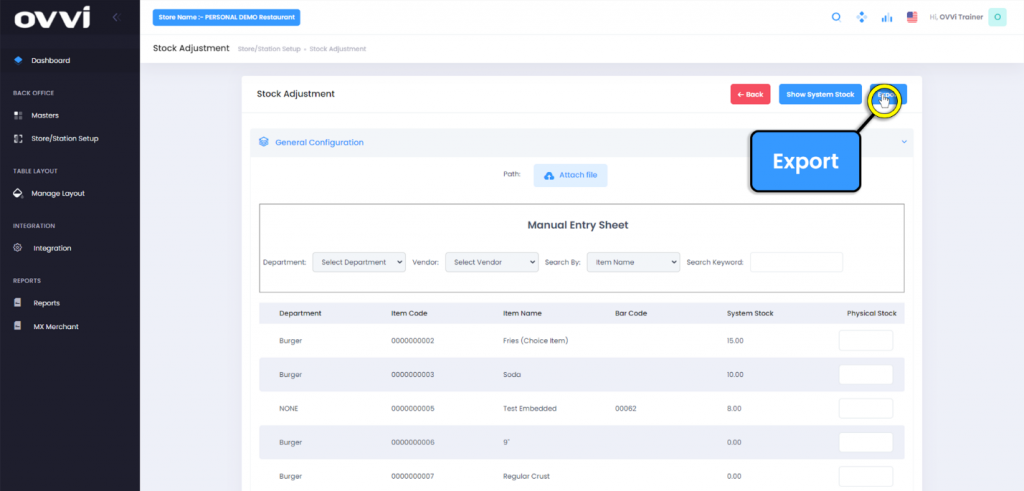
9. To export the entry sheet, click the ‘Export’ button to download a spreadsheet of the current system stock.
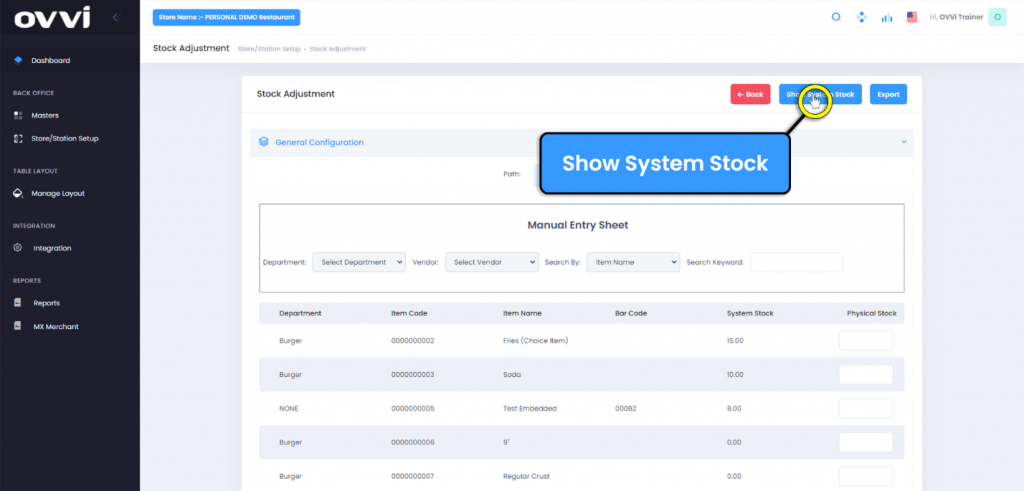
10. Clicking the ‘Show System Stock’ button will refresh the page to show any recent changes to stock.
11. When done adjusting stock, click the ‘Back’ button to return to the ‘Store/Station Setup’ page.
12. This completes the Guide to Stock Adjustment.