- Choice Item
- Masters
How to delete a Choice Item
DELETING CHOICE ITEMS ON THE CLOUD BACK OFFICE
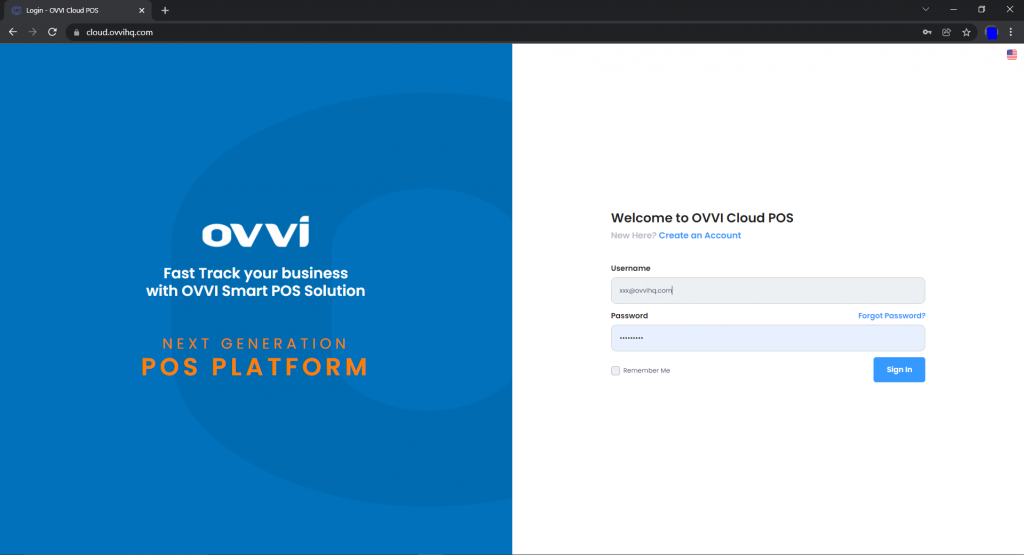
1.Login to your OVVI Cloud account online.
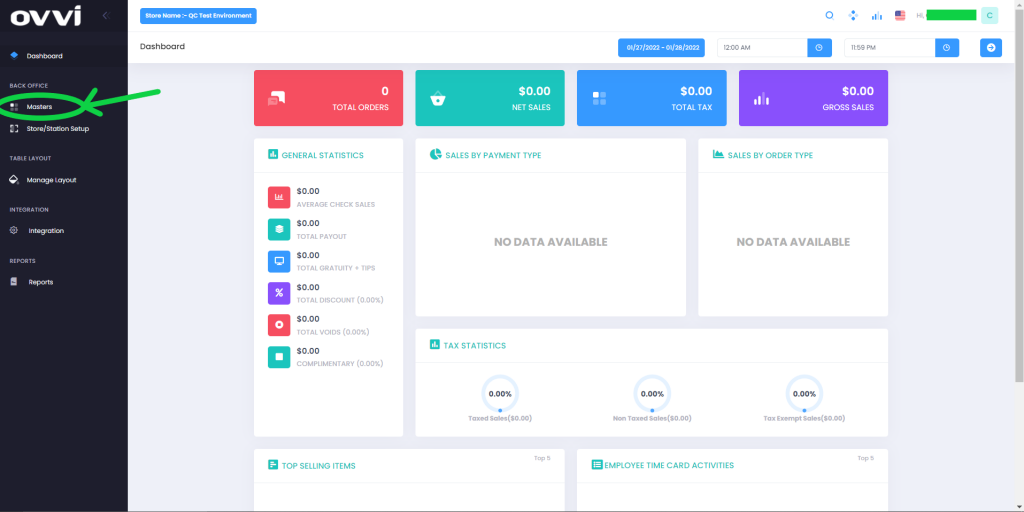
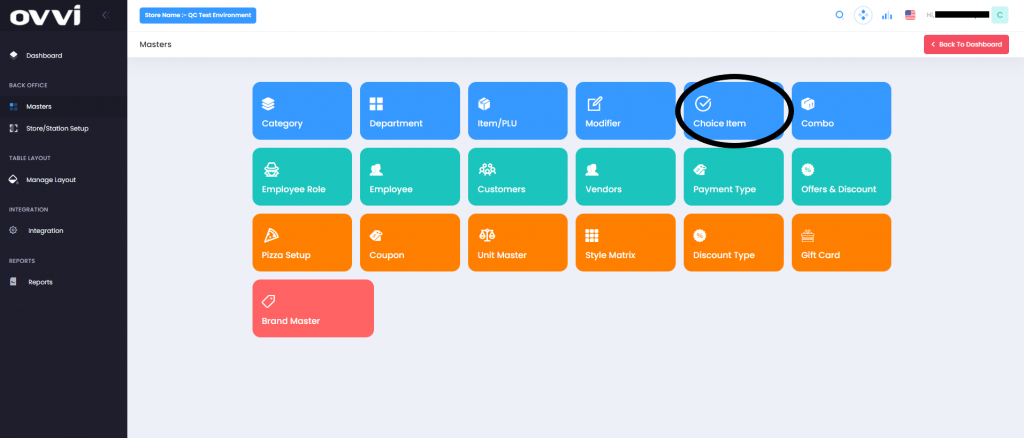
2. Select “Masters” option under “Back Office” on the left hand pane.
3. Choose the “Choice item” button.
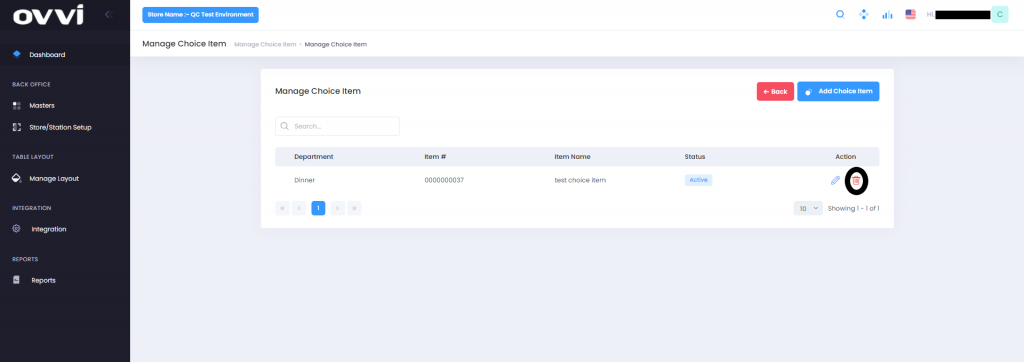
4. Search for the desired Choice item to be deleted. You can do this by filtering the “Department” or entering the “Item name”.
5. Click on the little trash bin icon next to your selected choice item. This will prompt you if you want to delete the choice item permanently. Select Yes and your choice item will be deleted.
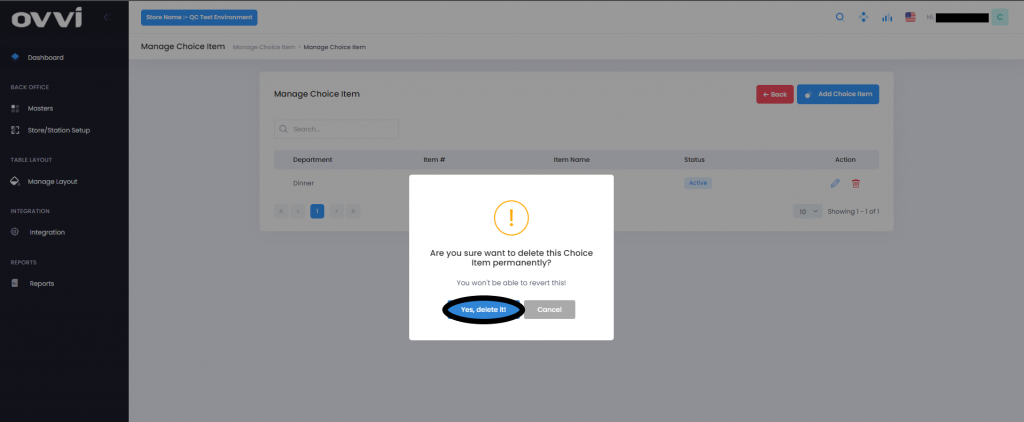
Note: Sometimes, you will not be able to delete Choice items. This is because there are standard or combo items attached to it. Detach these attached items from the choice item and proceed to delete the choice item successfully.
DELETING CHOICE ITEMS FOH
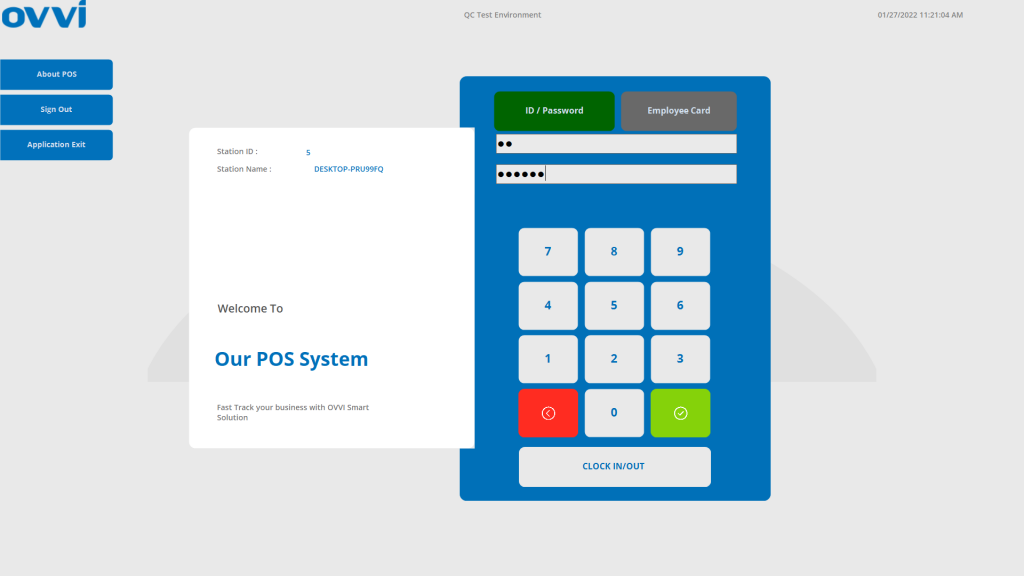
1.Login to your OVVI application on the POS.
2. If you have your table diagram enabled- Select “Quick order” option on the right. This will bring you to the order screen.

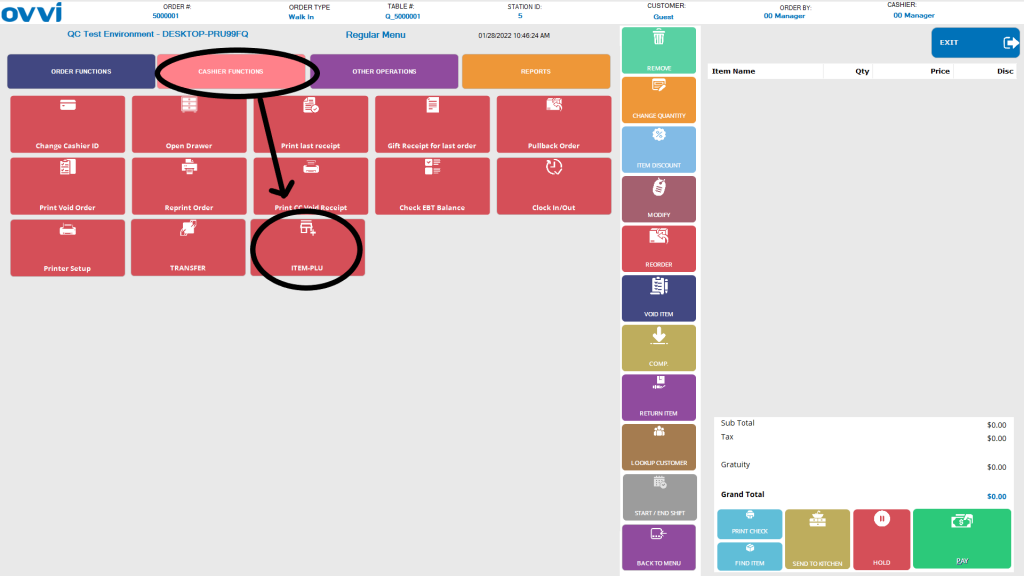
3. If you do not have the table diagram enabled, go to the order screen. Select “Operation” on the bottom right of the order screen.

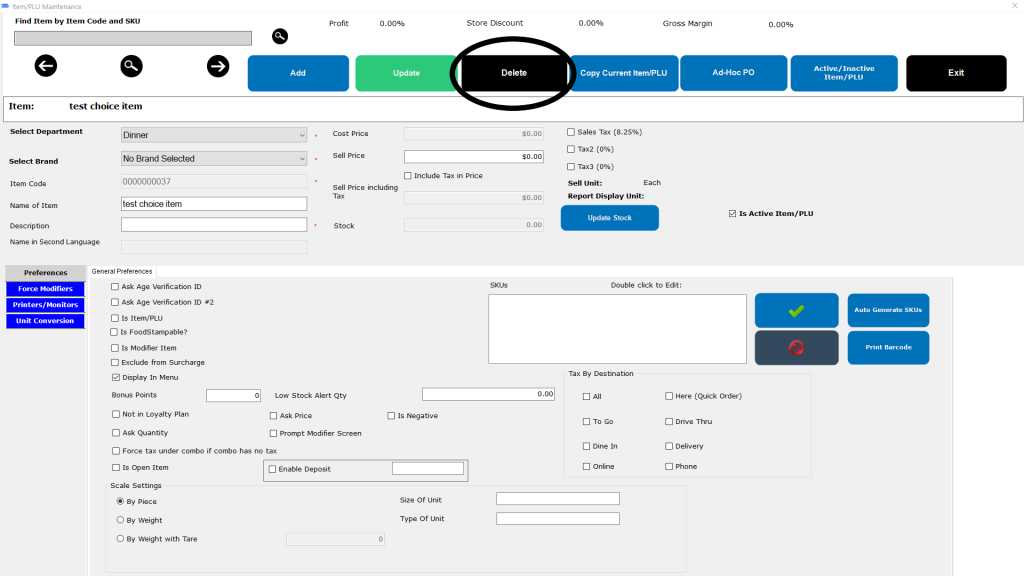
4. Go to the “Cashier functions tab and select “Item-PLU”. This will open up a default item.
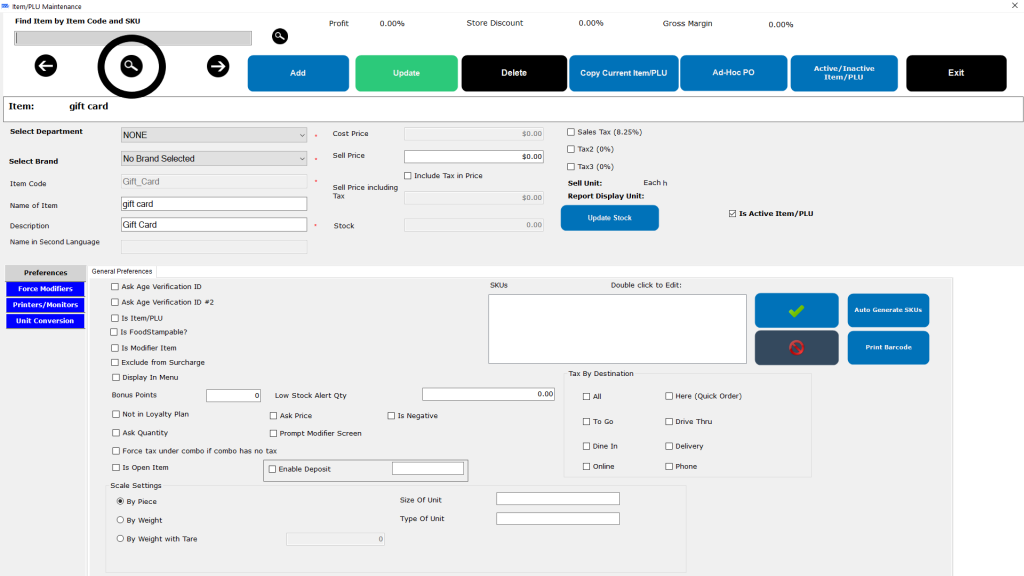
5. Select the “Search button/Magnifying glass icon” on the top right. This will bring you to the list of items.
6. Search for the desired item to be deleted. Choose the Type of item on top as “Choice item”. Then you can add additional filters such as the “Department” or entering the “Item name”. Then select the choice item.
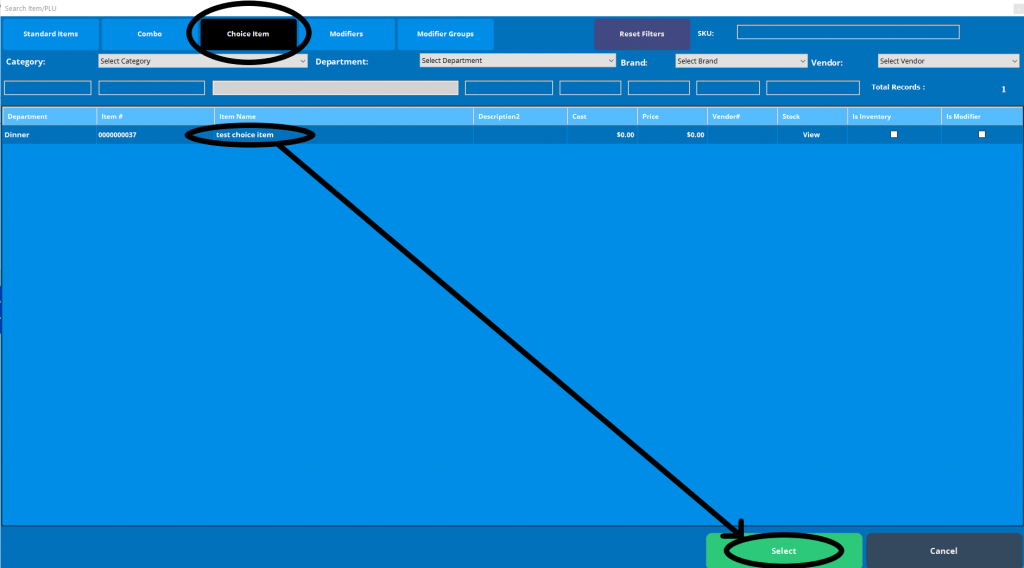
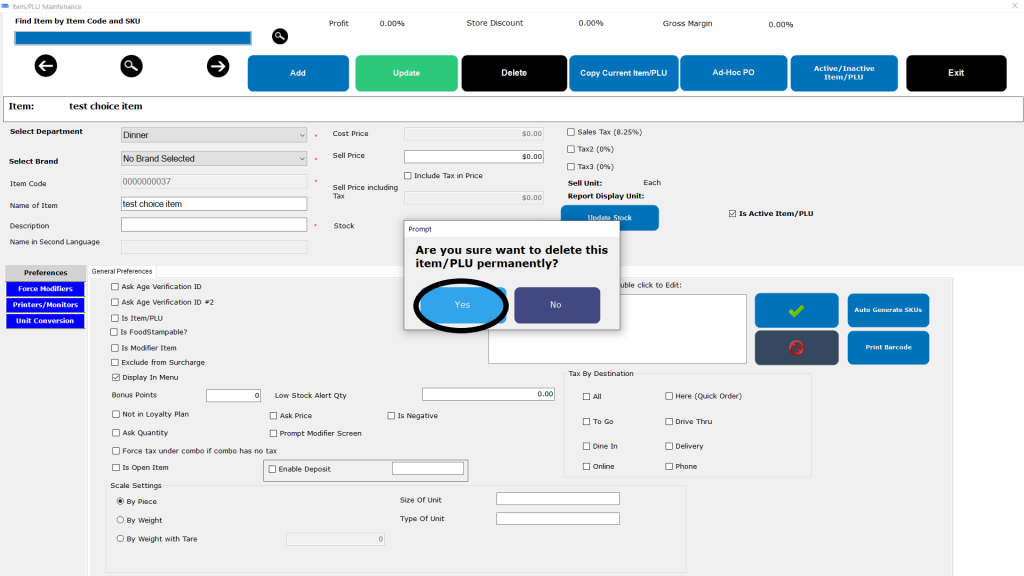
7. Click on the “Delete” button. This will prompt you if you want to delete the Choice Item permanently. Select Yes and your item will be deleted.