- Department
How to Delete/Deactivate a Department
Deleting departments on the Cloud Back Office
1.Login to your OVVI Cloud account online.
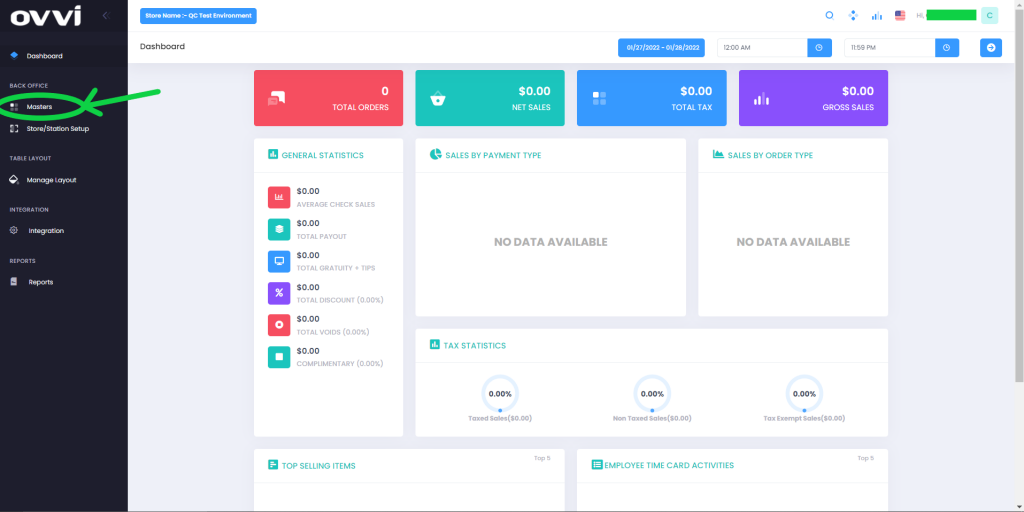
2. Select “Masters” option under “Back Office” on the left hand pane.
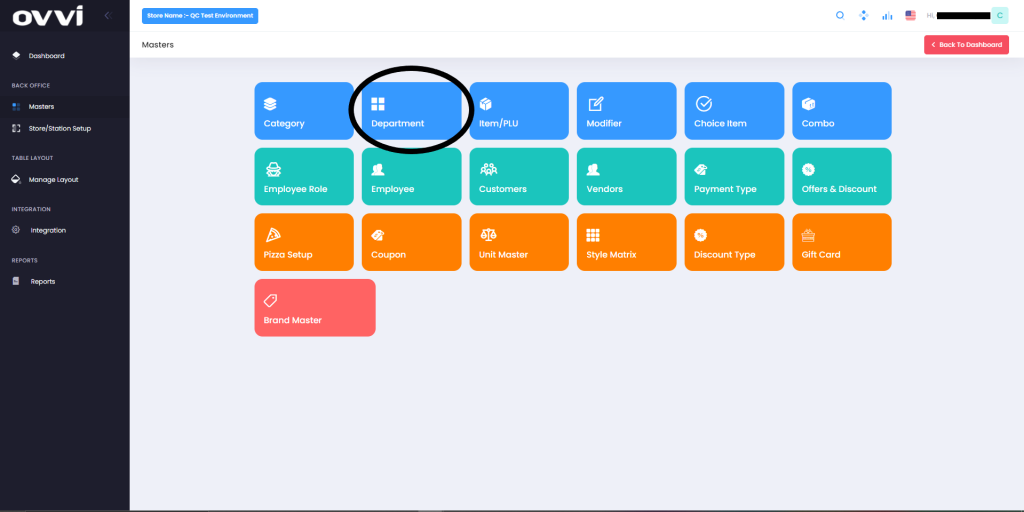
3. Choose the “Department button”.
4. From the list of departments given, search for the desired department.
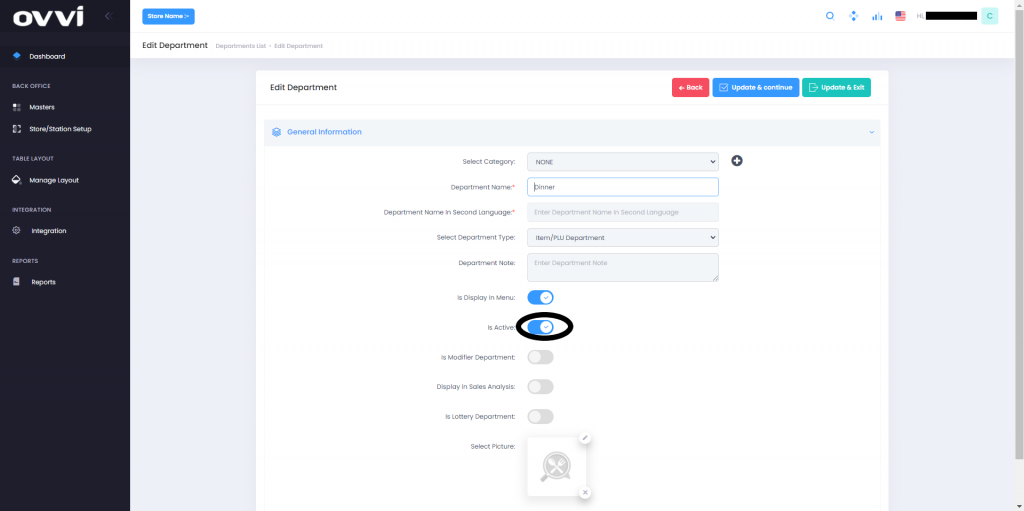
5. Select the pencil icon next to the department on the right. This will bring you to a page where you can modify details of your department.

6. Uncheck the “Is active” button to deactivate this particular department.
Note: A department cannot be deleted completely. This is because items are associated with this department and sales or transactions have been recorded on the department.
The “None” department is default.
Deleting Departments FOH
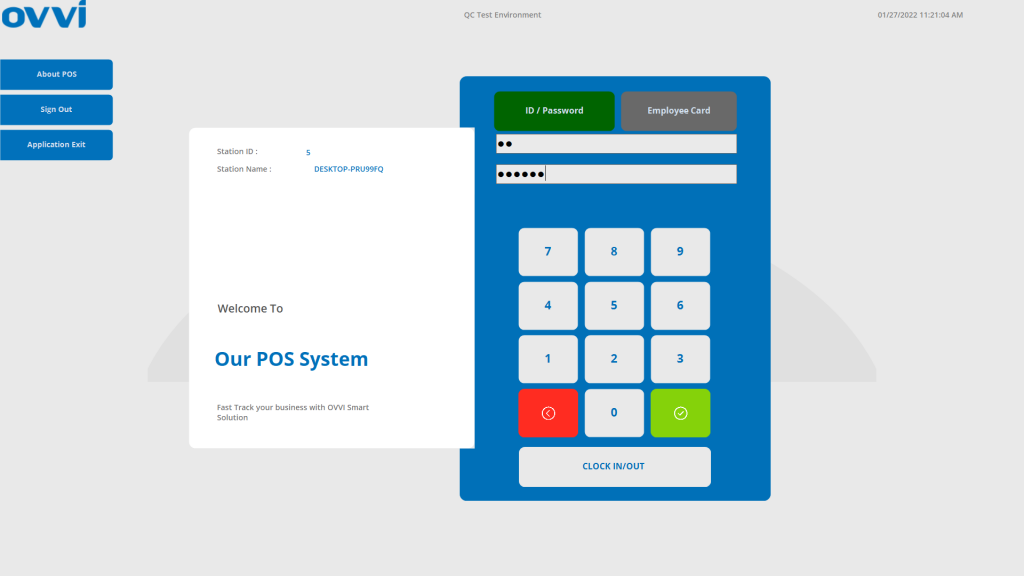
1.Login to your OVVI application on the POS.
2. If you have your table diagram enabled- Select “Quick order” option on the right. This will bring you to the order screen.

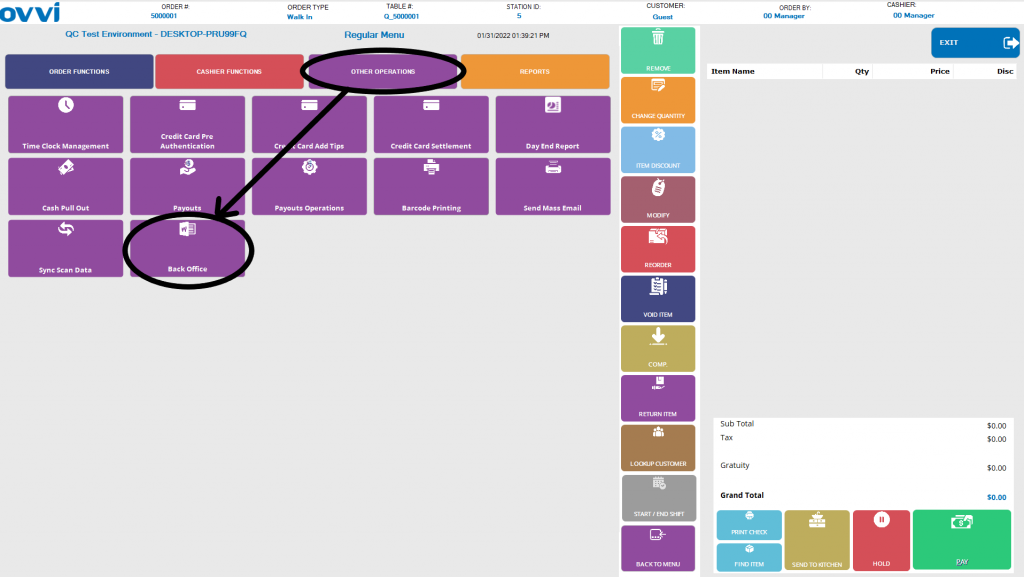
3. If you do not have the table diagram enabled, go to the order screen. Select “Operation” on the bottom right of the order screen.

4. Go to the “Other operations” tab and select “Back office”. This will redirect you to the OVVI Cloud back office on your default browser.
5. From here please follow steps 1-6 given on the beginning of this page.