- Employee
How to Add or Modify an Employee
ADDING OR MODIFYING EMPLOYEES ON THE CLOUD BACK OFFICE
1.Login to your OVVI Cloud account online.
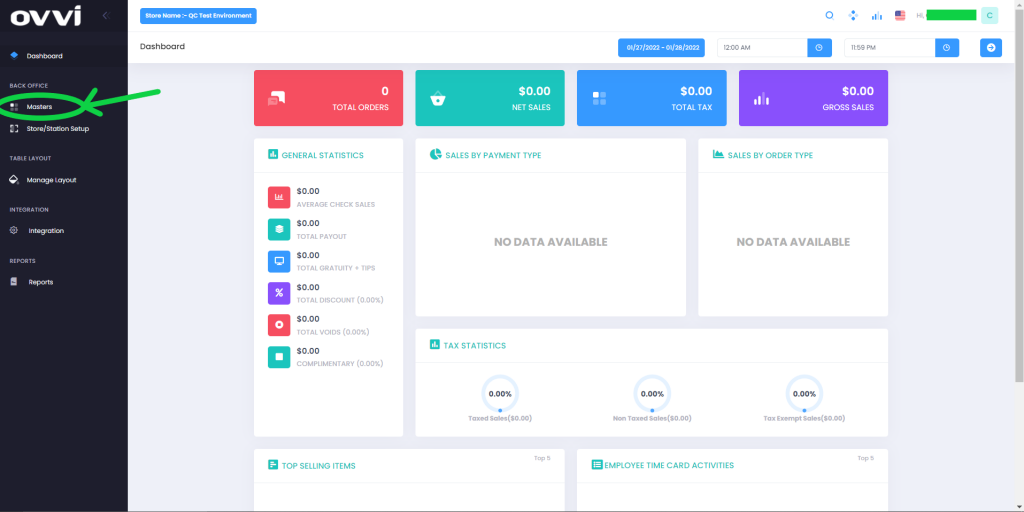
2. Select “Masters” option under “Back Office” on the left hand pane.
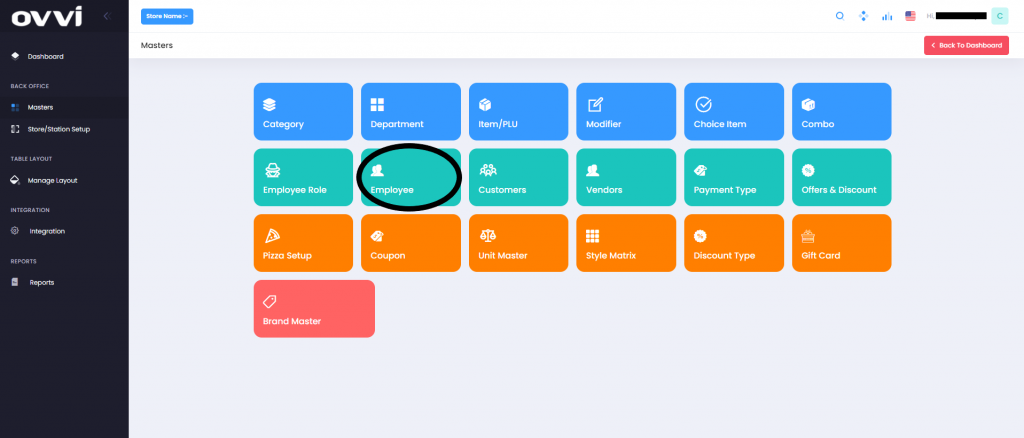
3. Choose the “Employee button”.
To add an Employee
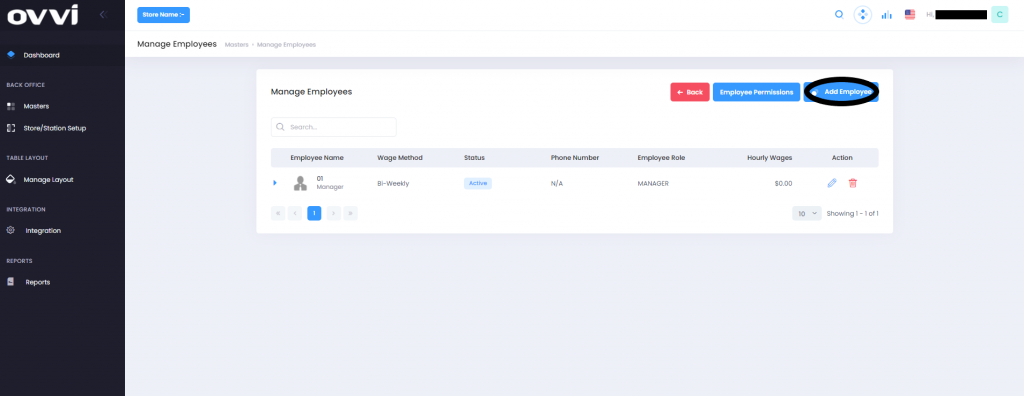
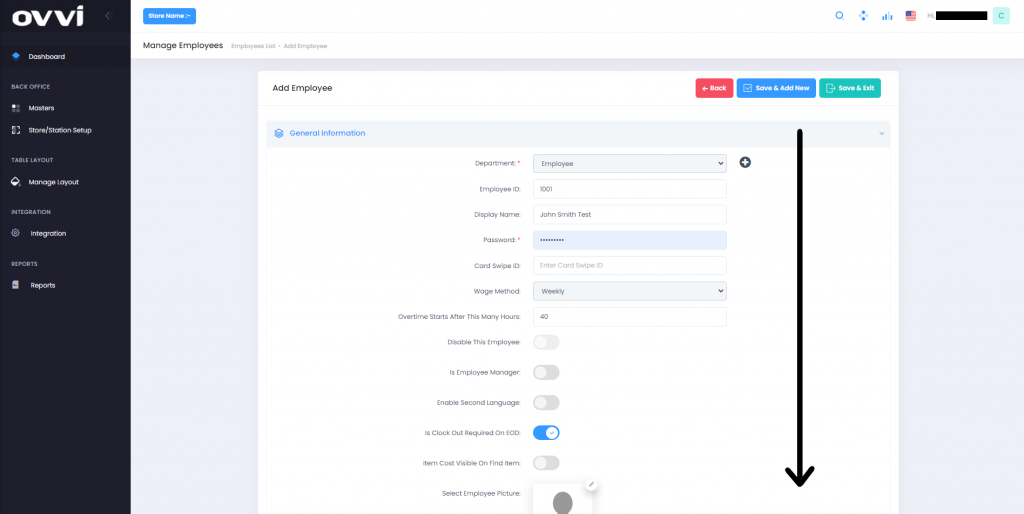
4. Select “Add employee” on the top right. This will bring you to a page where you can enter details about your new Employee.
5. The details you can fill out for the employee are Display name, image of the Employee, Employee card number (for swiping), personal information, wage information, table assignments, Employee role etc.
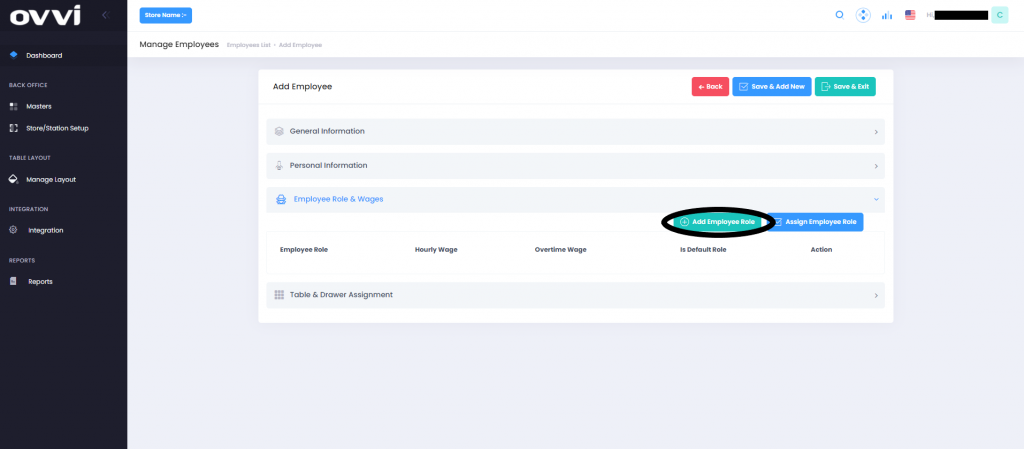
6. Scroll down to the section that says “Add new Employee Role”. This will bring you to a page where you can enter details about your new Employee Role. See step 7.
Note: If your Employee Role already exists- select “Assign Employee role” and select it. Skip to step 8 and review.
7. See how to add a Add a new Employee role here.
https://support.ovvihq.com/articles/adding-or-modifying-an-employee-role/
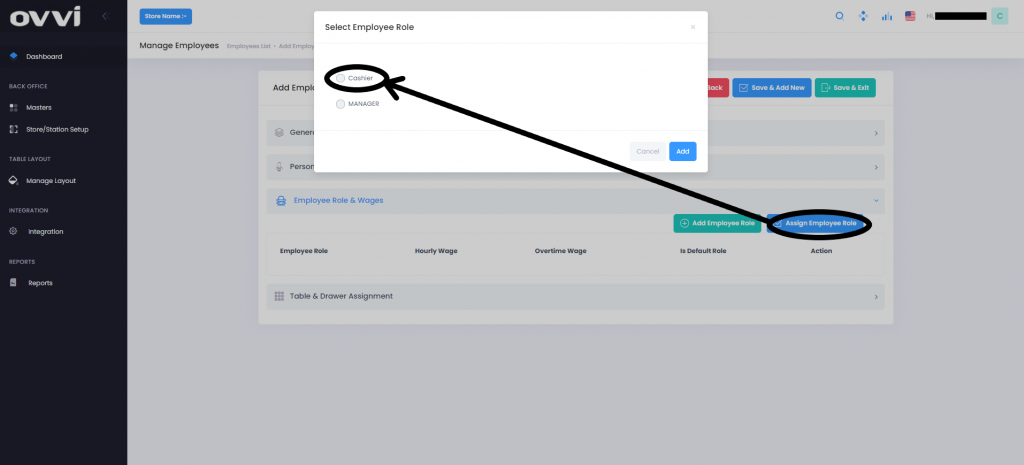
Once you finish adding your new Employee role you will be redirected to the New employee page. Here select the option “Assign Employee role”.
8. Click on “Save and exit” on the top right to save your changes or click on “Save and add new” to continue adding new Employees.
To modify an Employee
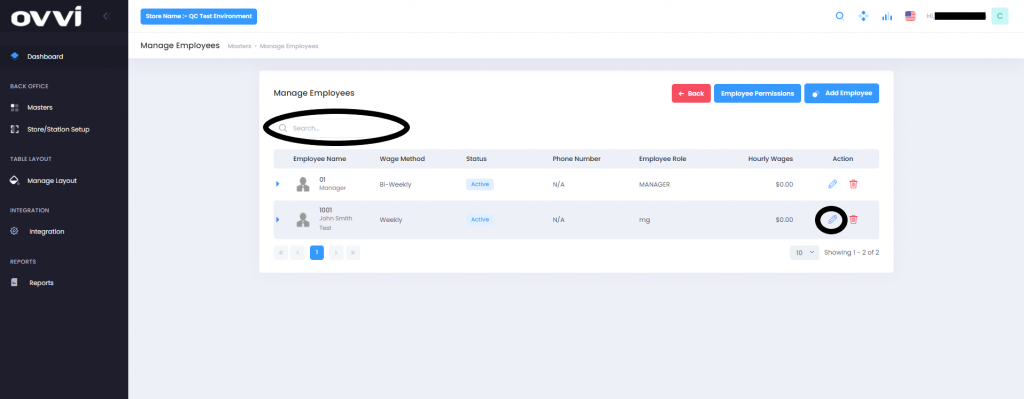
4. From the list of Employees given, filter out or search for the desired Employee.
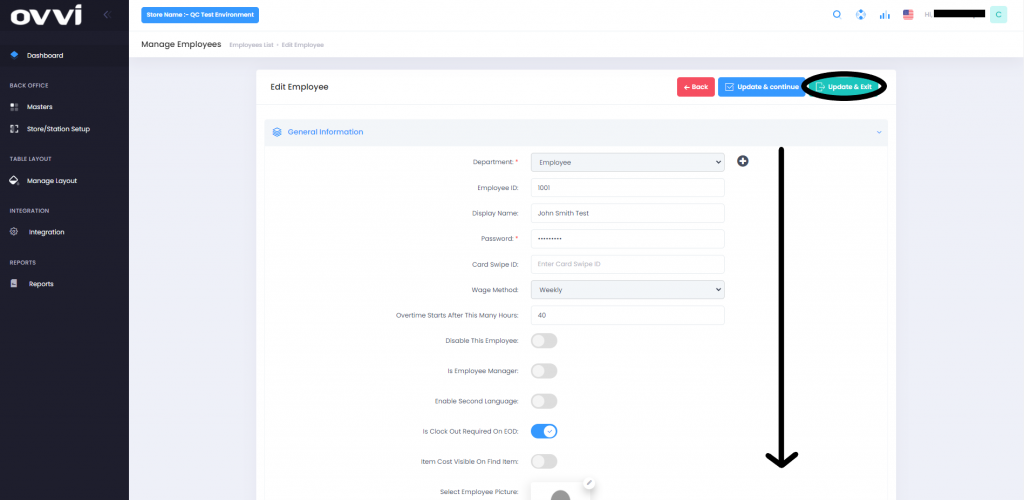
5. Select the pencil icon next to the Employee on the right. This will bring you to a page where you can modify details of your Employee.
6. The details you can modify for the employee are Display name, image of the Employee, Employee card number (for swiping), personal information, wage information, table assignments, Employee role etc.
7. Click on “Update and exit” on the top right to save your changes or click on “Update and continue” to continue adding new employees.
ADDING OR MODIFYING EMPLOYEES FOH
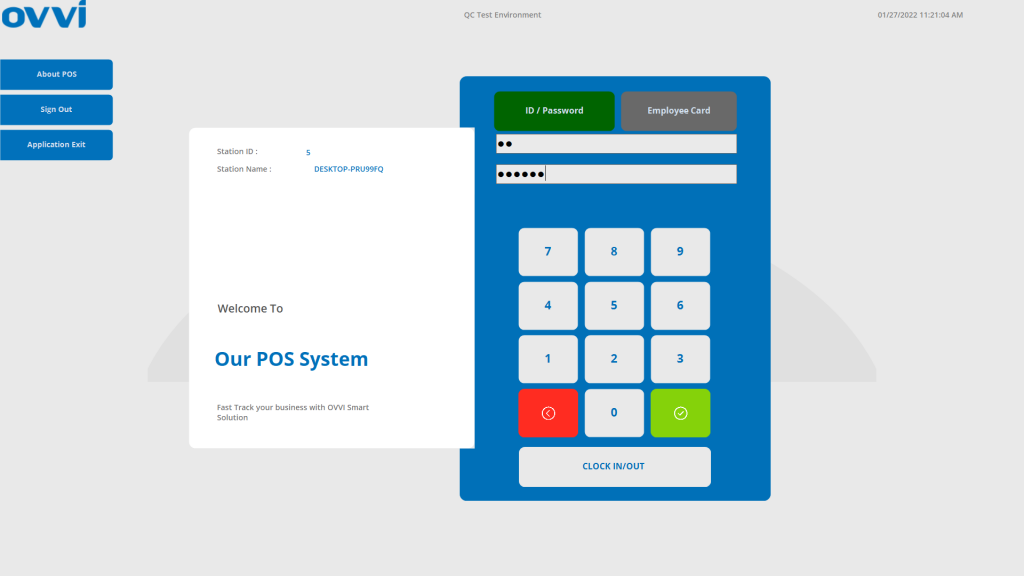
1.Login to your OVVI application on the POS.
2. If you have your table diagram enabled- Select “Quick order” option on the right. This will bring you to the order screen.

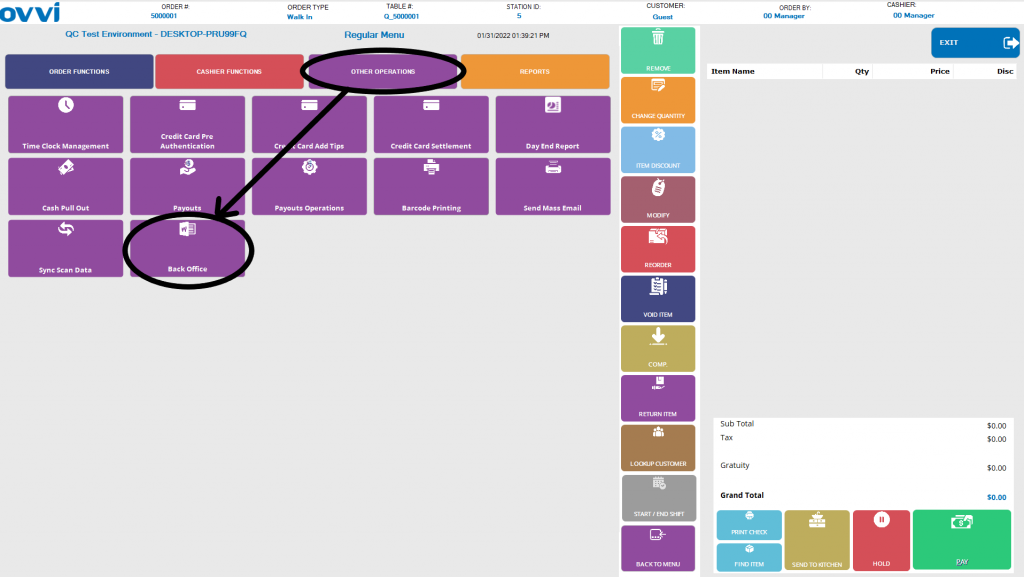
3. If you do not have the table diagram enabled, go to the order screen. Select “Operation” on the bottom right of the order screen.

4. Go to the “Other operations” tab and select “Back office”. This will redirect you to the OVVI Cloud back office on your default browser.
5. From here please follow steps 1-7 given on the beginning of this page.