How to Clock In & Out (FOH)

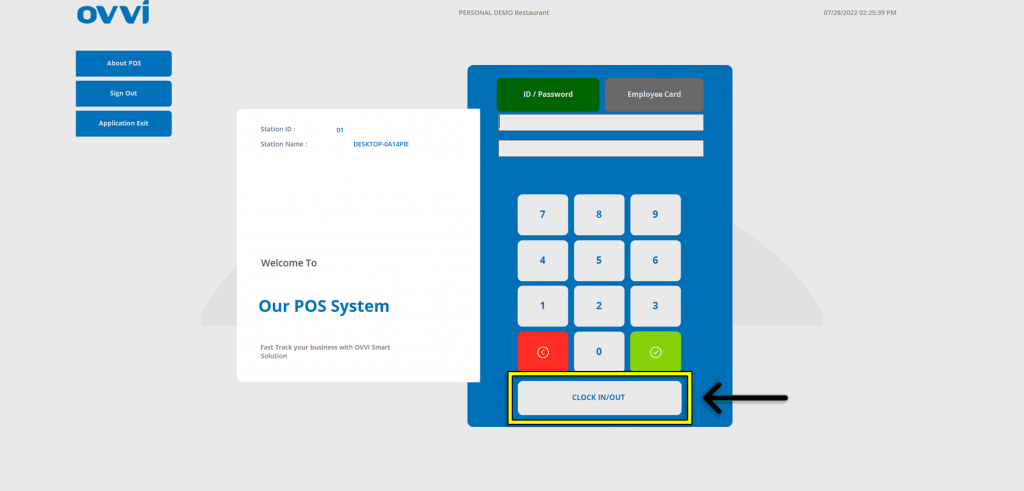
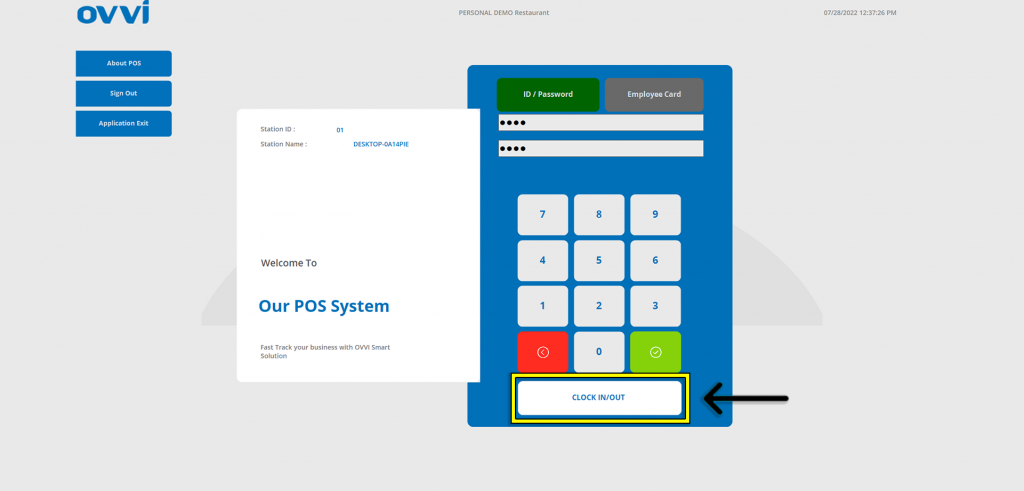
1. From the Cloud OVVI login screen, click on the ‘CLOCK IN/OUT’ button.

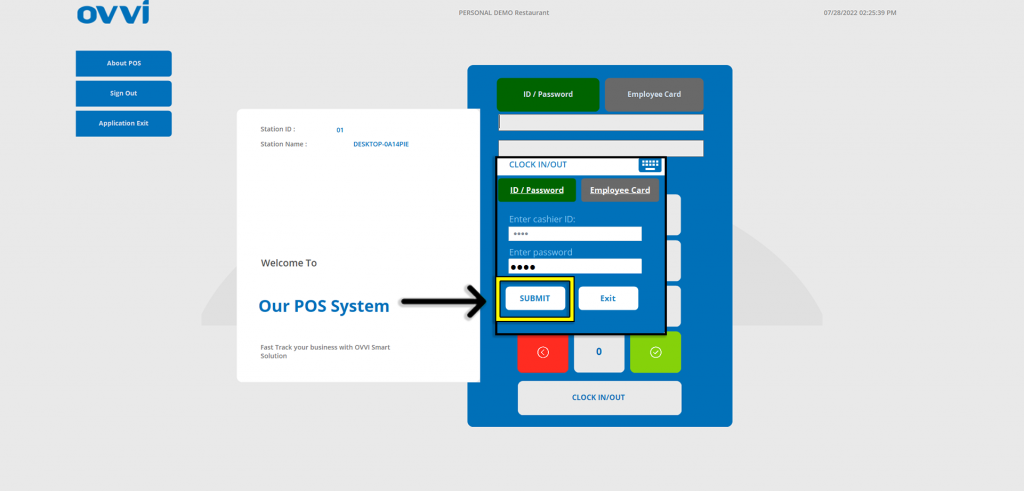
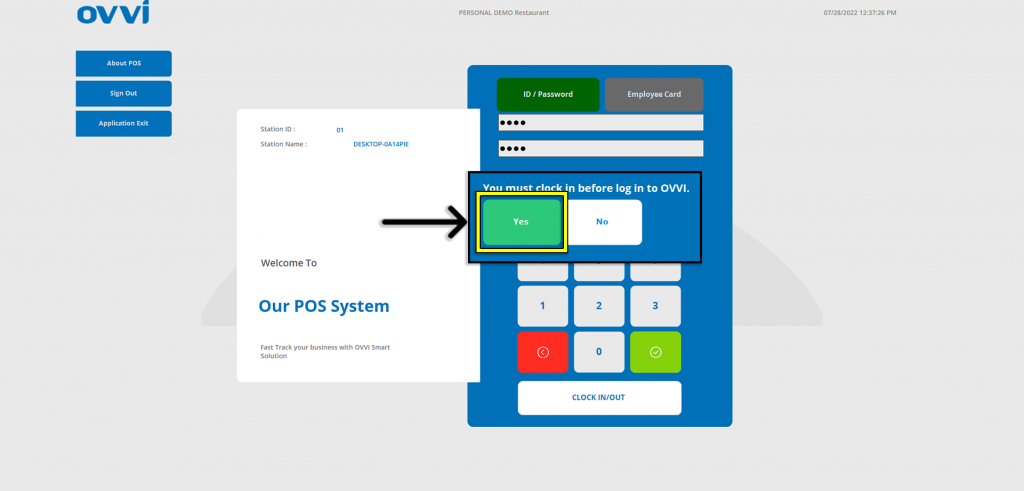
2. In the Clock In/Out pop-up, input employee credentials, then click the ‘Submit’ button.

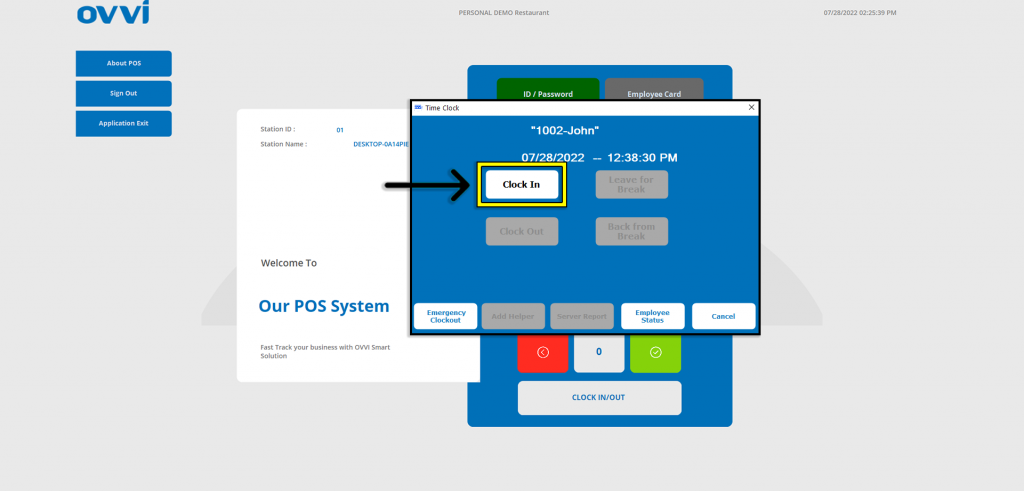
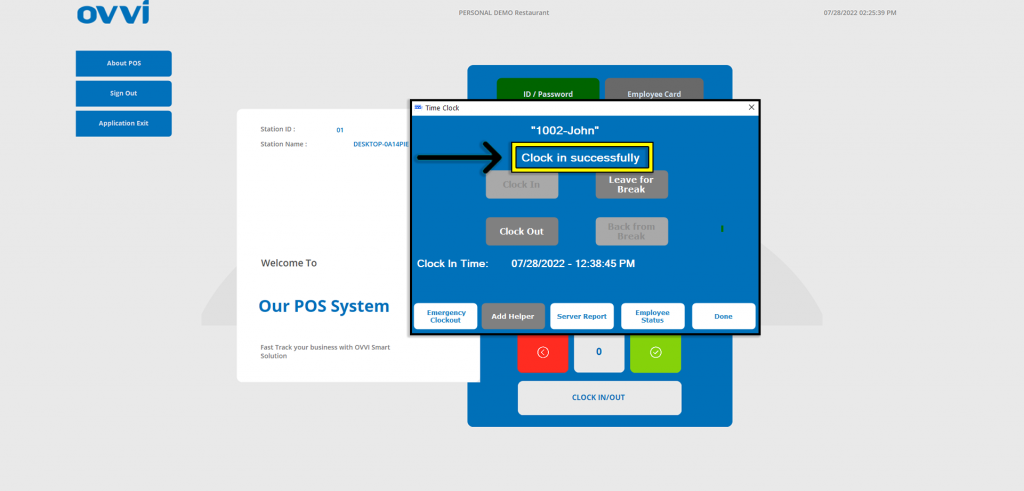
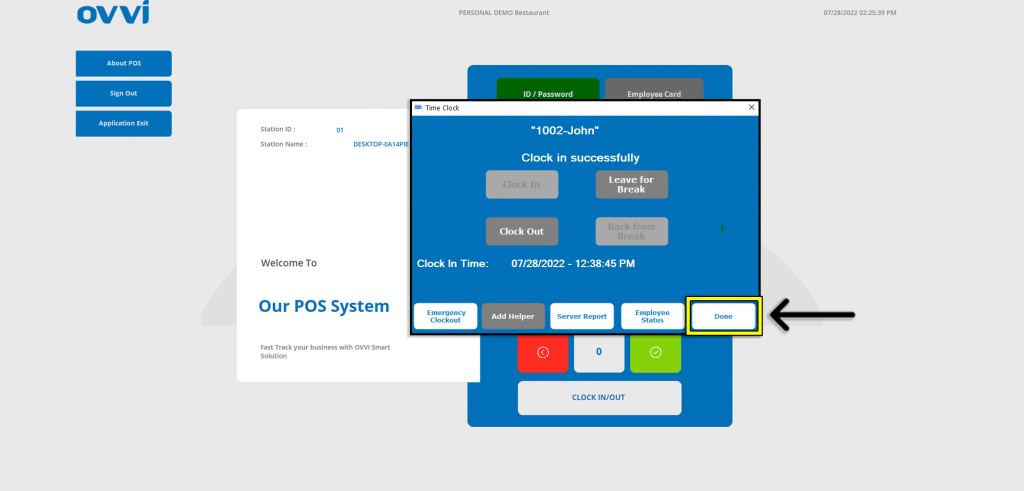
3. To start tracking shift, click the ‘Clock In’ button.

4. Employees will be prompted if they would like to add Helper. For this example, they will click on the ‘Cancel’ button.

5. Employees will now get the Time Clock show ‘Clock in Successfully’ to verify that Clock in was accepted.

6. Employees will then Tap the ‘Done’ button.

7. Employees can now login to any station normally using their employee credentials and click on the green button.

Please Note: If an employee attempts to login without clocking in, they will be prompted to do so and they will need to click the ‘Yes’ button to start tracking their hours and to be allowed to login.

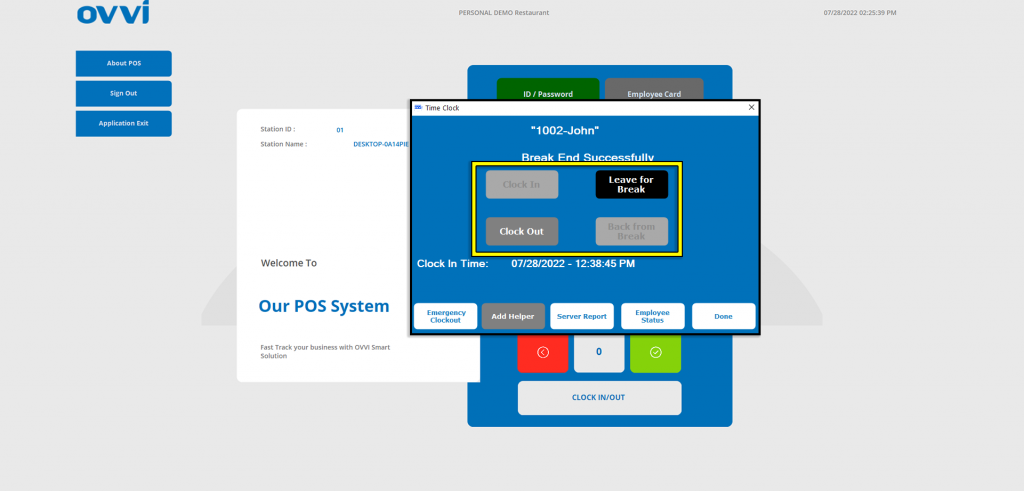
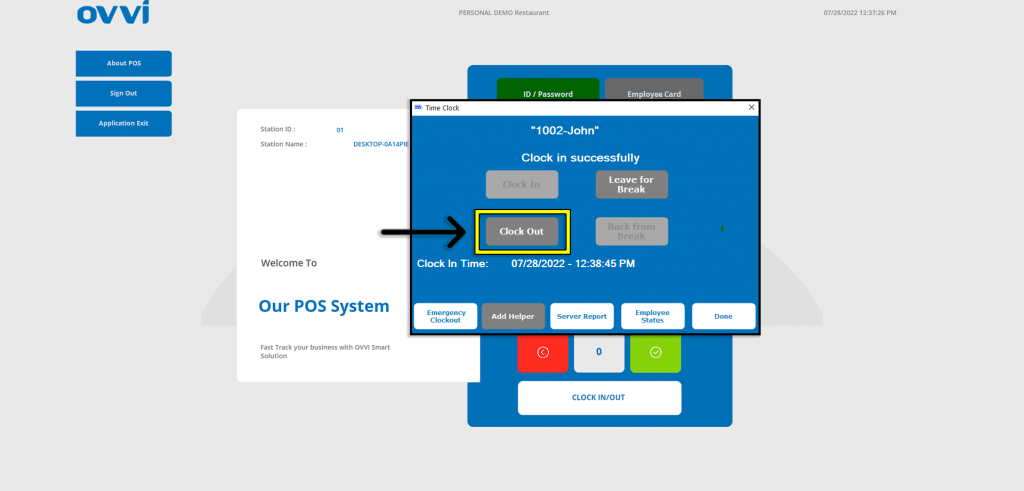
8. Employees will also be able to record/manage their punches for breaks as well as clocking out using the ‘CLOCK IN/OUT’ button from the main login screen and taping on any of the for available options to ‘Leave for Break’, ‘Back from Break’, or ‘Clock Out’.

Please Note: These options will be grey out when not available.

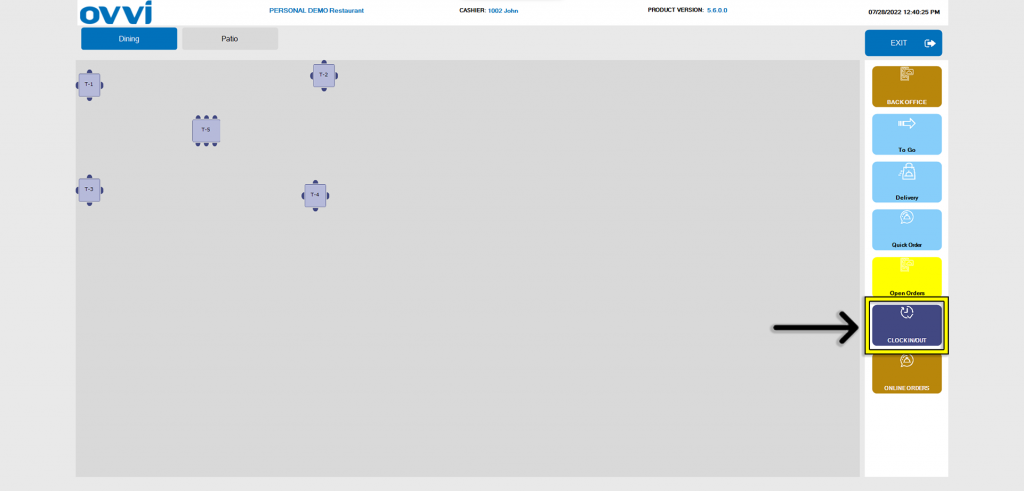
9. Alternatively, Employees can record/manage breaks and clock outs via the ‘CLOCK IN/OUT’ button on the Table Layout page and log in with the employee credentials.

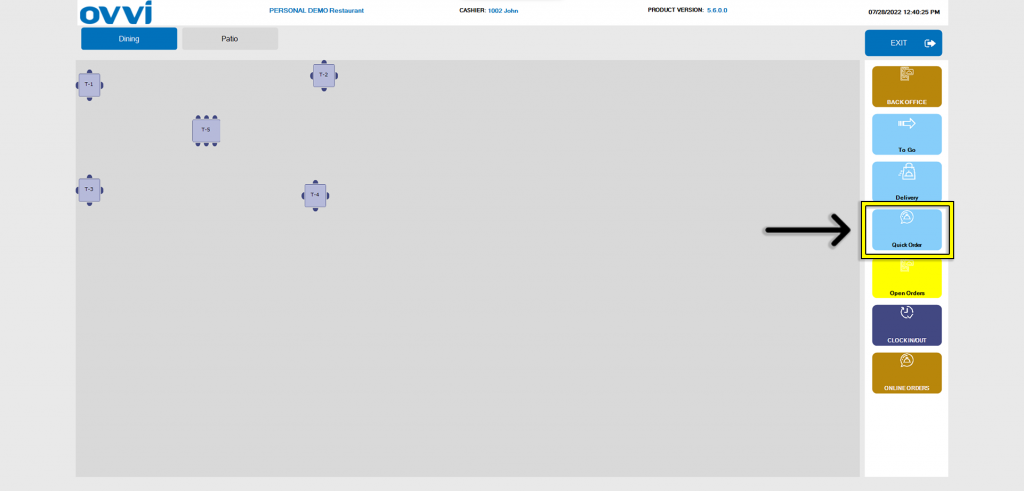
10. Managers and Employees with Role Permissions also have the option to record/manage breaks and clock outs in the Operations section of the application. To navigate there, tap on the ‘Quick Order’.

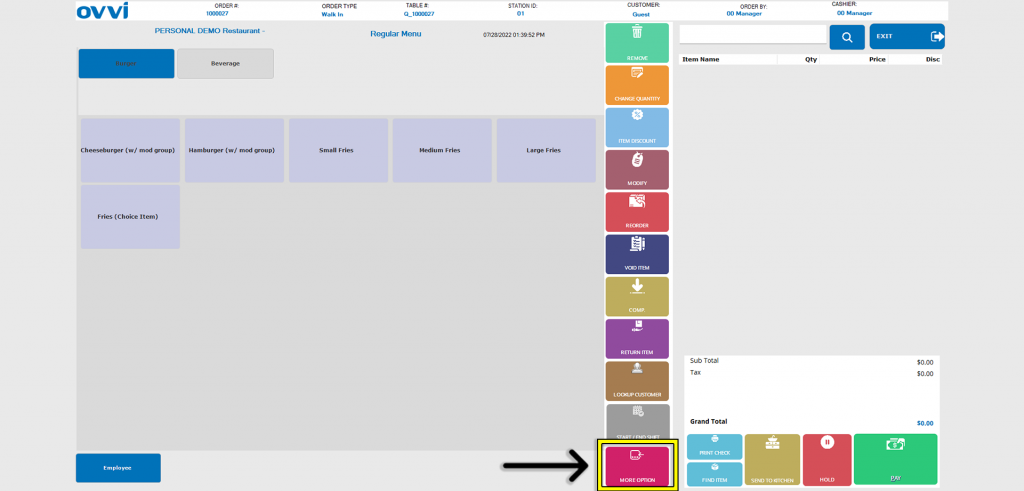
11. Then Tap on ‘More Option’.

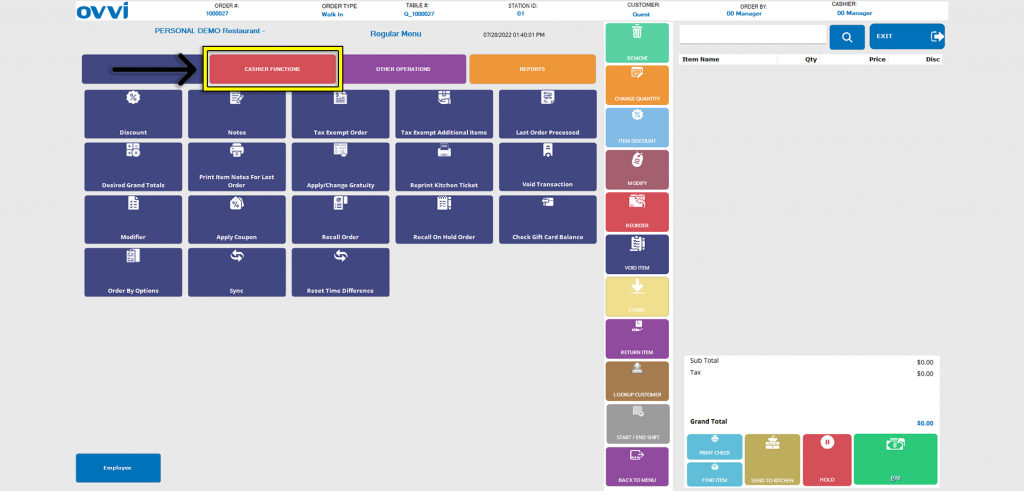
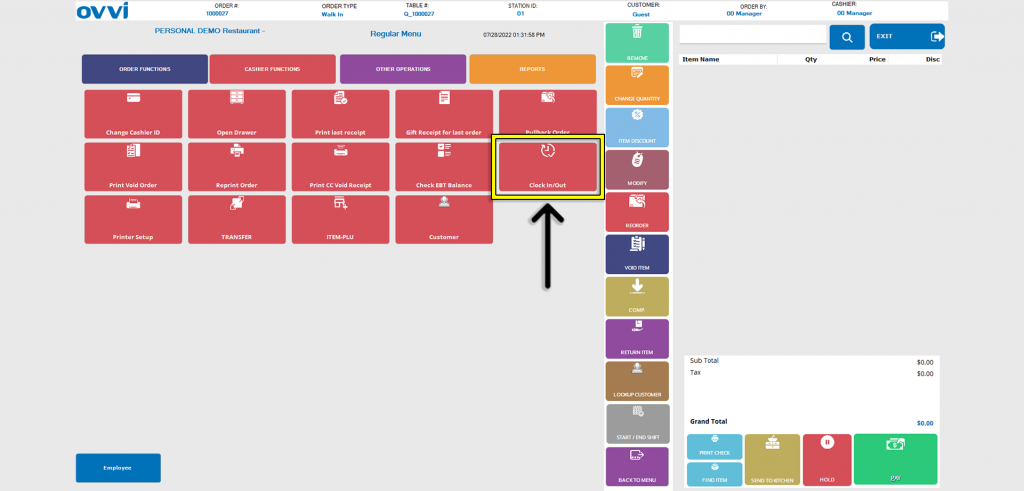
12. Locate and tap on the ‘Clock In/Out’ button.

13. Locate and tap on the ‘Clock In/Out’ button.

Please Note: Employees can use any of these methods to clock in, punch in and out for breaks, or clock out for the end of their shift. However, it is recommended that they use the ‘CLOCK IN/OUT’ button on the main login page.

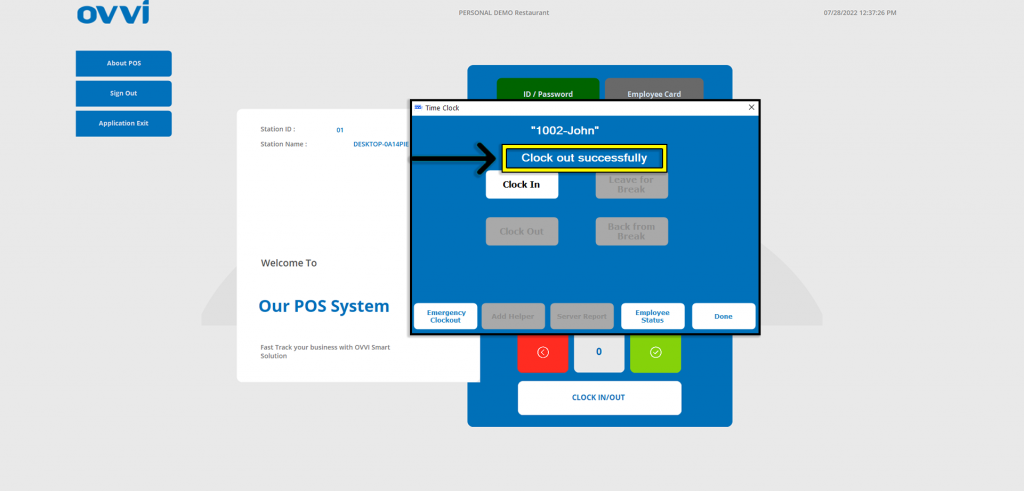
14. When ready to Clock Out, employees can click on the ‘CLOCK IN/OUT’ button from the main login page.

15. Then Click the ‘Clock Out’ options.

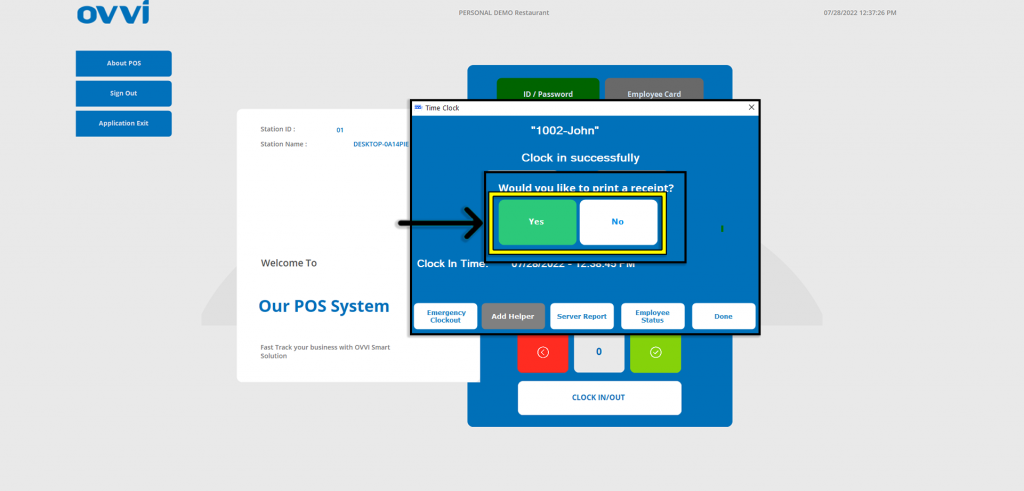
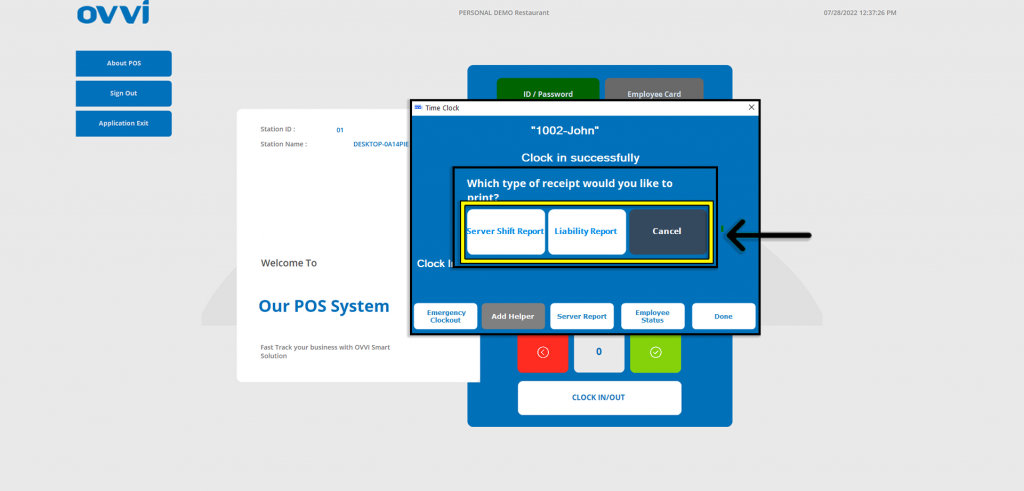
16. Employee will be prompted if they want a physical report of their shift in receipt format.

Please Note: Tapping the ‘Yes’ button will present the option to print either ‘Server Shift Report’, ‘Liability Report’, or ‘Cancel’.

17. Employees will then see ‘Clock Out Successfully’ in the Time Clock.

18. Employees can then tap the ‘Done’ button.

19. This concludes the Guide to Clocking in and Out of the Cloud OVVI application.